Using EzSet
This section replaces Step Four in the Initial Setup section of the AVR 146 owner’s guide.
An essential step in setting up your multichannel audio/video receiver is calibrating the channel output levels so that they all sound equally loud at the listening position. This sets a baseline, enabling the director to create a desired mood by moving the dialogue, action and ambient sounds around the soundstage, resulting in a more realistic presentation.
EzSet takes the guesswork out of the manual process described in the AVR 146 owner’s guide, replacing multiple steps with a simple button press.
By now you should have connected all of your speakers and sources and your video display. You should have turned on the receiver and used the Manual Setup menus to program each of your speakers as Large or Small.
Sit in the listening position with the remote control, and make sure to eliminate external noises for the few minutes needed to run the EzSet procedure.
Use the volume control buttons on the remote to adjust the volume to
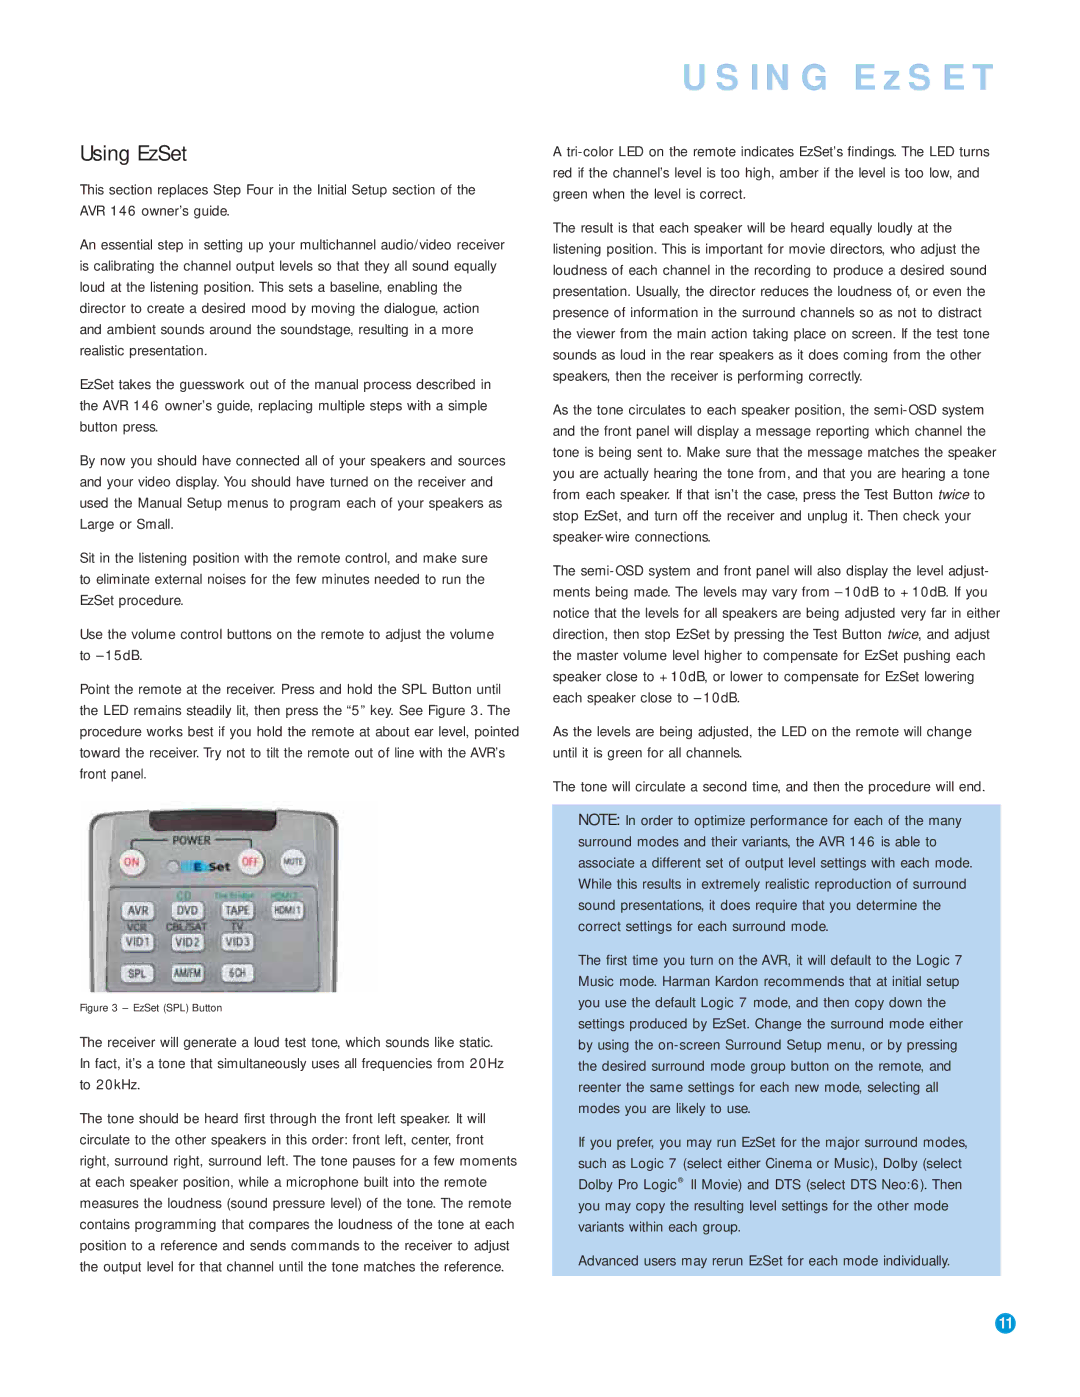
Point the remote at the receiver. Press and hold the SPL Button until the LED remains steadily lit, then press the “5” key. See Figure 3. The procedure works best if you hold the remote at about ear level, pointed toward the receiver. Try not to tilt the remote out of line with the AVR’s front panel.
Figure 3 – EzSet (SPL) Button
The receiver will generate a loud test tone, which sounds like static. In fact, it’s a tone that simultaneously uses all frequencies from 20Hz to 20kHz.
The tone should be heard first through the front left speaker. It will circulate to the other speakers in this order: front left, center, front right, surround right, surround left. The tone pauses for a few moments at each speaker position, while a microphone built into the remote measures the loudness (sound pressure level) of the tone. The remote contains programming that compares the loudness of the tone at each position to a reference and sends commands to the receiver to adjust the output level for that channel until the tone matches the reference.
USING EzSET
A
The result is that each speaker will be heard equally loudly at the listening position. This is important for movie directors, who adjust the loudness of each channel in the recording to produce a desired sound presentation. Usually, the director reduces the loudness of, or even the presence of information in the surround channels so as not to distract the viewer from the main action taking place on screen. If the test tone sounds as loud in the rear speakers as it does coming from the other speakers, then the receiver is performing correctly.
As the tone circulates to each speaker position, the
The
As the levels are being adjusted, the LED on the remote will change until it is green for all channels.
The tone will circulate a second time, and then the procedure will end.
NOTE: In order to optimize performance for each of the many surround modes and their variants, the AVR 146 is able to associate a different set of output level settings with each mode. While this results in extremely realistic reproduction of surround sound presentations, it does require that you determine the correct settings for each surround mode.
The first time you turn on the AVR, it will default to the Logic 7 Music mode. Harman Kardon recommends that at initial setup you use the default Logic 7 mode, and then copy down the settings produced by EzSet. Change the surround mode either by using the
If you prefer, you may run EzSet for the major surround modes, such as Logic 7 (select either Cinema or Music), Dolby (select Dolby Pro Logic® II Movie) and DTS (select DTS Neo:6). Then you may copy the resulting level settings for the other mode variants within each group.
Advanced users may rerun EzSet for each mode individually.
11 | 11 |