
Cinch Pipe & Termination Cap System specifications
Hearth and Home Technologies has made significant strides in enhancing the efficiency and safety of venting systems with its innovative Cinch Pipe & Termination Cap System. This advanced system addresses the needs of modern heating solutions, offering a reliable and efficient means of venting gas appliances while simplifying installation.One of the standout features of the Cinch Pipe System is its easy-to-use design. The system utilizes a push-together installation method, which minimizes assembly time and reduces the complexity typically associated with venting systems. This innovative approach enables both DIYers and professionals to install the system with minimal tools and time, making it an attractive option for various settings, including residential and commercial applications.
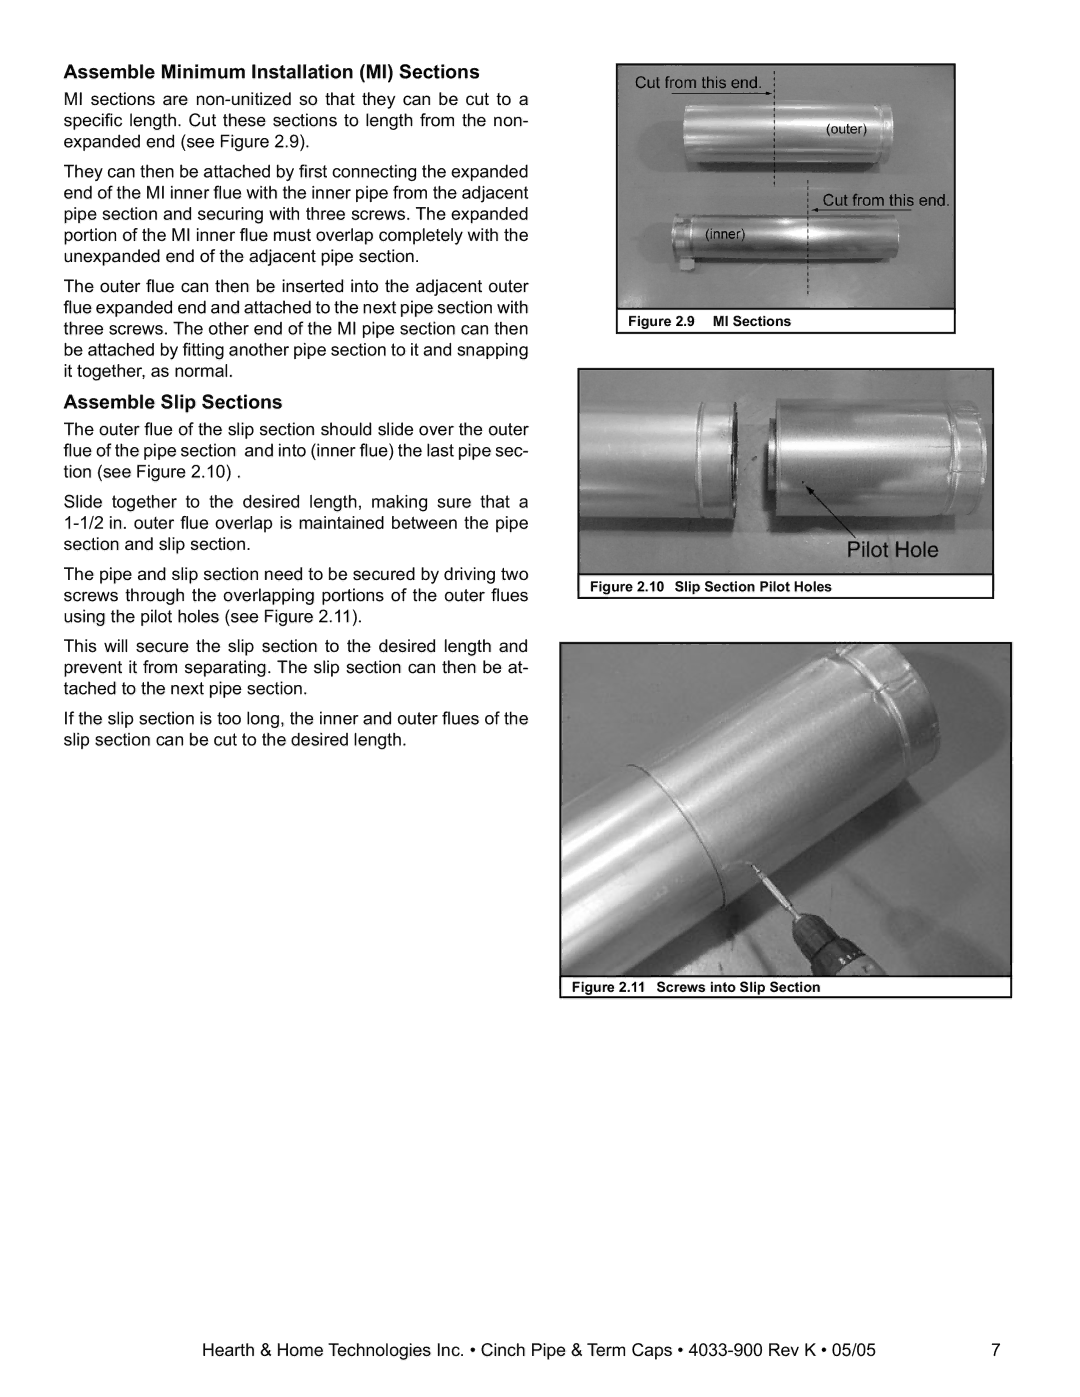
The Cinch Pipe is crafted from high-quality materials, ensuring durability and longevity. Made from stainless steel, it is designed to withstand harsh weather conditions and resist corrosion, thereby extending the life of the venting system. In conjunction with the termination cap, it provides a secure seal that prevents leaks and ensures proper exhaust flow, contributing to the safe operation of gas appliances.
One of the characteristics that sets the Cinch Pipe apart is its impressive flexibility. The system can be used for a variety of appliance types, including direct vent and B-vent applications. This versatility makes it an excellent choice for builders and contractors who require a reliable venting solution regardless of the project specifications.
Additionally, the termination cap of the Cinch Pipe system is designed with safety in mind. It features built-in insect screens to prevent the entry of unwanted pests while also providing superior weather protection. The cap is engineered to optimize exhaust flow, thereby enhancing the efficiency of the connected appliance.
The Hearth and Home Technologies Cinch Pipe & Termination Cap System exemplifies a commitment to both innovation and safety. With its user-friendly installation, robust construction, and versatile application range, it stands out as a premier choice for those looking for quality venting solutions. This system not only meets the demands of efficiency and safety but also enhances the overall performance of gas-heating appliances, making it an essential component in modern venting technology.