8 Installing Vent Pipe

A. Assembly of Vent Sections (DVP Pipe)

WARNING

Do not mix pipe, fittings or joining methods from different manufacturers.

WARNING

Fire Risk

Exhaust Fumes Risk

Impaired Performance of Appliance

• Overlap pipe slip sections at least 1-1/2 inches.

Use pilot holes for screws.

Screws must not exceed one inch long.

Pipe may separate if not properly joined.

Attaching Vent to the Firebox Assembly

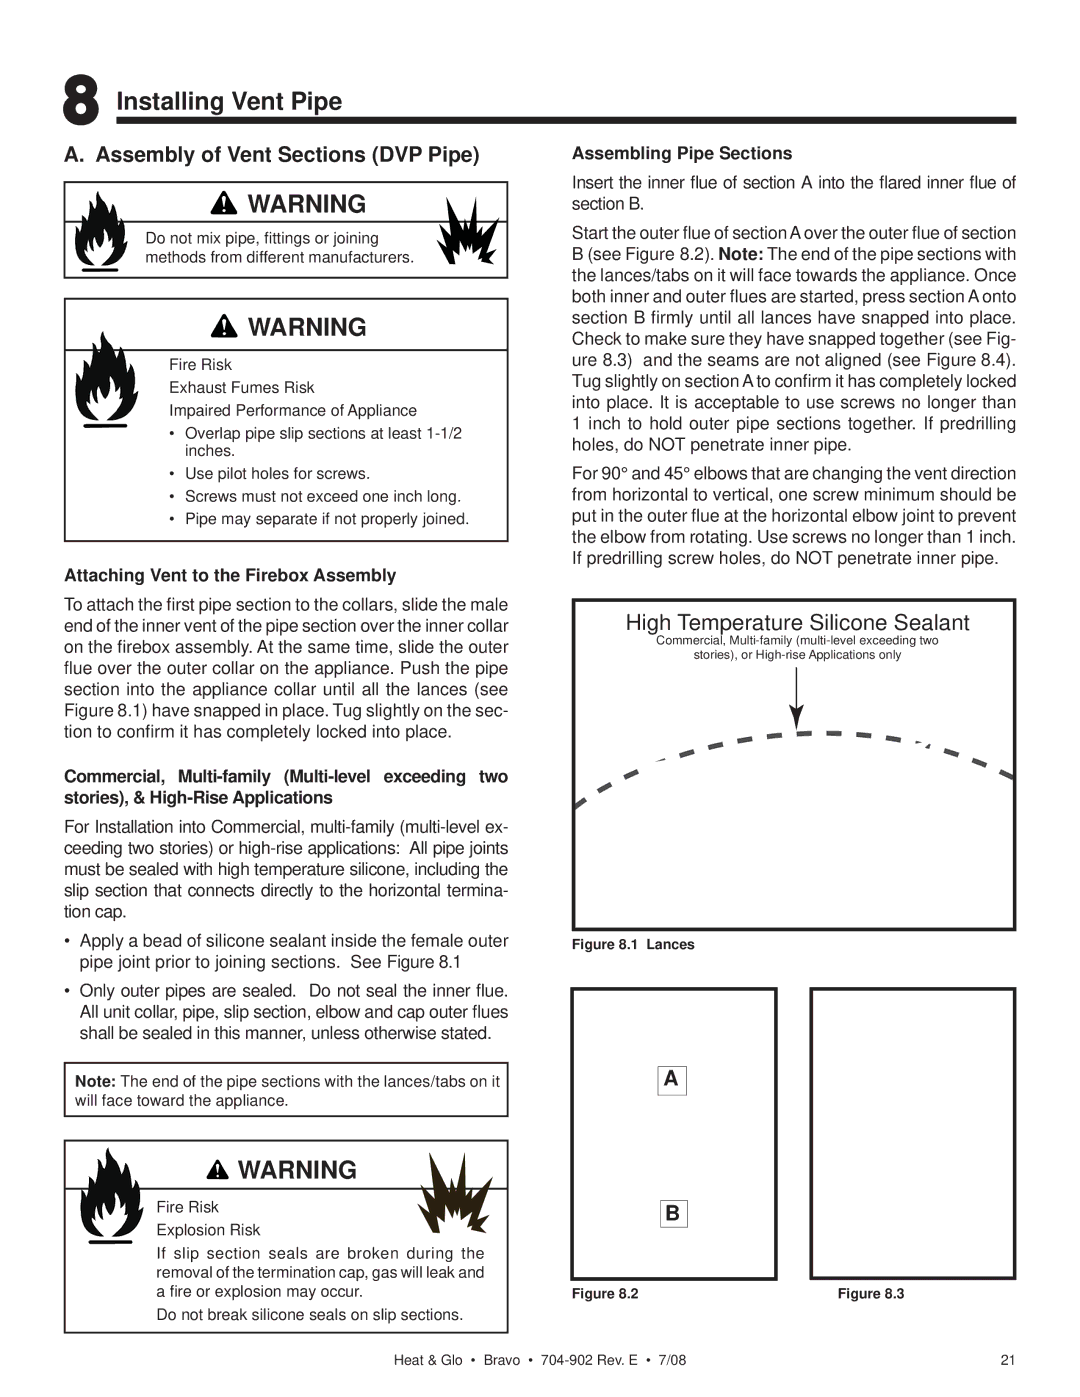
To attach the first pipe section to the collars, slide the male end of the inner vent of the pipe section over the inner collar on the firebox assembly. At the same time, slide the outer flue over the outer collar on the appliance. Push the pipe section into the appliance collar until all the lances (see Figure 8.1) have snapped in place. Tug slightly on the sec- tion to confirm it has completely locked into place.

Commercial, Multi-family (Multi-level exceeding two stories), & High-Rise Applications

For Installation into Commercial, multi-family (multi-level ex- ceeding two stories) or high-rise applications: All pipe joints must be sealed with high temperature silicone, including the slip section that connects directly to the horizontal termina- tion cap.

Apply a bead of silicone sealant inside the female outer pipe joint prior to joining sections. See Figure 8.1

Only outer pipes are sealed. Do not seal the inner flue. All unit collar, pipe, slip section, elbow and cap outer flues shall be sealed in this manner, unless otherwise stated.

Note: The end of the pipe sections with the lances/tabs on it will face toward the appliance.

WARNING

Fire Risk Explosion Risk

If slip section seals are broken during the removal of the termination cap, gas will leak and a fire or explosion may occur.

Do not break silicone seals on slip sections.

Assembling Pipe Sections

Insert the inner flue of section A into the flared inner flue of section B.

Start the outer flue of section A over the outer flue of section B (see Figure 8.2). Note: The end of the pipe sections with the lances/tabs on it will face towards the appliance. Once both inner and outer flues are started, press section A onto section B firmly until all lances have snapped into place. Check to make sure they have snapped together (see Fig- ure 8.3) and the seams are not aligned (see Figure 8.4). Tug slightly on section A to confirm it has completely locked into place. It is acceptable to use screws no longer than 1 inch to hold outer pipe sections together. If predrilling holes, do NOT penetrate inner pipe.

For 90° and 45° elbows that are changing the vent direction from horizontal to vertical, one screw minimum should be put in the outer flue at the horizontal elbow joint to prevent the elbow from rotating. Use screws no longer than 1 inch. If predrilling screw holes, do NOT penetrate inner pipe.

High Temperature Silicone Sealant

Commercial, Multi-family (multi-level exceeding two

stories), or High-rise Applications only

Figure 8.1 Lances

A

B

Figure 8.2

Figure 8.3

Heat & Glo • Bravo • 704-902 Rev. E • 7/08

21

Page 21
Image 21
Heat & Glo LifeStyle 704-902 Installing Vent Pipe, Assembly of Vent Sections DVP Pipe, Assembling Pipe Sections

704-902 specifications

The Heat & Glo LifeStyle 704-902 is a modern gas fireplace that exemplifies the marriage of cutting-edge technology and aesthetic design, making it a popular choice for homeowners looking to enhance their living spaces with warmth and style. This fireplace is particularly noted for its versatility and the ambiance it creates, turning any room into a cozy retreat.

One of the standout features of the LifeStyle 704-902 is its contemporary design, which often includes a clean and sleek look that can fit seamlessly into various home décor styles. It offers customizable trim options, allowing homeowners to personalize the fireplace to match their interiors perfectly. The large viewing area permits a panoramic view of the flame, creating an inviting focal point in the room.

Equipped with innovative technologies, the LifeStyle 704-902 ensures efficient heat distribution and energy consumption. The fireplace features a direct vent system, which uses outside air for combustion and expels exhaust gases outside, making it a safe and efficient option for heating. This system not only enhances safety but also provides improved indoor air quality.

The product is designed for user convenience, featuring easy-to-use controls, allowing homeowners to adjust the flame height and heat output effortlessly. The IntelliFire® ignition system is particularly noteworthy, as it provides reliable start-ups and can be operated with a remote control or mobile app, offering flexibility and ease of use.

In terms of efficiency, the Heat & Glo LifeStyle 704-902 excels with high Annual Fuel Utilization Efficiency (AFUE) ratings. This means that it converts a significant portion of the fuel it uses into usable heat, delivering optimal performance while keeping utility costs in check. Additionally, the fireplace can be equipped with optional fan kits that enhance air circulation, further increasing its heating capabilities.

Another characteristic of the LifeStyle 704-902 is its variety of decorative media options, such as logs, stones, and glass, which allow owners to customize the look of the firebox. This versatility ensures that the fireplace can adapt to individual tastes, making it a perfect addition to any home.

In summary, the Heat & Glo LifeStyle 704-902 combines modern aesthetics, innovative technologies, and customizable features to deliver an exceptional heating solution. Its efficiency, ease of use, and design flexibility make it a leading choice for those seeking comfort and style in their homes.