Air filter (Fig. 10)
The air filter must be cleaned from dust and dirt in order to avoid: ○ Carburetor malfunctions.
○ Starting problems.
○ Engine power reduction.
○ Unnecessary wear on the engine parts. ○ Abnormal fuel consumption.
Clean the air filter daily or more often if working in exceptionally dusty areas.
Fig. 10
Cleaning the air filter
Remove the air filter cover and the filter. Rinse it in warm soap suds. Check that the filter is dry before reassembly. An air filter that has been used for some time cannot be cleaned completely. Therefore, it must regularly be replaced by a new one. A damaged filter must always be replaced.
NOTE
Saturate the element in
Spark plug (Fig. 11)
The spark plug condition is influenced by: ○ An incorrect carburetor setting.
○ Wrong fuel mixture (too much oil in the gasoline). ○ A dirty air filter.
○ Hard running conditions (such as cold weather).
These factors cause deposits on the spark plug electrodes, which may result in malfunction and starting difficulties. If the engine is low on power, difficult to start or runs poorly at idling speed, always check the spark plug first. If the spark plug is dirty, clean it and check the electrode gap. Readjust if necessary. The correct gap is 0.6 mm. The spark plug should be replaced after about 100 operation hours or earlier if the electrodes are badly eroded.
0.6mm ![]()
![]() Fig. 11
Fig. 11
NOTE
In some areas, local law requires using a resistor spark plug to suppress ignition signals. If this machine was originally equipped with resistor spark plug, use the same type of spark plug for replacement.
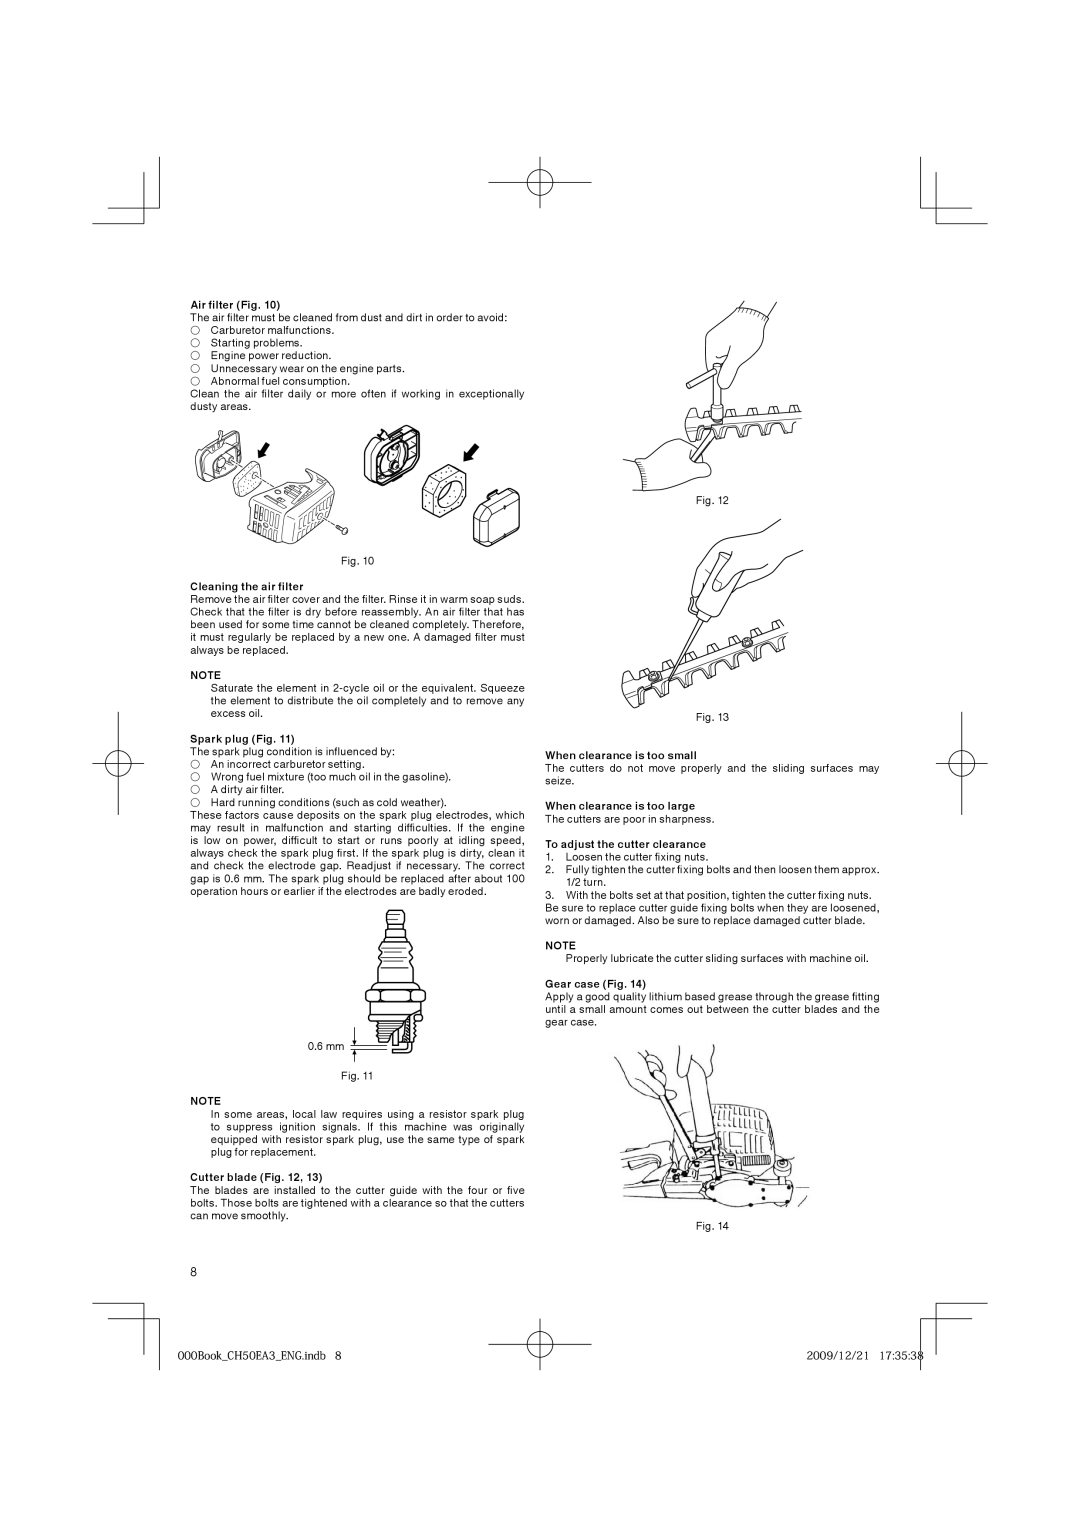
Cutter blade (Fig. 12, 13)
The blades are installed to the cutter guide with the four or five bolts. Those bolts are tightened with a clearance so that the cutters can move smoothly.
8
Fig. 12
Fig. 13
When clearance is too small
The cutters do not move properly and the sliding surfaces may seize.
When clearance is too large
The cutters are poor in sharpness.
To adjust the cutter clearance
1. Loosen the cutter fixing nuts.
2. Fully tighten the cutter fixing bolts and then loosen them approx. 1/2 turn.
3. With the bolts set at that position, tighten the cutter fixing nuts. Be sure to replace cutter guide fixing bolts when they are loosened, worn or damaged. Also be sure to replace damaged cutter blade.
NOTE
Properly lubricate the cutter sliding surfaces with machine oil.
Gear case (Fig. 14)
Apply a good quality lithium based grease through the grease fitting until a small amount comes out between the cutter blades and the gear case.
Fig. 14
000Book_CH50EA3_ENG.indb 8 | 2009/12/21 17:35:38 |
|
|
|
|
|
| ||
|
|
| ||
|
|
|
|
|