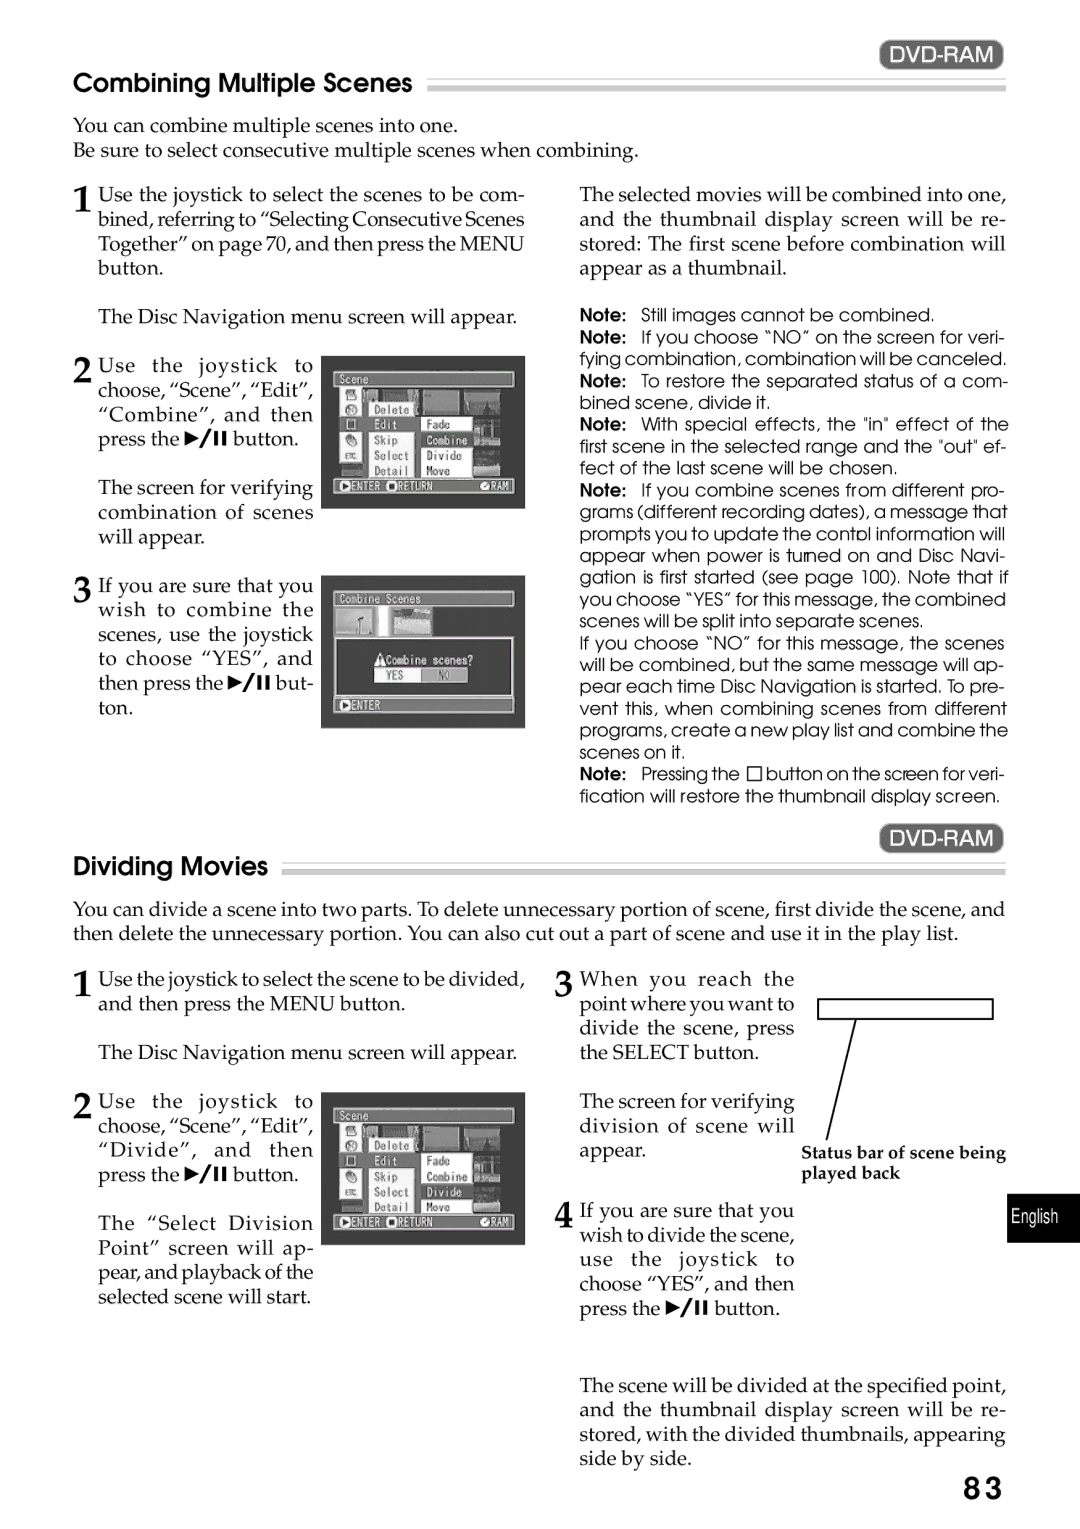
Combining Multiple Scenes

You can combine multiple scenes into one.

Be sure to select consecutive multiple scenes when combining.

1 Use the joystick to select the scenes to be com- bined, referring to “Selecting Consecutive Scenes Together” on page 70, and then press the MENU button.

The Disc Navigation menu screen will appear.

2 Use the joystick to choose, “Scene”, “Edit”, “Combine”, and then

press the button.

The screen for verifying combination of scenes will appear.

3 If you are sure that you wish to combine the scenes, use the joystick to choose “YES”, and

then press the but- ton.

The selected movies will be combined into one, and the thumbnail display screen will be re- stored: The first scene before combination will appear as a thumbnail.

Note: Still images cannot be combined.

Note: If you choose “NO” on the screen for veri- fying combination, combination will be canceled. Note: To restore the separated status of a com- bined scene, divide it.

Note: With special effects, the "in" effect of the first scene in the selected range and the "out" ef- fect of the last scene will be chosen.

Note: If you combine scenes from different pro- grams (different recording dates), a message that prompts you to update the control information will appear when power is turned on and Disc Navi- gation is first started (see page 100). Note that if you choose “YES” for this message, the combined scenes will be split into separate scenes.

If you choose “NO” for this message, the scenes will be combined, but the same message will ap- pear each time Disc Navigation is started. To pre- vent this, when combining scenes from different programs, create a new play list and combine the scenes on it.

Note: Pressing the button on the screen for veri- fication will restore the thumbnail display screen.

Dividing Movies

You can divide a scene into two parts. To delete unnecessary portion of scene, first divide the scene, and then delete the unnecessary portion. You can also cut out a part of scene and use it in the play list.

1 Use the joystick to select the scene to be divided, and then press the MENU button.

The Disc Navigation menu screen will appear.

2 Use the joystick to choose, “Scene”, “Edit”,

“Divide”, and then

press the button.

3 When you reach the point where you want to divide the scene, press the SELECT button.

The screen for verifying division of scene will appear.

Status bar of scene being played back

The “Select Division Point” screen will ap- pear, and playback of the selected scene will start.

If you are sure that you

English

4 wish to divide the scene,


use the

joystick to


choose “YES”, and then


press the


button.


The scene will be divided at the specified point, and the thumbnail display screen will be re- stored, with the divided thumbnails, appearing side by side.

83

Page 83
Image 83
Hitachi DZMV270A instruction manual Combining Multiple Scenes, Dividing Movies

DZMV270A specifications

The Hitachi DZMV270A is a versatile and compact camcorder designed for a user-friendly experience while delivering high-quality video recordings. Launched as part of Hitachi's efforts to make video capture more accessible, this camcorder is loaded with features that cater to both beginners and experienced users alike.

One of the standout characteristics of the DZMV270A is its recording capability. It supports a maximum resolution of 720p, allowing users to capture crisp and detailed videos. With its built-in 30GB hard drive, the device offers ample storage space for recording hours of footage without the need for external media. This feature makes it ideal for family gatherings, vacations, or any event where memories need to be preserved.

The DZMV270A also incorporates an advanced image stabilization technology known as the Electronic Image Stabilizer (EIS). This technology significantly reduces the effects of camera shake, ensuring smooth and steady videos even when filming on the move. It's particularly beneficial for capturing dynamic events such as sports or family outings.

In addition to its recording capabilities, the DZMV270A features a 3.5-inch LCD touchscreen. This intuitive interface enables users to easily navigate through settings, review footage, and compose shots with precision. The screen is also useful for accessing the camcorder’s various modes, such as the Night mode, which enhances low-light performance, allowing users to shoot in dimly lit environments without sacrificing quality.

Audio quality is also an important consideration, and the DZMV270A excels with its built-in microphone that captures clear sound, enhancing the overall viewing experience. For those who want to create more dynamic content, the camcorder supports various connectivity options, including USB and AV output, making it easy to connect to TVs or edit videos on a computer.

Durability is another critical feature of the Hitachi DZMV270A, with a robust build that ensures it can withstand regular use. It’s lightweight and easy to carry, making it a suitable choice for users on the go.

In conclusion, the Hitachi DZMV270A combines user-friendly design with essential technologies, making it an excellent choice for anyone looking to document their life in high quality. Whether it’s for casual use or more serious applications, the DZMV270A provides a reliable solution for video capture.