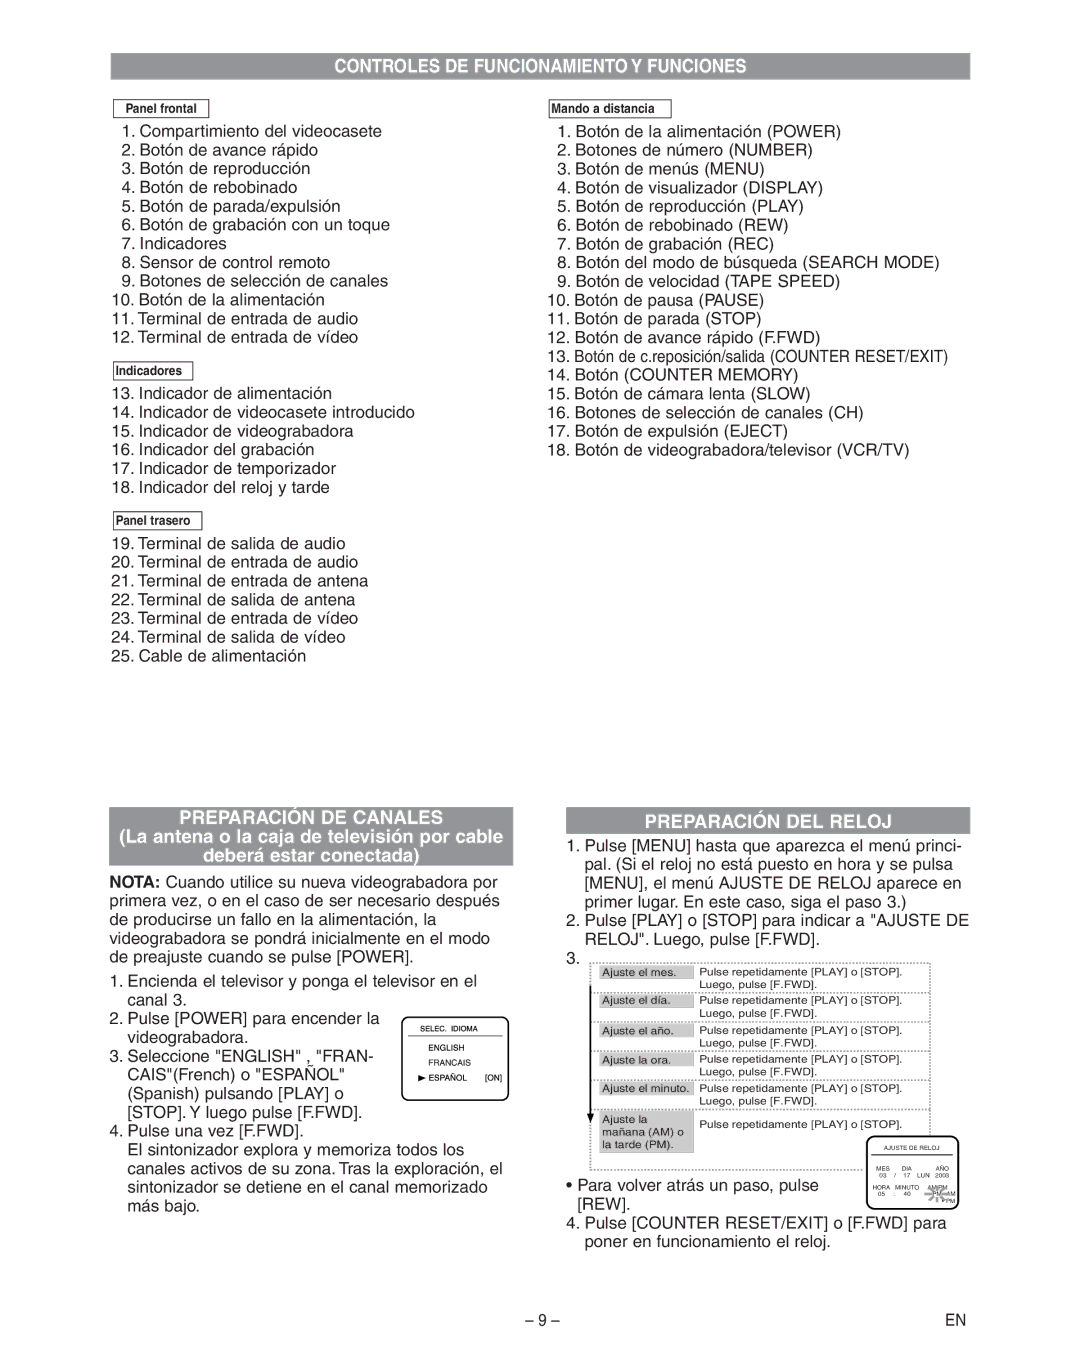
MES DIA AÑO
03 / 17 LUN 2003
• Para volver atrás un paso, pulse HORA MINUTO AM/PM
05 : 40 PM AM
[REW].PM 4. Pulse [COUNTER RESET/EXIT] o [F.FWD] para
poner en funcionamiento el reloj.

CONTROLES DE FUNCIONAMIENTO Y FUNCIONES

Panel frontal

Mando a distancia

1. Compartimiento del videocasete

1. Botón de la alimentación (POWER)

2. Botón de avance rápido

2. Botones de número (NUMBER)

3. Botón de reproducción

3. Botón de menús (MENU)

4. Botón de rebobinado

4. Botón de visualizador (DISPLAY)

5. Botón de parada/expulsión

5. Botón de reproducción (PLAY)

6. Botón de grabación con un toque

6. Botón de rebobinado (REW)

7. Indicadores

7. Botón de grabación (REC)

8. Sensor de control remoto

8. Botón del modo de búsqueda (SEARCH MODE)

9. Botones de selección de canales

9. Botón de velocidad (TAPE SPEED)

10. Botón de la alimentación

10. Botón de pausa (PAUSE)

11. Terminal de entrada de audio

11. Botón de parada (STOP)

12. Terminal de entrada de vídeo

12. Botón de avance rápido (F.FWD)


13. Botón de c.reposición/salida (COUNTER RESET/EXIT)

Indicadores


14. Botón (COUNTER MEMORY)

13. Indicador de alimentación

15. Botón de cámara lenta (SLOW)

14. Indicador de videocasete introducido

16. Botones de selección de canales (CH)

15. Indicador de videograbadora

17. Botón de expulsión (EJECT)

16. Indicador del grabación

18. Botón de videograbadora/televisor (VCR/TV)

17. Indicador de temporizador


18. Indicador del reloj y tarde


Panel trasero

19.Terminal de salida de audio

20.Terminal de entrada de audio

21.Terminal de entrada de antena

22.Terminal de salida de antena

23.Terminal de entrada de vídeo

24.Terminal de salida de vídeo

25.Cable de alimentación

PREPARACIÓN DE CANALES

(La antena o la caja de televisión por cable

deberá estar conectada)

NOTA: Cuando utilice su nueva videograbadora por primera vez, o en el caso de ser necesario después de producirse un fallo en la alimentación, la videograbadora se pondrá inicialmente en el modo de preajuste cuando se pulse [POWER].

1.Encienda el televisor y ponga el televisor en el canal 3.

2.Pulse [POWER] para encender la videograbadora.

3.Seleccione "ENGLISH" , "FRAN-

CAIS"(French) o "ESPAÑOL" (Spanish) pulsando [PLAY] o [STOP]. Y luego pulse [F.FWD].

4.Pulse una vez [F.FWD].

El sintonizador explora y memoriza todos los canales activos de su zona. Tras la exploración, el sintonizador se detiene en el canal memorizado más bajo.

PREPARACIÓN DEL RELOJ

1.Pulse [MENU] hasta que aparezca el menú princi- pal. (Si el reloj no está puesto en hora y se pulsa [MENU], el menú AJUSTE DE RELOJ aparece en primer lugar. En este caso, siga el paso 3.)

2.Pulse [PLAY] o [STOP] para indicar a "AJUSTE DE RELOJ". Luego, pulse [F.FWD].

3.

Ajuste el mes.

Pulse repetidamente [PLAY] o [STOP].


Luego, pulse [F.FWD].


Pulse repetidamente [PLAY] o [STOP].

Ajuste el día.


Luego, pulse [F.FWD].


Pulse repetidamente [PLAY] o [STOP].

Ajuste el año.


Luego, pulse [F.FWD].


Pulse repetidamente [PLAY] o [STOP].

Ajuste la ora.


Luego, pulse [F.FWD].

Ajuste el minuto. Pulse repetidamente [PLAY] o [STOP].

Luego, pulse [F.FWD].

Ajuste la

Pulse repetidamente [PLAY] o [STOP].

mañana (AM) o


la tarde (PM).


AJUSTE DE RELOJ


– 9 –

EN

Page 9
Image 9
Hitachi VT-FX795A owner manual Panel frontal Mando a distancia, Indicadores, Panel trasero

VT-FX795A specifications

The Hitachi VT-FX795A is a sophisticated VHS video cassette recorder that was developed during the peak of the VCR era. Known for its reliability and feature-rich design, this versatile unit combines functionality with user-friendly operation, making it a sought-after choice for home entertainment enthusiasts.

One of the key features of the Hitachi VT-FX795A is its Ability to play and record in various VHS formats, including standard play (SP), long play (LP), and extended play (EP). This flexibility allows users to tailor their viewing experience, maximizing recording time while maintaining acceptable playback quality. The built-in high-speed dubbing feature facilitates quick copying of tapes, making it easier to create duplicates.

The VT-FX795A is equipped with advanced video head technology, which enhances image clarity and reduces distortion. This is especially appreciated during playback, as it delivers crisp visuals and vibrant colors that can rival some modern standards. In addition, the unit incorporates a high-quality audio system, ensuring that sound fidelity is matched with visual excellence, providing a complete entertainment experience.

Convenience is another hallmark of the Hitachi VT-FX795A. The user interface is designed to be intuitive, with clearly labeled buttons and an easy-to-navigate menu system. The unit supports programmable recording, allowing users to schedule recordings effortlessly. This feature is particularly beneficial for capturing shows when away from home.

The VT-FX795A also features a front-loading mechanism, which makes inserting and ejecting tape hassle-free. This user-centric design aspect reflects Hitachi's commitment to providing seamless functionality. The unit's compact design allows it to fit neatly into home entertainment systems, while its robust construction ensures longevity.

Connectivity options on the Hitachi VT-FX795A include AV inputs and outputs, facilitating straightforward connections to other devices such as TVs, camcorders, or external audio systems, further enhancing its versatility. Additionally, the unit was designed to work seamlessly with standard RF connections, making it compatible with a wide range of broadcast sources.

In summary, the Hitachi VT-FX795A remains a notable example of classic VCR technology. With its multifaceted recording capabilities, top-tier image and sound quality, intuitive design, and extensive connectivity options, it continues to hold a place in the hearts of users who appreciate the nostalgia and practicality of VHS recording in a digital age.