HR5 specifications
Hobart HR5 is a state-of-the-art commercial dishwasher designed specifically for the needs of the foodservice industry. This machine stands out for its robust construction and versatile functionality, making it an ideal choice for restaurants, cafes, and catering businesses. One of its main features is the high-capacity washing capability, which allows operators to process a significant volume of dishware, glassware, and utensils in a short timeframe.The HR5 optimizes efficiency with its advanced wash cycle technology, which includes multiple washing programs tailored to different load types. This versatility ensures that everything from heavily soiled pots to delicate glassware can be cleaned effectively without damage. The machine is equipped with powerful spray arms that provide thorough coverage, ensuring that no residue is left behind.
Energy efficiency is another hallmark of the Hobart HR5. It incorporates several innovative technologies designed to minimize water and electricity consumption. The unit uses a heat recovery system that captures heat from the rinse water and utilizes it to preheat the incoming water, significantly reducing energy costs and environmental impact. This feature not only contributes positively to sustainability but also enhances the overall operational cost-effectiveness of the appliance.
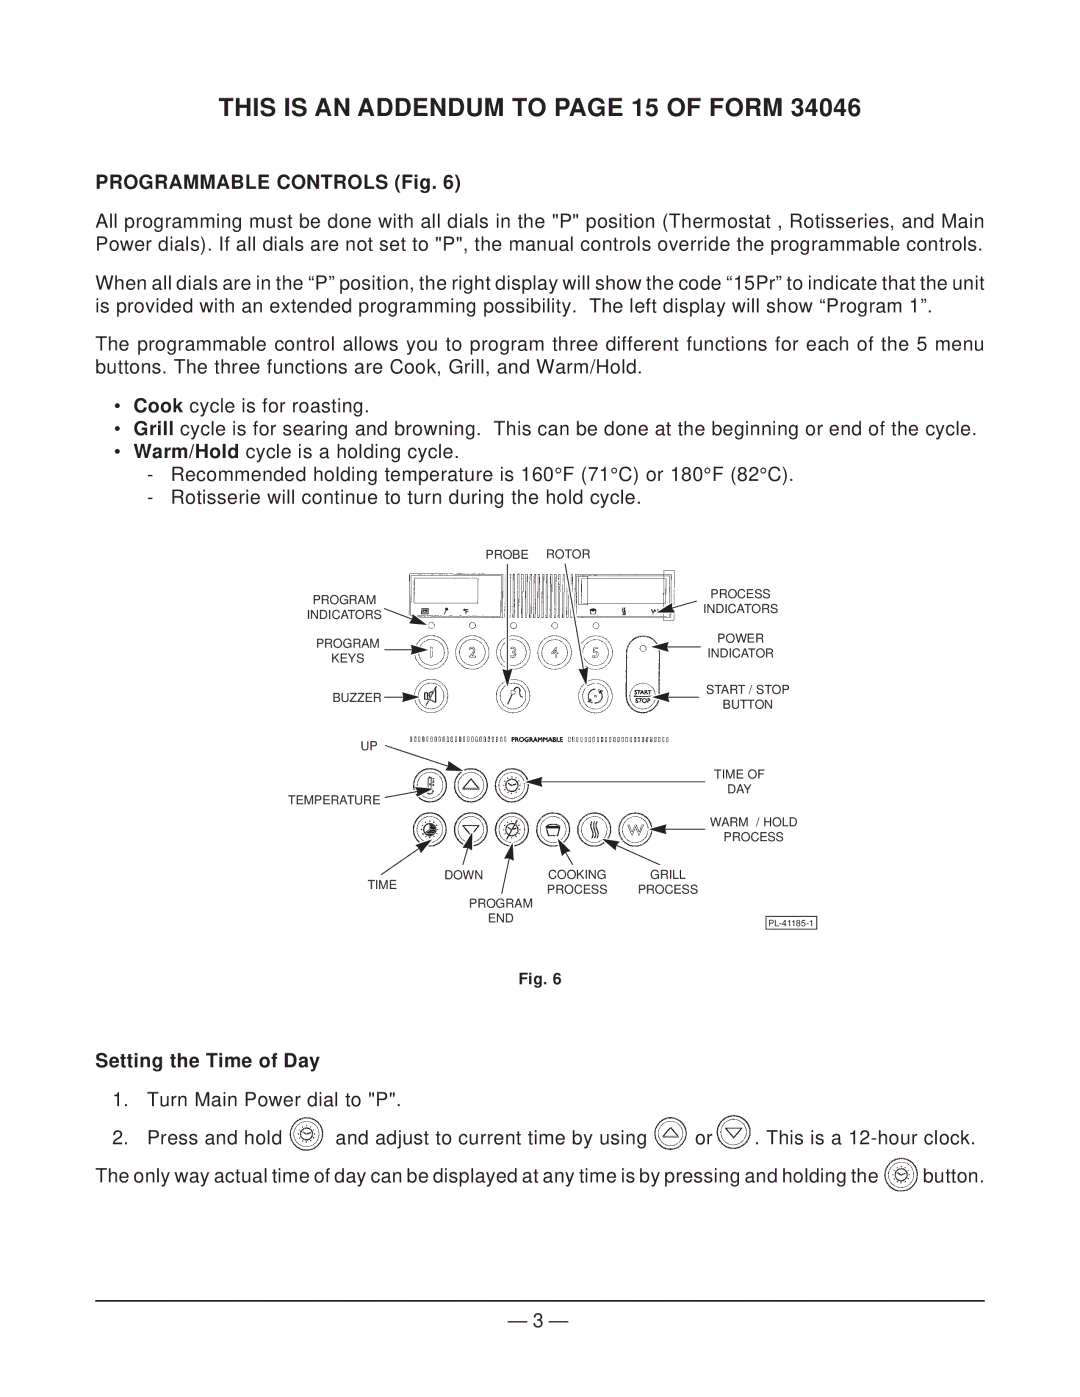
User-friendly controls are another characteristic that enhances the Hobart HR5's appeal. The intuitive digital interface allows users to quickly select the desired wash cycle and monitor the machine’s performance. Additionally, the dishwasher is designed for easy maintenance, with accessible parts that simplify cleaning and servicing.
The build quality of the HR5 is noteworthy as well. Constructed from high-grade stainless steel, it is engineered to withstand the rigors of a busy kitchen environment. The durable design not only contributes to longevity but also makes the machine easy to clean and maintain hygiene standards. Safety features, including automatic door locking during operation and a built-in air gap for backflow prevention, add another layer of reliability.
Overall, the Hobart HR5 stands out as an efficient, reliable, and user-centric solution for commercial dishwashing needs, making it an excellent investment for any foodservice establishment looking to enhance its operational efficiency while ensuring high-quality cleaning results.

