AUTOMATIC DISHWASHING
Do not allow foreign objects to enter the dishwasher, especially metallic contaminants.
Stack the dishes in a rack. Do not stack dishes one on top of another as water must have free access to all sides of every dish. Stand plates and dishes up edgewise as shown in Fig. 2. Cups, glasses, and bowls should be inverted in an
Open the hood and slide in a rack of dishes. Have the rack turned so the plates stand at right angles to the edge of the table (Fig. 2). Close the hood. With the Control Switch turned to the Auto position and the hoods closed, turn the Control Handle to ON and the timer motor will
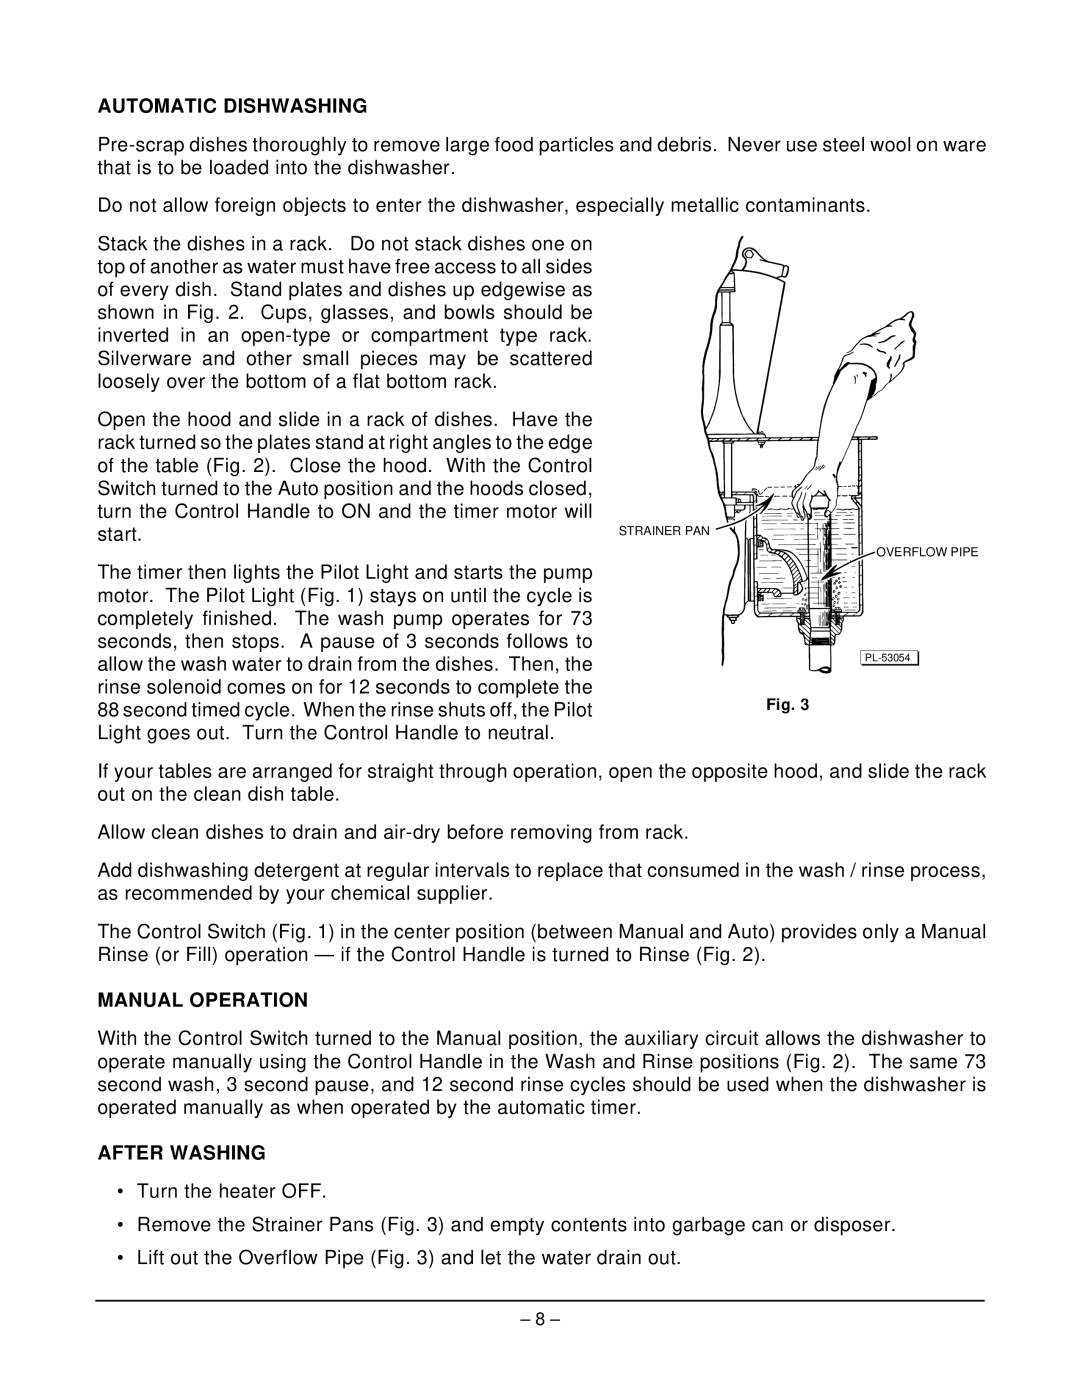
start. | STRAINER PAN |
|
OVERFLOW PIPE
The timer then lights the Pilot Light and starts the pump motor. The Pilot Light (Fig. 1) stays on until the cycle is completely finished. The wash pump operates for 73 seconds, then stops. A pause of 3 seconds follows to allow the wash water to drain from the dishes. Then, the
rinse solenoid comes on for 12 seconds to complete the
88 second timed cycle. When the rinse shuts off, the PilotFig. 3 Light goes out. Turn the Control Handle to neutral.
If your tables are arranged for straight through operation, open the opposite hood, and slide the rack out on the clean dish table.
Allow clean dishes to drain and
Add dishwashing detergent at regular intervals to replace that consumed in the wash / rinse process, as recommended by your chemical supplier.
The Control Switch (Fig. 1) in the center position (between Manual and Auto) provides only a Manual Rinse (or Fill) operation — if the Control Handle is turned to Rinse (Fig. 2).
MANUAL OPERATION
With the Control Switch turned to the Manual position, the auxiliary circuit allows the dishwasher to operate manually using the Control Handle in the Wash and Rinse positions (Fig. 2). The same 73 second wash, 3 second pause, and 12 second rinse cycles should be used when the dishwasher is operated manually as when operated by the automatic timer.
AFTER WASHING
•Turn the heater OFF.
•Remove the Strainer Pans (Fig. 3) and empty contents into garbage can or disposer.
•Lift out the Overflow Pipe (Fig. 3) and let the water drain out.
– 8 –
