17.This fan is rated for use as a window fan, however, we recommend that during rain, the fan be removed from the window.
WARNING: To Reduce The Risk of Fire or Electric Shock, Do Not Use This Fan With Any
INSTALLATION INSTRUCTIONS
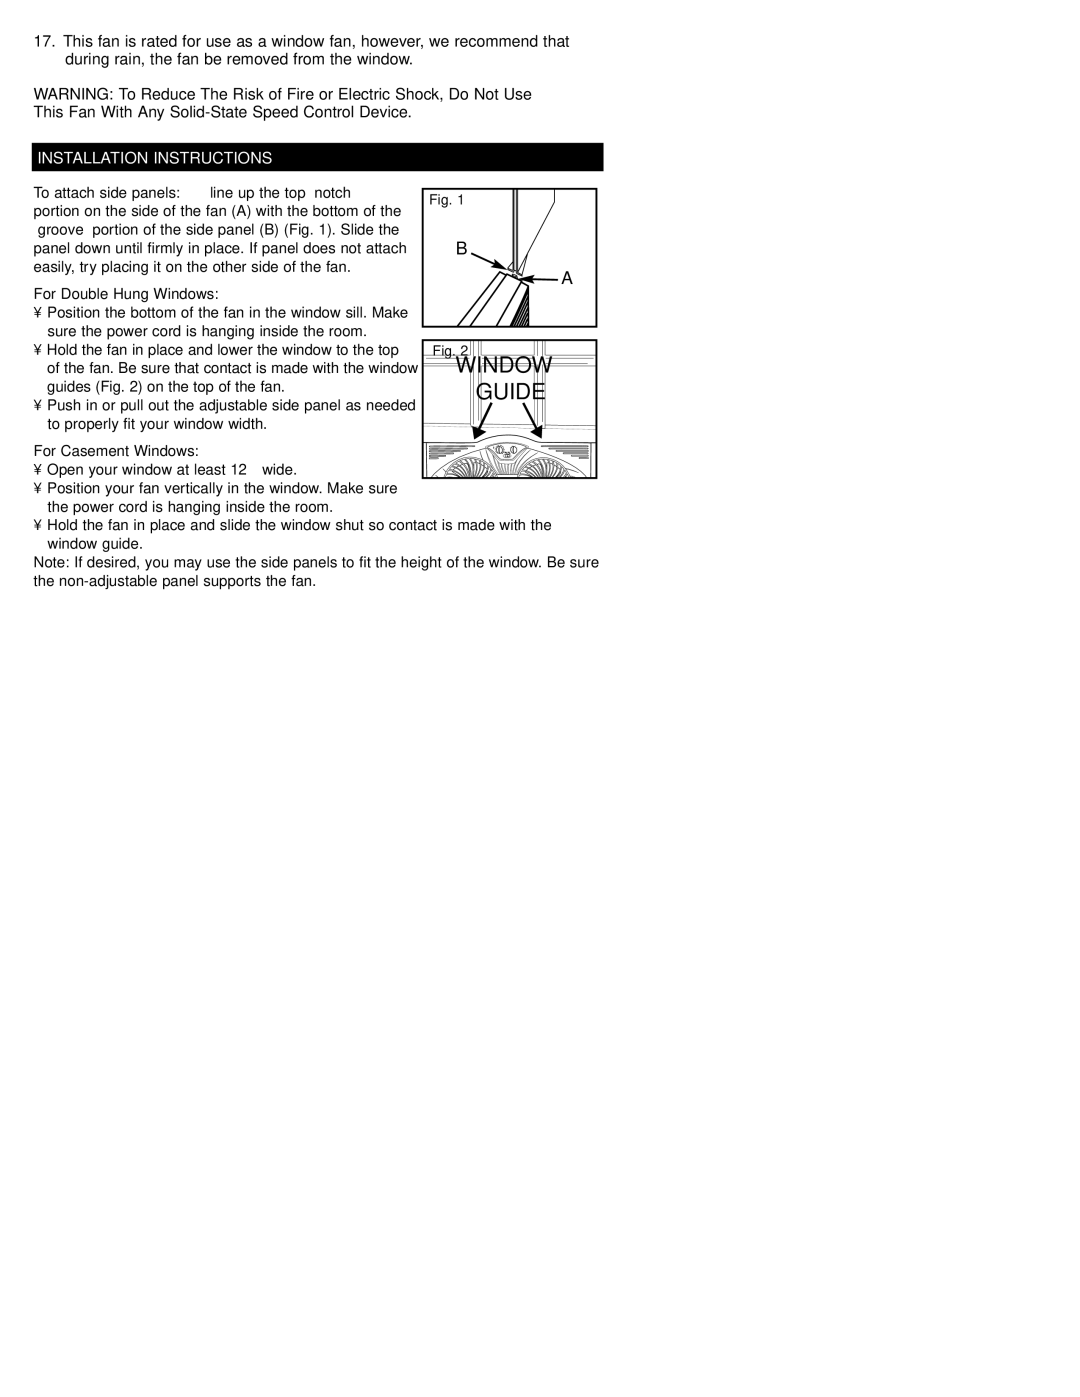
To attach side panels: line up the top “notch” |
|
|
|
|
| Fig. 1 |
| ||
portion on the side of the fan (A) with the bottom of the |
|
| ||
|
|
|
| |
“groove” portion of the side panel (B) (Fig. 1). Slide the |
|
|
|
|
panel down until firmly in place. If panel does not attach |
|
| B |
|
easily, try placing it on the other side of the fan. |
|
|
| A |
|
|
|
| |
For Double Hung Windows:
•Position the bottom of the fan in the window sill. Make sure the power cord is hanging inside the room.
• Hold the fan in place and lower the window to the top |
| Fig. 2 |
|
|
|
|
|
| |
of the fan. Be sure that contact is made with the window |
| W |
|
| INDO |
| W |
|
|
|
|
|
|
| |||||
guides (Fig. 2) on the top of the fan. |
|
|
| GUIDE |
|
|
|
| |
• Push in or pull out the adjustable side panel as needed |
|
|
|
|
|
| |||
|
|
|
|
|
|
|
| ||
to properly fit your window width. |
|
|
|
|
|
|
|
| |
|
|
|
|
|
|
|
| ||
For Casement Windows:
• Open your window at least 12” wide.
•Position your fan vertically in the window. Make sure the power cord is hanging inside the room.
•Hold the fan in place and slide the window shut so contact is made with the window guide.
Note: If desired, you may use the side panels to fit the height of the window. Be sure the