
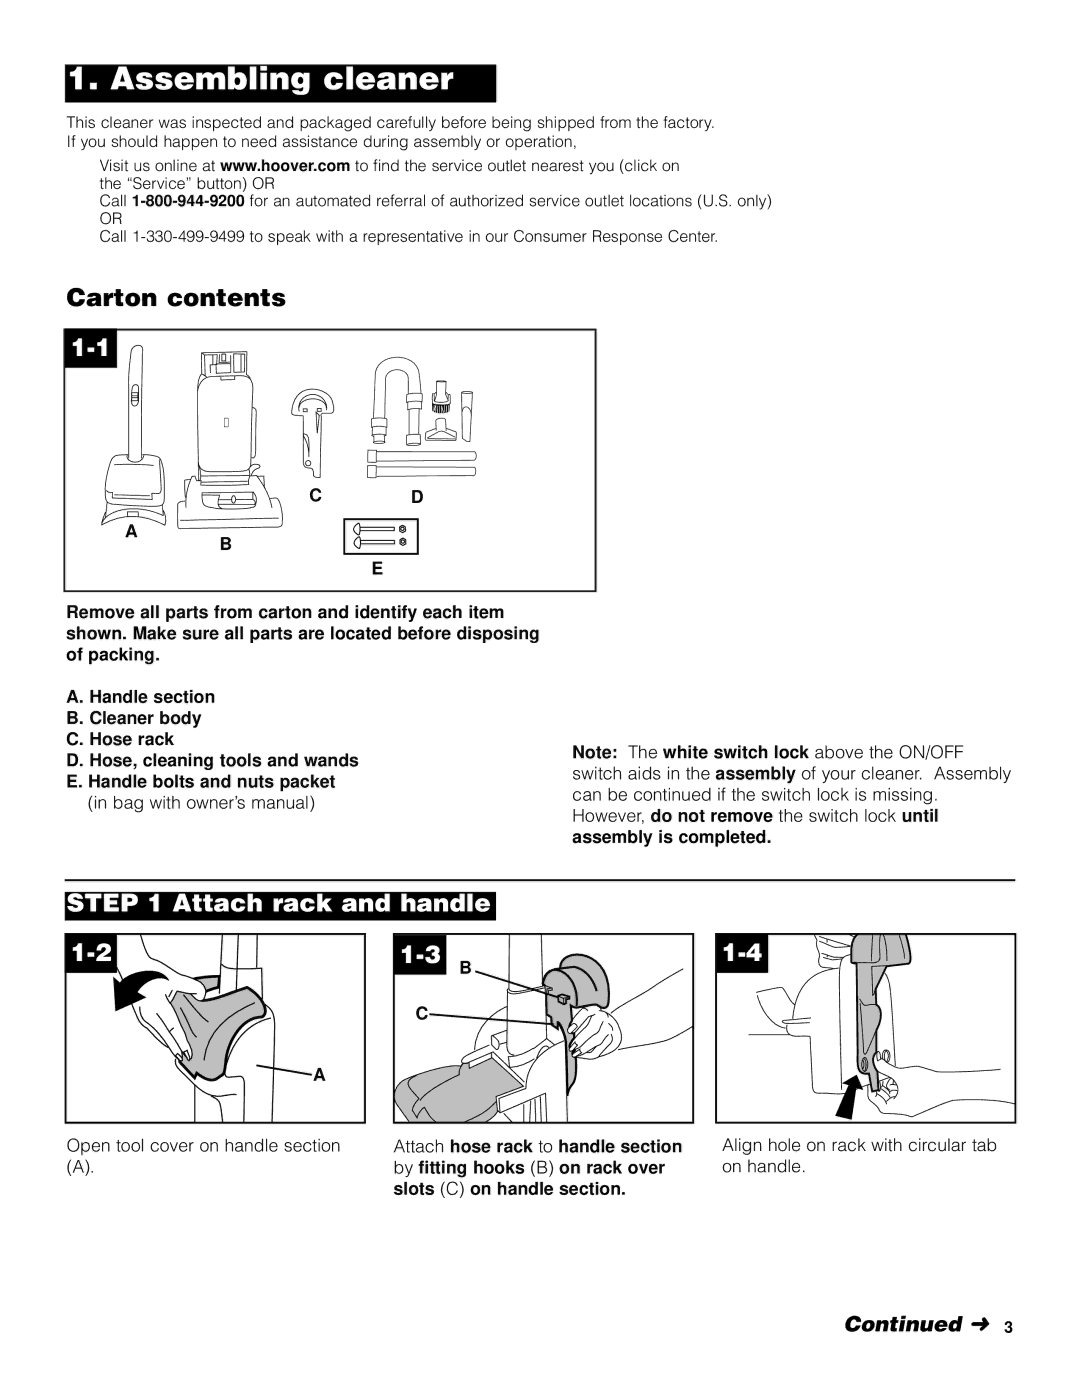
U5458910 specifications
The Hoover U5458910, a popular vacuum cleaner model, has gained significant attention for its blend of efficient performance and user-friendly features. Designed for both carpet and hard floor cleaning, this model showcases a variety of technologies aimed at enhancing cleaning efficiency and convenience.One of the standout features of the Hoover U5458910 is its powerful motor, providing strong suction capabilities that ensure dirt, dust, and debris are effectively removed from various surfaces. The vacuum utilizes a multi-cyclonic filtration system that helps separate larger particles from fine dust, ensuring that the filter remains clean for longer periods. This technology also aids in improving overall suction power, allowing for more thorough cleaning without the need for constant filter replacement.
The U5458910 comes equipped with a HEPA filter, which captures 99.97% of dust and allergens as small as 0.3 microns. This feature is particularly beneficial for allergy sufferers, as it helps maintain a healthier home environment by preventing allergens from being released back into the air. Furthermore, the filter is washable, which adds to the long-term cost-efficiency of owning this vacuum.
In terms of maneuverability, the Hoover U5458910 weighs in at a reasonable weight, making it easy to lift and carry around the home. Its ergonomic handle ensures a comfortable grip during use, reducing strain on the hands and wrists. The vacuum also features a 12-foot hose, allowing users to reach higher surfaces like drapes and ceiling corners without difficulty.
Another noteworthy characteristic is the vacuum's multiple floor settings. This feature allows users to adjust the brush roll height, making it suitable for various types of flooring, from plush carpets to delicate wood floors. Additionally, the U5458910 includes a variety of onboard tools, such as a crevice tool and dusting brush, which enhance its versatility for various cleaning tasks.
The Hoover U5458910 is designed with a clear dirt cup, making it easy to see when it’s time to empty. This feature, combined with a simple release mechanism, ensures that emptying the vacuum is a quick and mess-free process.
Overall, the Hoover U5458910 stands out for its combination of advanced technologies, user-friendly design, and powerful performance, making it a reliable choice for households looking for thorough and efficient cleaning solutions.