WH10100 specifications
The Hoover WH10100 is a versatile and powerful cordless vacuum cleaner designed to meet the cleaning demands of modern households. With its lightweight design and advanced features, the WH10100 makes cleaning effortless, especially in hard-to-reach areas.One of the standout characteristics of the Hoover WH10100 is its impressive suction power, which is enhanced by a high-efficiency motor. This ensures that dirt, dust, and pet hair are effectively removed from a variety of surfaces, including carpets, hardwood floors, and tiles. The vacuum also comes equipped with multiple suction settings, allowing users to adjust the power according to their cleaning needs.
The Hoover WH10100 features a convenient cordless design, providing the freedom to move around without the hassle of tangled cords. With a rechargeable lithium-ion battery, users can enjoy up to 35 minutes of continuous cleaning on a full charge. This ample runtime is ideal for quick clean-ups and larger cleaning tasks alike.
Another key feature of the WH10100 is its innovative brush roll technology. The vacuum is designed with a combination of hard and soft bristles, which work together to capture fine particles and larger debris effectively. This dual cleaning action ensures a thorough clean on a variety of surfaces and enhances the overall cleaning performance.
The vacuum's design also includes a large-capacity dustbin that is easy to empty, minimizing contact with dirt and simplifying the disposal process. The transparent design allows users to see when it’s time to empty the bin, promoting better maintenance and efficiency.
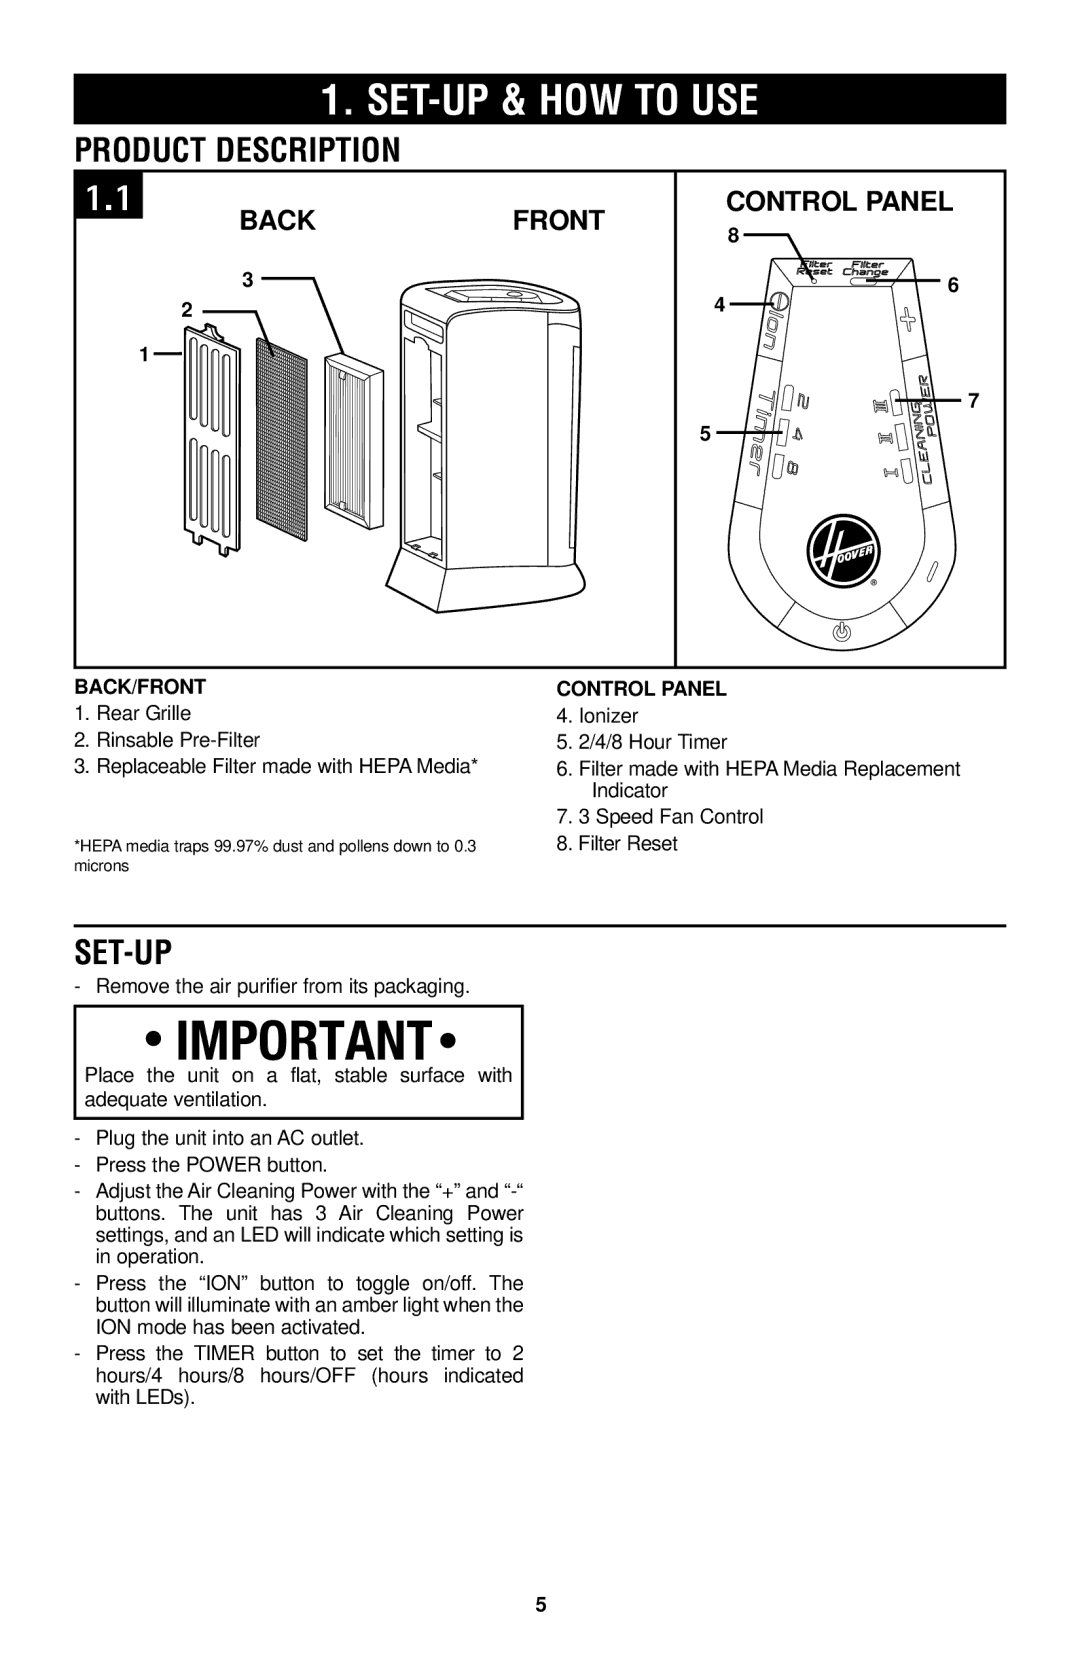
In addition to its cleaning capabilities, the Hoover WH10100 is equipped with advanced filtration technology, capturing allergens and preventing them from being released back into the air. This feature is especially beneficial for households with pets or allergy sufferers, as it helps to improve indoor air quality.
Moreover, the Hoover WH10100 has a streamlined design that allows for easy storage. The included wall mount makes it convenient to keep the vacuum charged and readily accessible, ensuring that it's always on hand for quick clean-ups.
Overall, the Hoover WH10100 combines powerful suction, versatility, and user-friendly features, making it an excellent choice for anyone looking to maintain a clean and tidy home effortlessly. Whether managing daily messes or tackling deeper cleaning tasks, the Hoover WH10100 proves to be a reliable partner in household cleaning.

