Installation
GB
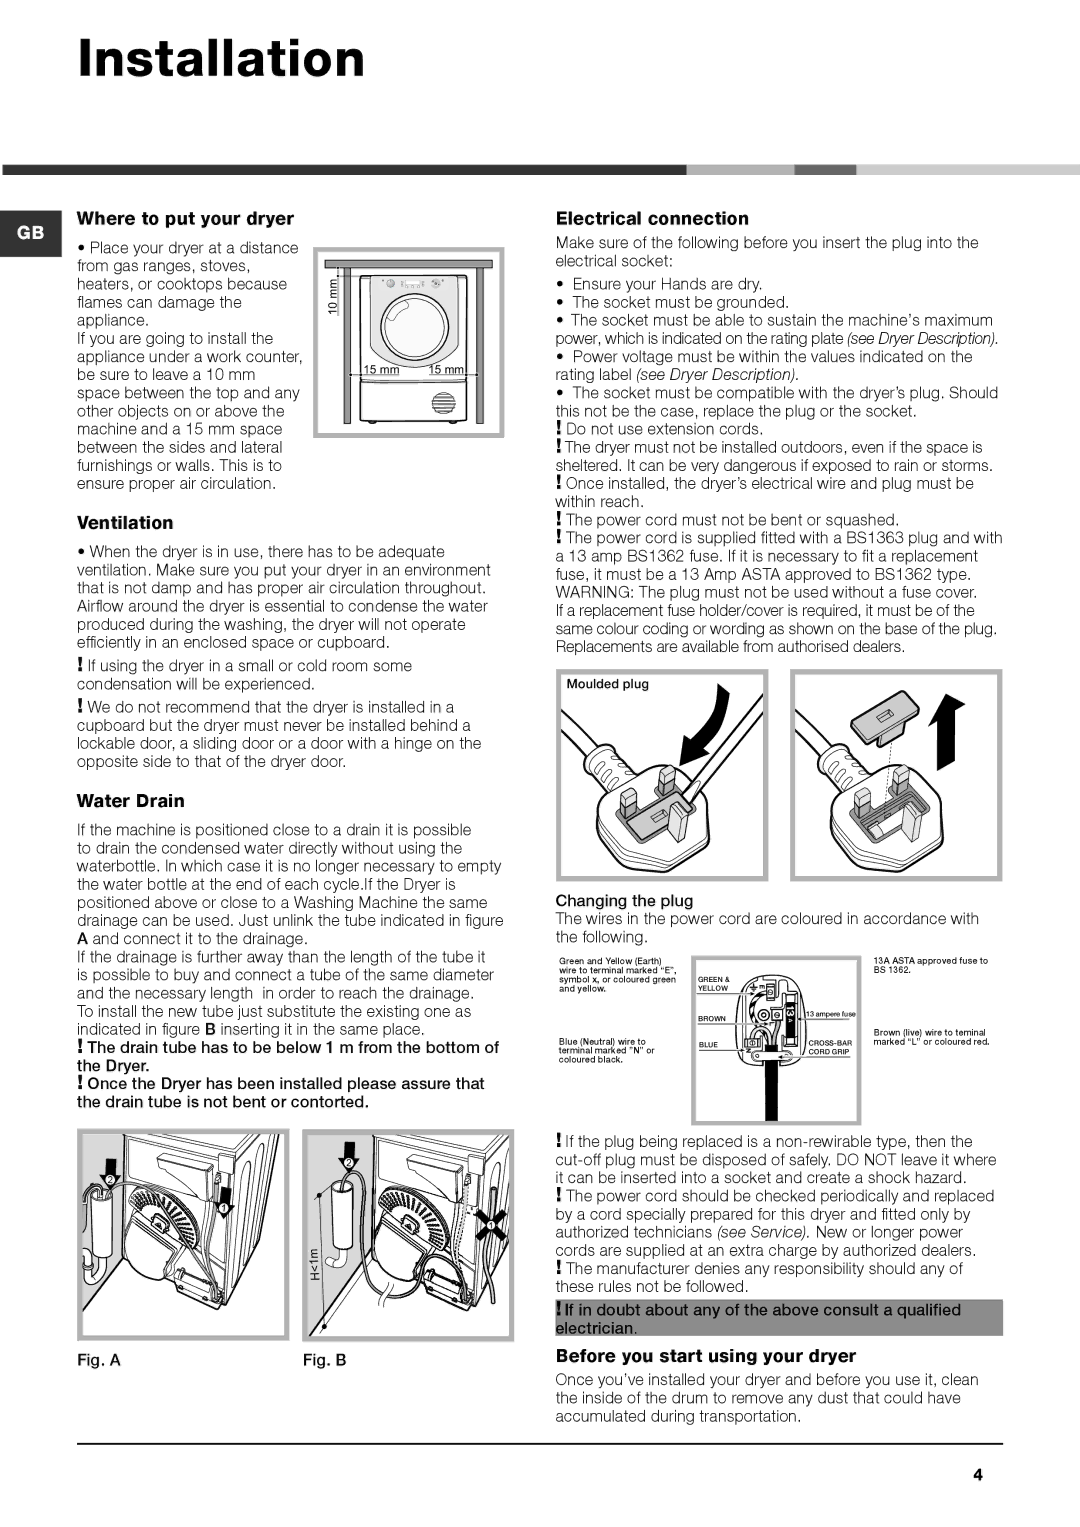
Where to put your dryer
• Place your dryer at a distance from gas ranges, stoves, heaters, or cooktops because flames can damage the appliance.
If you are going to install the appliance under a work counter, be sure to leave a 10 mm space between the top and any other objects on or above the machine and a 15 mm space between the sides and lateral furnishings or walls. This is to ensure proper air circulation.
10 mm |
|
15 mm | 15 mm |
Electrical connection
Make sure of the following before you insert the plug into the electrical socket:
• | Ensure your Hands are dry. |
• | The socket must be grounded. |
• The socket must be able to sustain the machine’s maximum | |
power, which is indicated on the rating plate (see Dryer Description). | |
• | Power voltage must be within the values indicated on the |
rating label (see Dryer Description). | |
• | The socket must be compatible with the dryer’s plug. Should |
this not be the case, replace the plug or the socket. | |
! | Do not use extension cords. |
! | The dryer must not be installed outdoors, even if the space is |
sheltered. It can be very dangerous if exposed to rain or storms. | |
! | Once installed, the dryer’s electrical wire and plug must be |
within reach. | |
Ventilation
•When the dryer is in use, there has to be adequate ventilation. Make sure you put your dryer in an environment that is not damp and has proper air circulation throughout. Airflow around the dryer is essential to condense the water produced during the washing, the dryer will not operate efficiently in an enclosed space or cupboard.
!If using the dryer in a small or cold room some condensation will be experienced.
!We do not recommend that the dryer is installed in a cupboard but the dryer must never be installed behind a lockable door, a sliding door or a door with a hinge on the opposite side to that of the dryer door.
Water Drain
If the machine is positioned close to a drain it is possible to drain the condensed water directly without using the waterbottle. In which case it is no longer necessary to empty the water bottle at the end of each cycle.If the Dryer is positioned above or close to a Washing Machine the same drainage can be used. Just unlink the tube indicated in figure A and connect it to the drainage.
If the drainage is further away than the length of the tube it is possible to buy and connect a tube of the same diameter and the necessary length in order to reach the drainage. To install the new tube just substitute the existing one as indicated in figure B inserting it in the same place.
!The drain tube has to be below 1 m from the bottom of the Dryer.
!Once the Dryer has been installed please assure that the drain tube is not bent or contorted.
2
2
Fig. A | Fig. B |
! The power cord must not be bent or squashed. |
! The power cord is supplied fitted with a BS1363 plug and with |
a 13 amp BS1362 fuse. If it is necessary to fit a replacement |
fuse, it must be a 13 Amp ASTA approved to BS1362 type. |
WARNING: The plug must not be used without a fuse cover. |
If a replacement fuse holder/cover is required, it must be of the |
same colour coding or wording as shown on the base of the plug. |
Replacements are available from authorised dealers. |
Moulded plug
Changing the plug
The wires in the power cord are coloured in accordance with the following.
Green and Yellow (Earth) |
|
| 13A ASTA approved fuse to |
wire to terminal marked “E”, |
|
| BS 1362. |
symbol x, or coloured green | GREEN & |
|
|
and yellow. | YELLOW |
|
|
| BROWN | 13 ampere fuse |
|
|
|
| |
Blue (Neutral) wire to |
|
| Brown (live) wire to teminal |
BLUE | marked “L” or coloured red. | ||
terminal marked ”N” or |
| CORD GRIP |
|
coloured black. |
|
|
|
|
|
|
|
!If the plug being replaced is a
!The power cord should be checked periodically and replaced by a cord specially prepared for this dryer and fitted only by authorized technicians (see Service). New or longer power cords are supplied at an extra charge by authorized dealers.
!The manufacturer denies any responsibility should any of these rules not be followed.
!If in doubt about any of the above consult a qualified electrician.
Before you start using your dryer
Once you’ve installed your dryer and before you use it, clean the inside of the drum to remove any dust that could have accumulated during transportation.
4