CLEANING & | MAINTENANCE |
|
|
Door Reversal
Door Handle Reversal
Note: This MUST be completed with the door OFF the product.
11.Remove the hole plugs from the right hand side of the door.
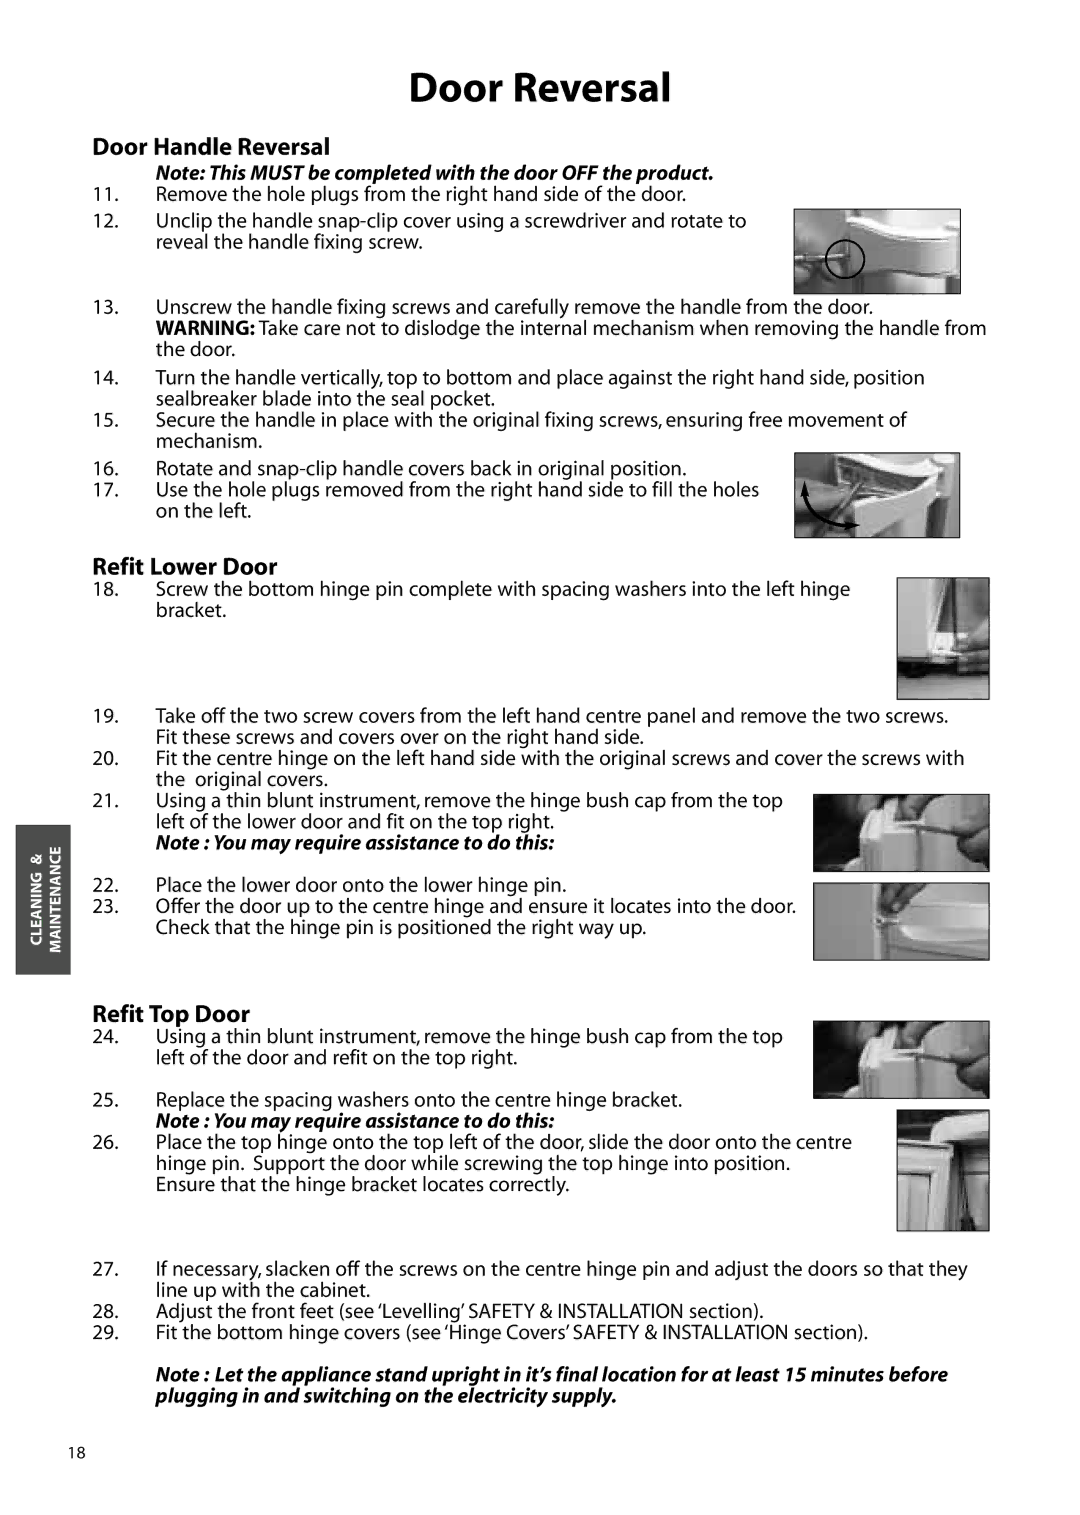
12.Unclip the handle
reveal the handle fixing screw.
13.Unscrew the handle fixing screws and carefully remove the handle from the door.
WARNING: Take care not to dislodge the internal mechanism when removing the handle from the door.
14.Turn the handle vertically, top to bottom and place against the right hand side, position sealbreaker blade into the seal pocket.
15.Secure the handle in place with the original fixing screws, ensuring free movement of mechanism.
16.Rotate and
17. Use the hole plugs removed from the right hand side to fill the holes on the left.
Refit Lower Door
18.Screw the bottom hinge pin complete with spacing washers into the left hinge bracket.
19.Take off the two screw covers from the left hand centre panel and remove the two screws. Fit these screws and covers over on the right hand side.
20.Fit the centre hinge on the left hand side with the original screws and cover the screws with the original covers.
21.Using a thin blunt instrument, remove the hinge bush cap from the top left of the lower door and fit on the top right.
Note : You may require assistance to do this:
22.Place the lower door onto the lower hinge pin.
23.Offer the door up to the centre hinge and ensure it locates into the door. Check that the hinge pin is positioned the right way up.
Refit Top Door
24.Using a thin blunt instrument, remove the hinge bush cap from the top left of the door and refit on the top right.
25.Replace the spacing washers onto the centre hinge bracket.
Note : You may require assistance to do this:
26.Place the top hinge onto the top left of the door, slide the door onto the centre hinge pin. Support the door while screwing the top hinge into position. Ensure that the hinge bracket locates correctly.
27.If necessary, slacken off the screws on the centre hinge pin and adjust the doors so that they line up with the cabinet.
28.Adjust the front feet (see ‘Levelling’ SAFETY & INSTALLATION section).
29.Fit the bottom hinge covers (see ‘Hinge Covers’ SAFETY & INSTALLATION section).
Note : Let the appliance stand upright in it’s final location for at least 15 minutes before plugging in and switching on the electricity supply.
18