
RGB747GER specifications
The Hotpoint RGB747GER is a top-tier gas range that stands out for its blend of innovative technology and user-friendly features. Designed to cater to the needs of both amateur cooks and seasoned chefs, this appliance brings professional performance into the home kitchen.One of the striking features of the RGB747GER is its powerful gas burners. With a total of five burners, including a high-output burner designed for rapid boiling, users can enjoy versatile cooking options. The burners offer precise temperature control, allowing for delicate simmering or intense frying, making it ideal for a variety of recipes. The presence of a rapid burner can reduce cooking time significantly, making it perfect for busy kitchens.
The oven capacity of the RGB747GER is generous, with a sizable interior that accommodates multiple dishes simultaneously. It features a true European convection system which ensures even cooking results by circulating hot air throughout the oven. This technology not only enhances cooking efficiency but also contributes to quicker baking times, allowing users to achieve bakery-quality results in the comfort of their homes.
Another noteworthy characteristic of the Hotpoint RGB747GER is its self-cleaning capability. The oven’s self-cleaning cycle employs high temperatures to eliminate spills and residues, making maintenance straightforward and hassle-free. This feature ensures that the oven remains clean with minimal effort, allowing users to spend more time enjoying their culinary creations.
In terms of design, the RGB747GER features a sleek and modern aesthetic with a stainless steel finish, adding a touch of elegance to any kitchen. The intuitive control knobs and front-facing display make it easy to operate, while the continuous grates offer a seamless surface for moving pots and pans effortlessly.
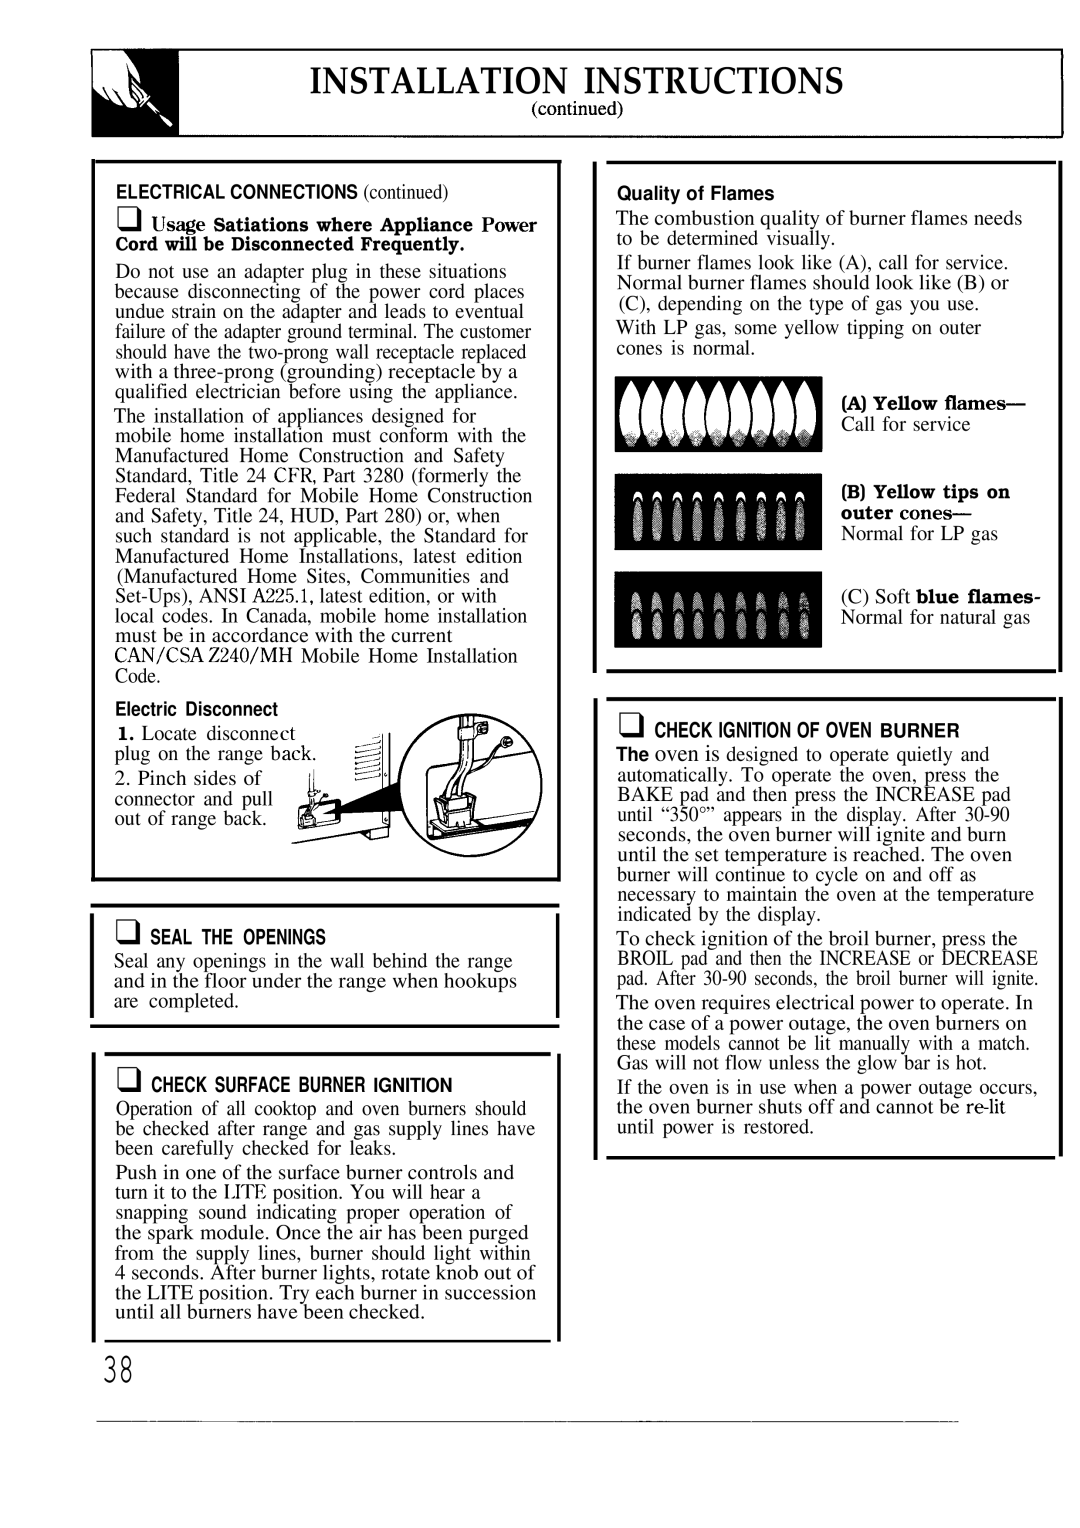
Safety is also a priority with the Hotpoint RGB747GER. It comes equipped with a flame failure device that automatically cuts off the gas supply if a burner goes out, providing peace of mind during cooking. The appliance also includes an electronic ignition system that eliminates the need for matches or lighters.
In summary, the Hotpoint RGB747GER gas range combines high performance, user-friendly features, and safety technologies. With its powerful burners, convection oven, self-cleaning capability, and elegant design, it is tailored for those who appreciate quality and efficiency in their culinary endeavors. Whether whipping up a family dinner or experimenting with gourmet recipes, this range is a reliable companion in the kitchen.