Manuals
/
HP
/
Computer Equipment
/
Handheld
HP
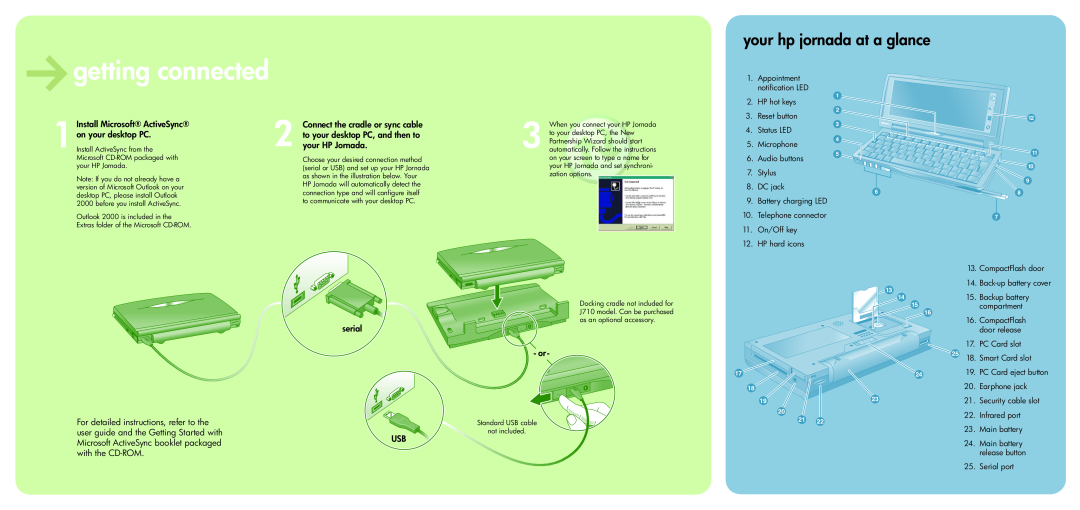
728 Handheld getting connected, Install Microsoft ¨ ActiveSync ¨, on your desktop PC, serial
Models:
728 Handheld
1
2
2
Download
2 pages
13.44 Kb
1
2
Main battery
Page 2
Image 2
Page 1
Page 2
Page 2
Image 2
Page 1
Page 2
Contents
Adjust display and volume
2 Install the main battery
Install the backup battery
settings
Connect the cradle or sync cable
Install Microsoft ¨ ActiveSync ¨
getting connected
on your desktop PC
Top
Page
Image
Contents