Protecting a Single File
1Turn the power on, and set the camera to the PLAYBACK mode (![]() page 13).
page 13).
2
3
4
5
Open the menu.
Press the MENU button, then use the ![]() ) and press the OK button.
) and press the OK button.
Press ![]() or
or ![]() to select [SINGLE], and then press the OK button.
to select [SINGLE], and then press the OK button.
Press ![]() or
or ![]() to select the image you want to protect.
to select the image you want to protect.
Press the OK button to protect the image.
When the file is locked, the ![]() displays on the LCD monitor. Repeat step 4~5 to protect images.
displays on the LCD monitor. Repeat step 4~5 to protect images.
To unlock the file, press the OK button again in step 5. The ![]() will disappear and the file is unlocked.
will disappear and the file is unlocked.
Protecting All Files
1Turn the power on, and set the camera
to the PLAYBACK mode ( page 13).
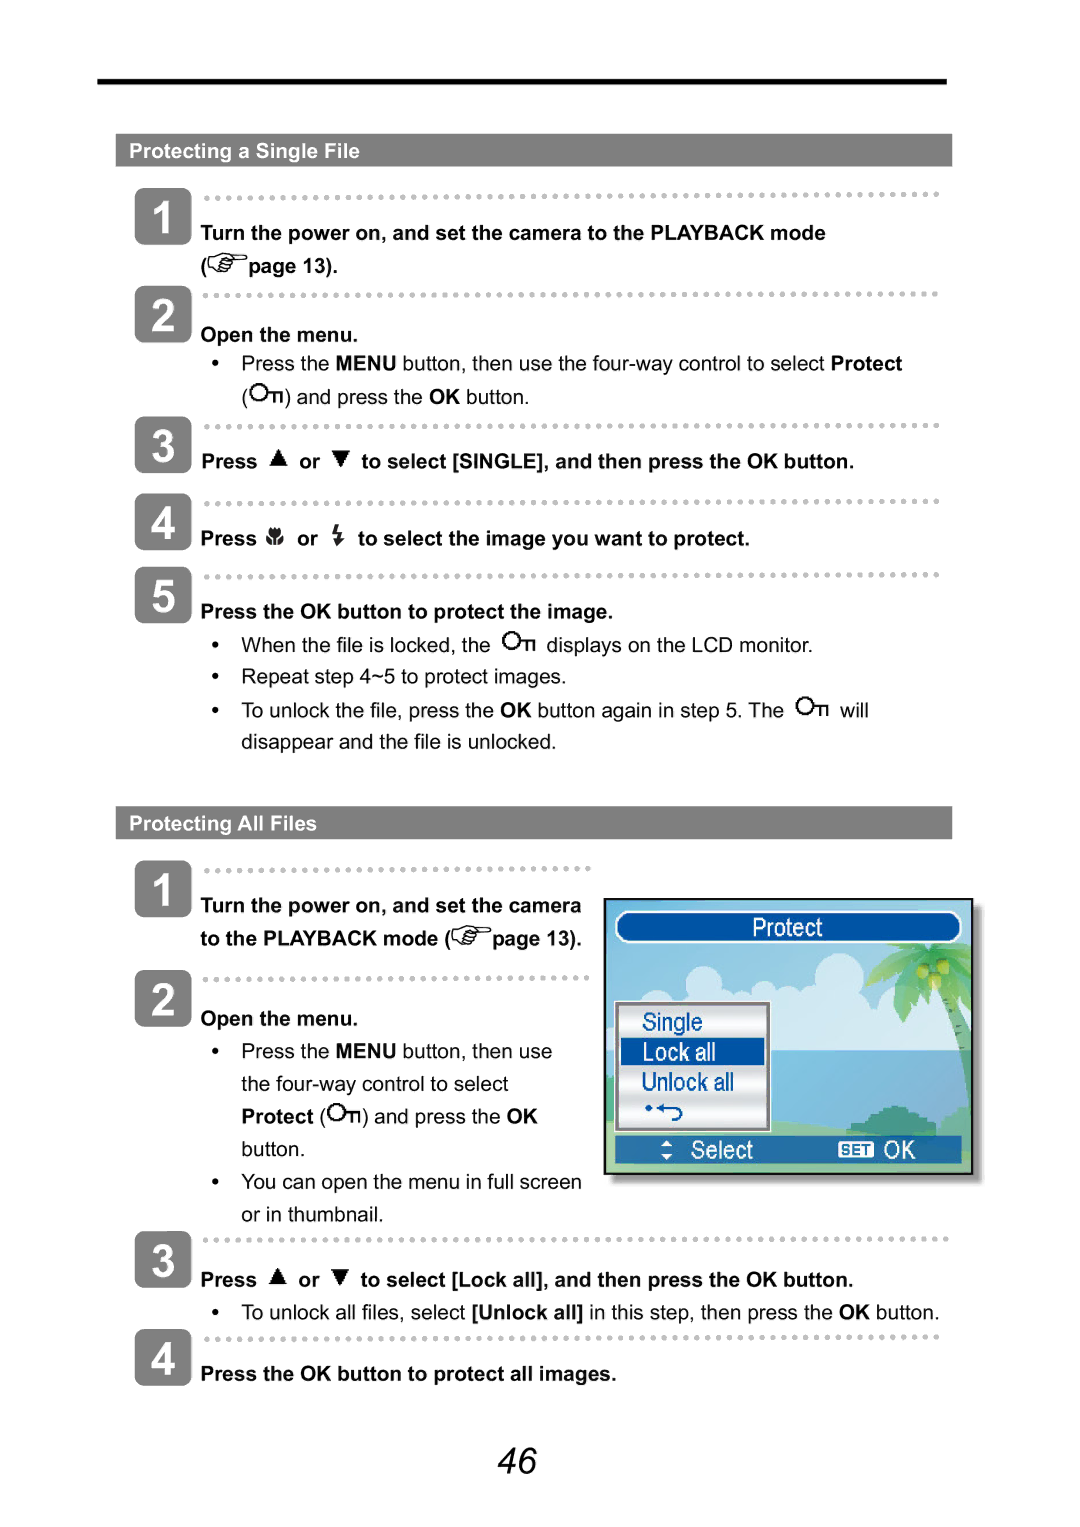
2Open the menu.
Press the MENU button, then use the ![]() ) and press the OK button.
) and press the OK button.
You can open the menu in full screen or in thumbnail.
3
4
Press  or
or  to select [Lock all], and then press the OK button.
To unlock all files, select [Unlock all] in this step, then press the OK button.
Press the OK button to protect all images.
46
