Installing an External 5.25-inch or 3.5-inch Drive
NOTE An optical drive is a
The system does not support Parallel ATA (PATA) optical drives.
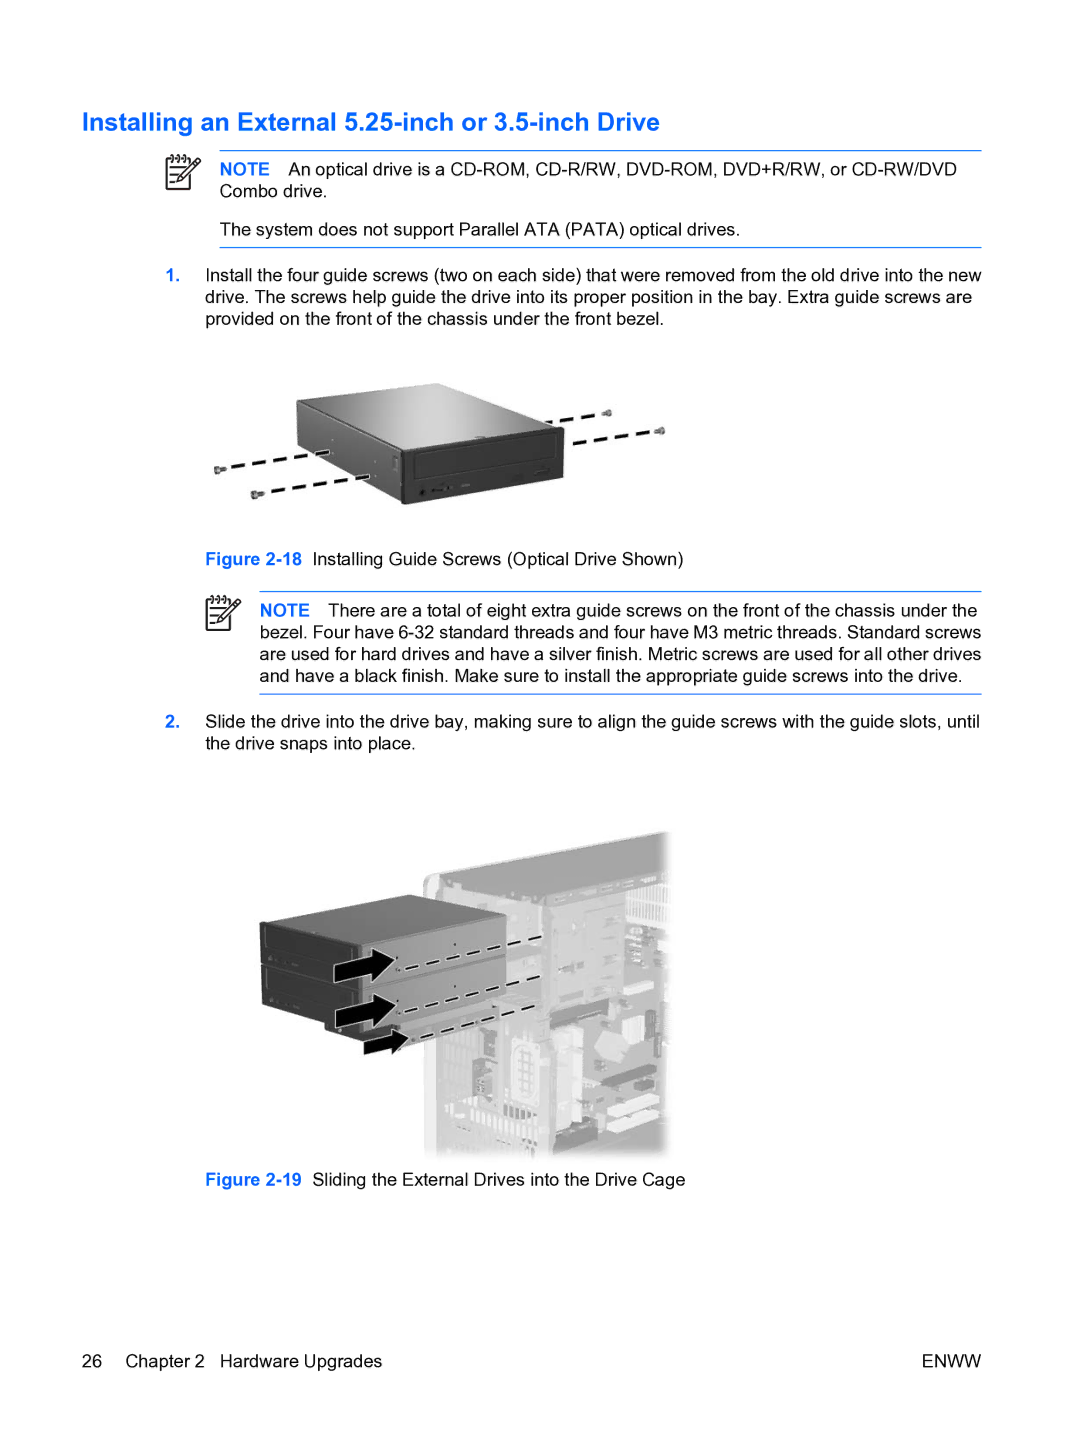
1.Install the four guide screws (two on each side) that were removed from the old drive into the new drive. The screws help guide the drive into its proper position in the bay. Extra guide screws are provided on the front of the chassis under the front bezel.
Figure 2-18 Installing Guide Screws (Optical Drive Shown)
NOTE There are a total of eight extra guide screws on the front of the chassis under the bezel. Four have
2.Slide the drive into the drive bay, making sure to align the guide screws with the guide slots, until the drive snaps into place.
Figure 2-19 Sliding the External Drives into the Drive Cage
26 Chapter 2 Hardware Upgrades | ENWW |