Chapter 1
Tips for scanning transparent items
●To scan items larger than those that the transparent materials adapter (TMA) or template accepts, place the transparency on the scanner glass, place a white sheet of paper on top of the transparency, and then scan as described in Scan pictures.
●When scanning a 35 mm slide or negative, the scanner software automatically enlarges the image to approximately 10 cm x 15 cm (4 x 6 inches). Medium and large format negatives are also scaled to a larger final size. If you want the final image to be larger or smaller, use the Resize tool in the scanner software to set the scaling to the final size that you select. The scanner will scan the item to the size that you select and adjust the scan resolution as appropriate.
●You can configure the scan settings for either fast scanning or
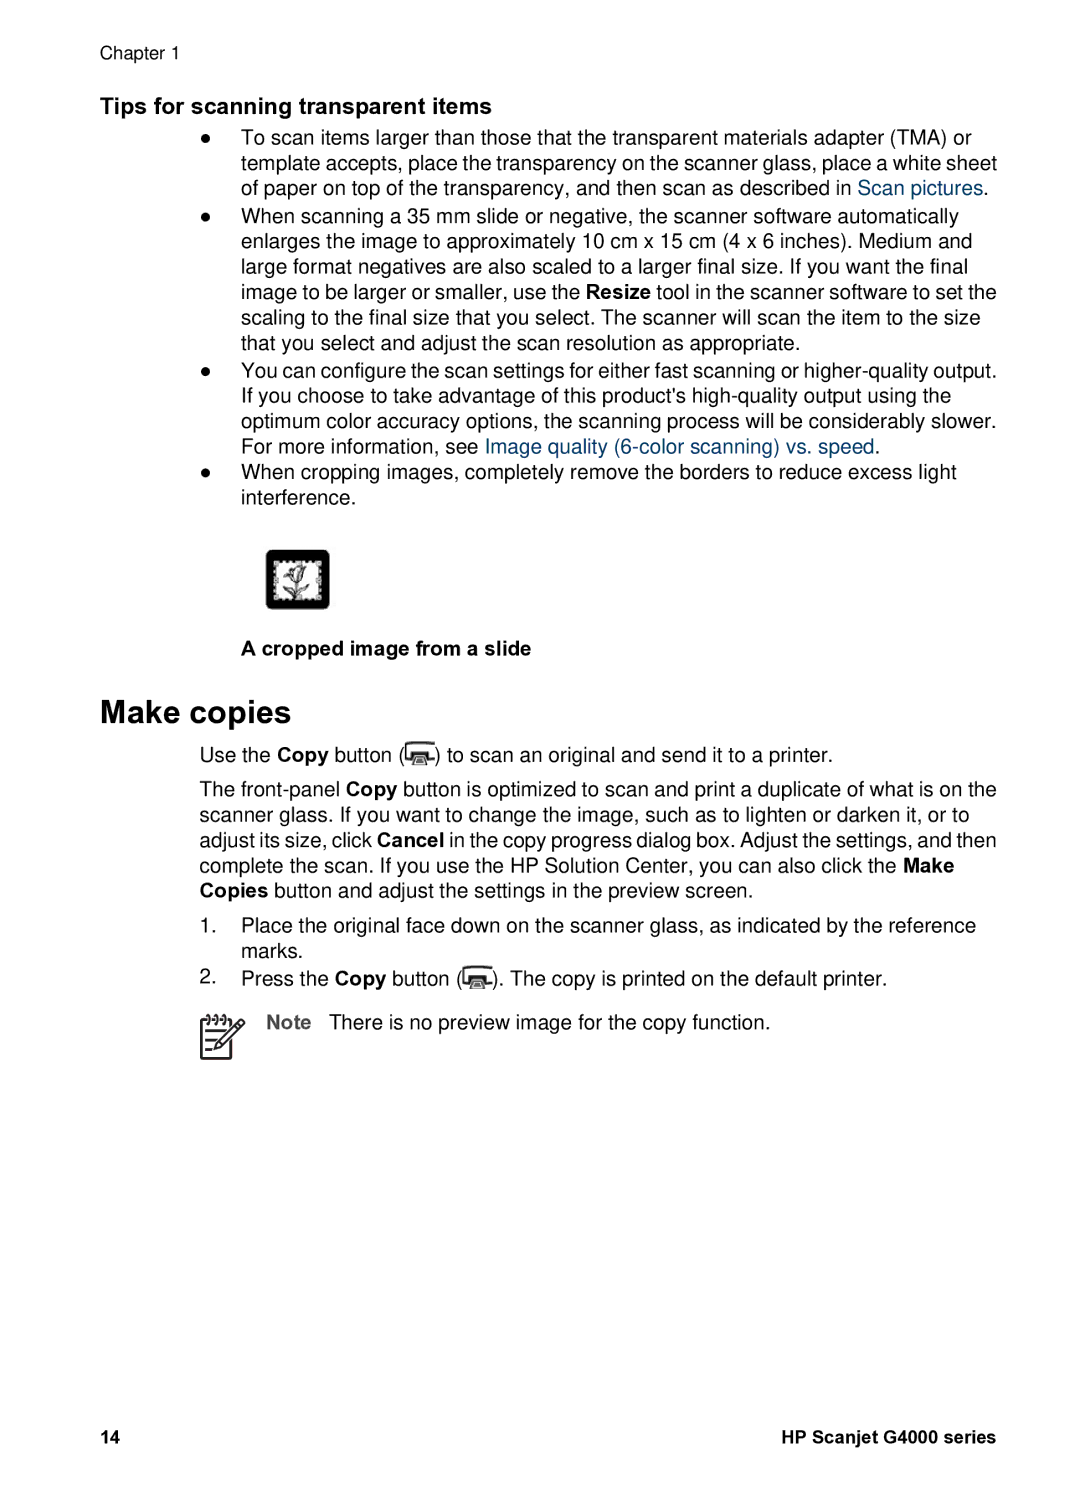
●When cropping images, completely remove the borders to reduce excess light interference.
A cropped image from a slide
Make copies
Use the Copy button (![]() ) to scan an original and send it to a printer.
) to scan an original and send it to a printer.
The
1.Place the original face down on the scanner glass, as indicated by the reference marks.
2.Press the Copy button (![]() ). The copy is printed on the default printer.
). The copy is printed on the default printer.
Note There is no preview image for the copy function.
14 | HP Scanjet G4000 series |