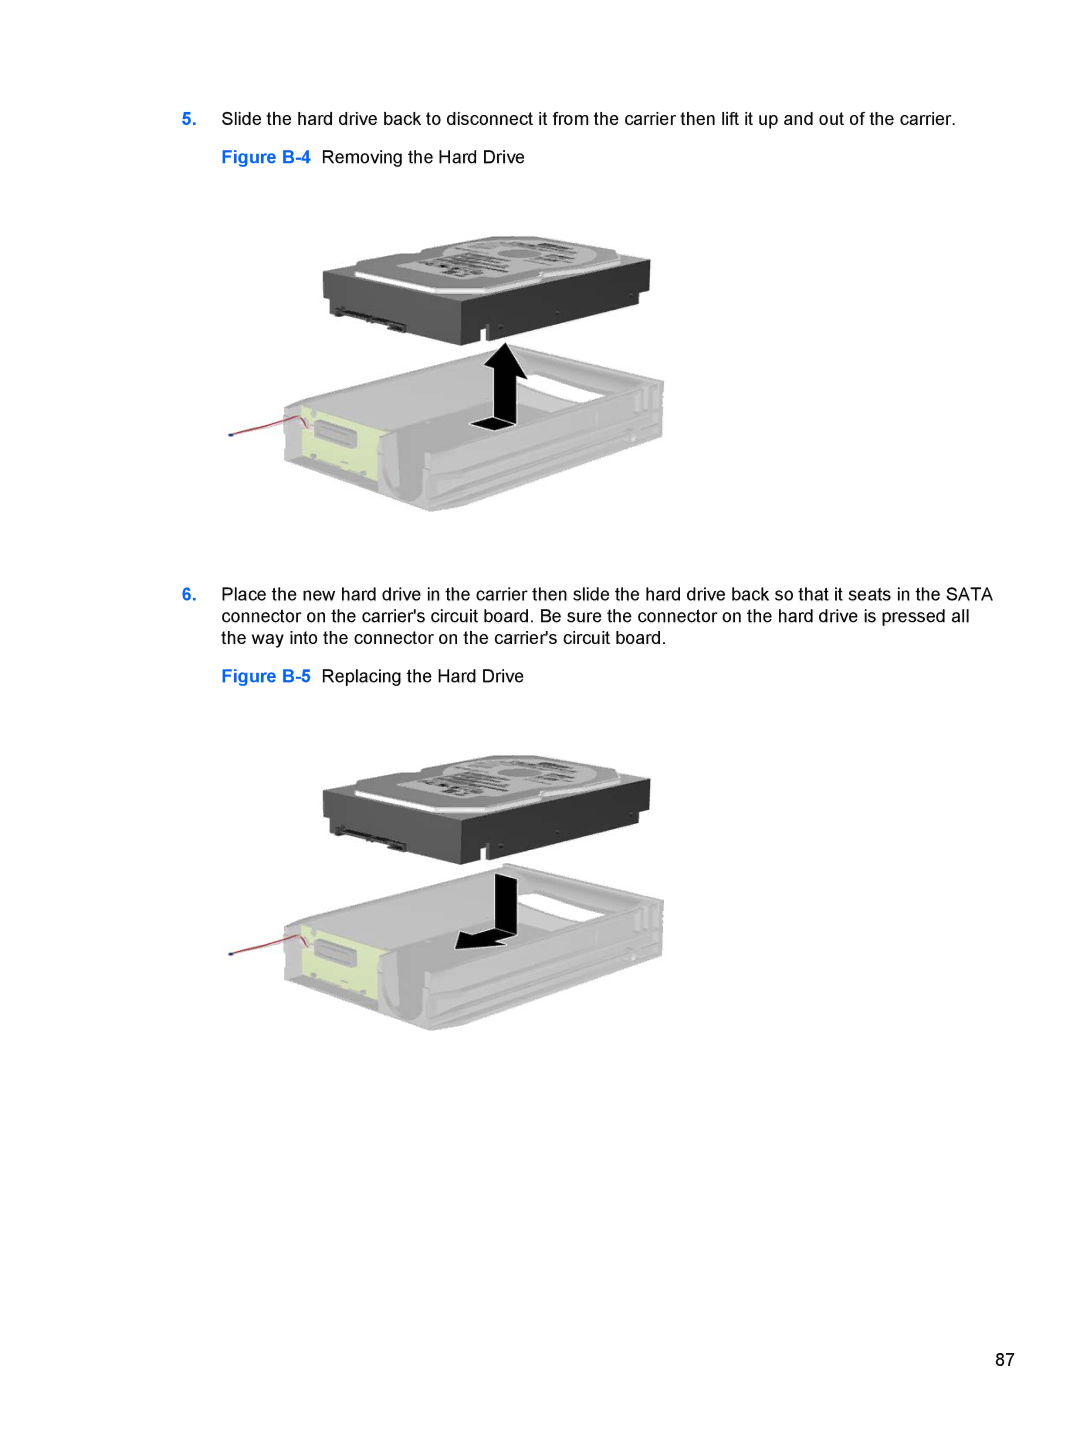
5.Slide the hard drive back to disconnect it from the carrier then lift it up and out of the carrier. Figure
6.Place the new hard drive in the carrier then slide the hard drive back so that it seats in the SATA connector on the carrier's circuit board. Be sure the connector on the hard drive is pressed all the way into the connector on the carrier's circuit board.
Figure B-5 Replacing the Hard Drive
87
