Identifying information is located on the
Installing a Cable Lock
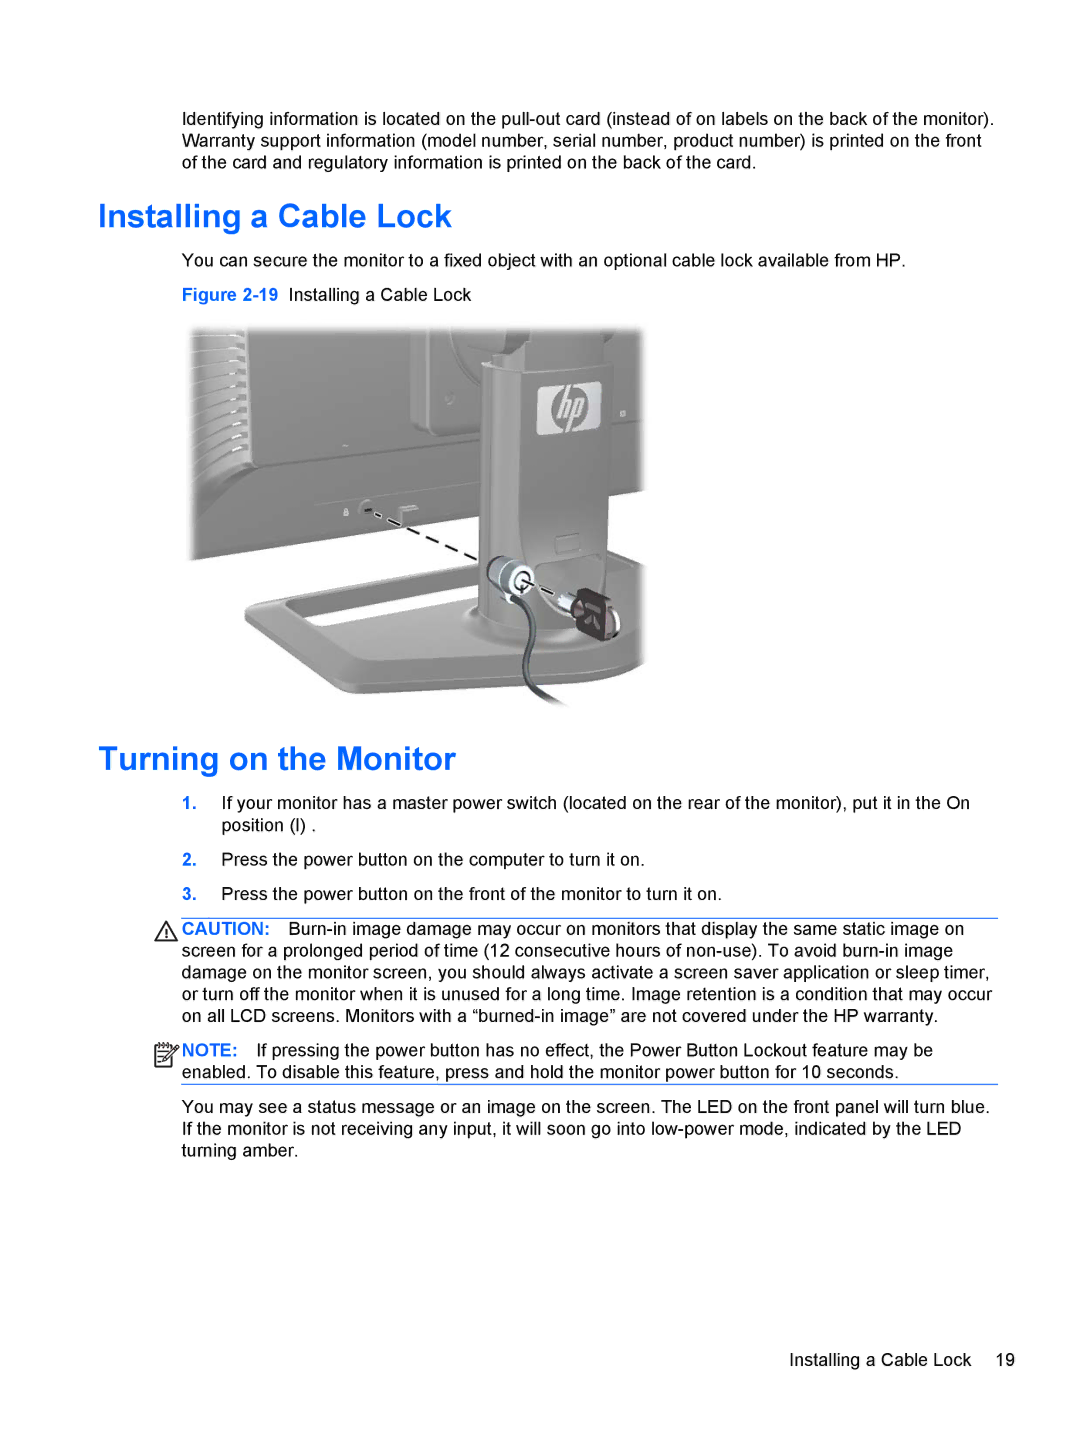
You can secure the monitor to a fixed object with an optional cable lock available from HP.
Figure 2-19 Installing a Cable Lock
Turning on the Monitor
1.If your monitor has a master power switch (located on the rear of the monitor), put it in the On position (I) .
2.Press the power button on the computer to turn it on.
3.Press the power button on the front of the monitor to turn it on.
![]() CAUTION:
CAUTION:
![]()
![]()
![]()
![]() NOTE: If pressing the power button has no effect, the Power Button Lockout feature may be enabled. To disable this feature, press and hold the monitor power button for 10 seconds.
NOTE: If pressing the power button has no effect, the Power Button Lockout feature may be enabled. To disable this feature, press and hold the monitor power button for 10 seconds.
You may see a status message or an image on the screen. The LED on the front panel will turn blue. If the monitor is not receiving any input, it will soon go into
Installing a Cable Lock 19
