Turning the subwoofer ON for the first time
5
On the subwoofer, check that the phase switch is at 0 degrees, the volume level knob is at the minimum, and the crossover is at 90 Hz if using the subwoofer’s crossover. Run the power cord from the wall to the subwoofer and flip the power switch to the
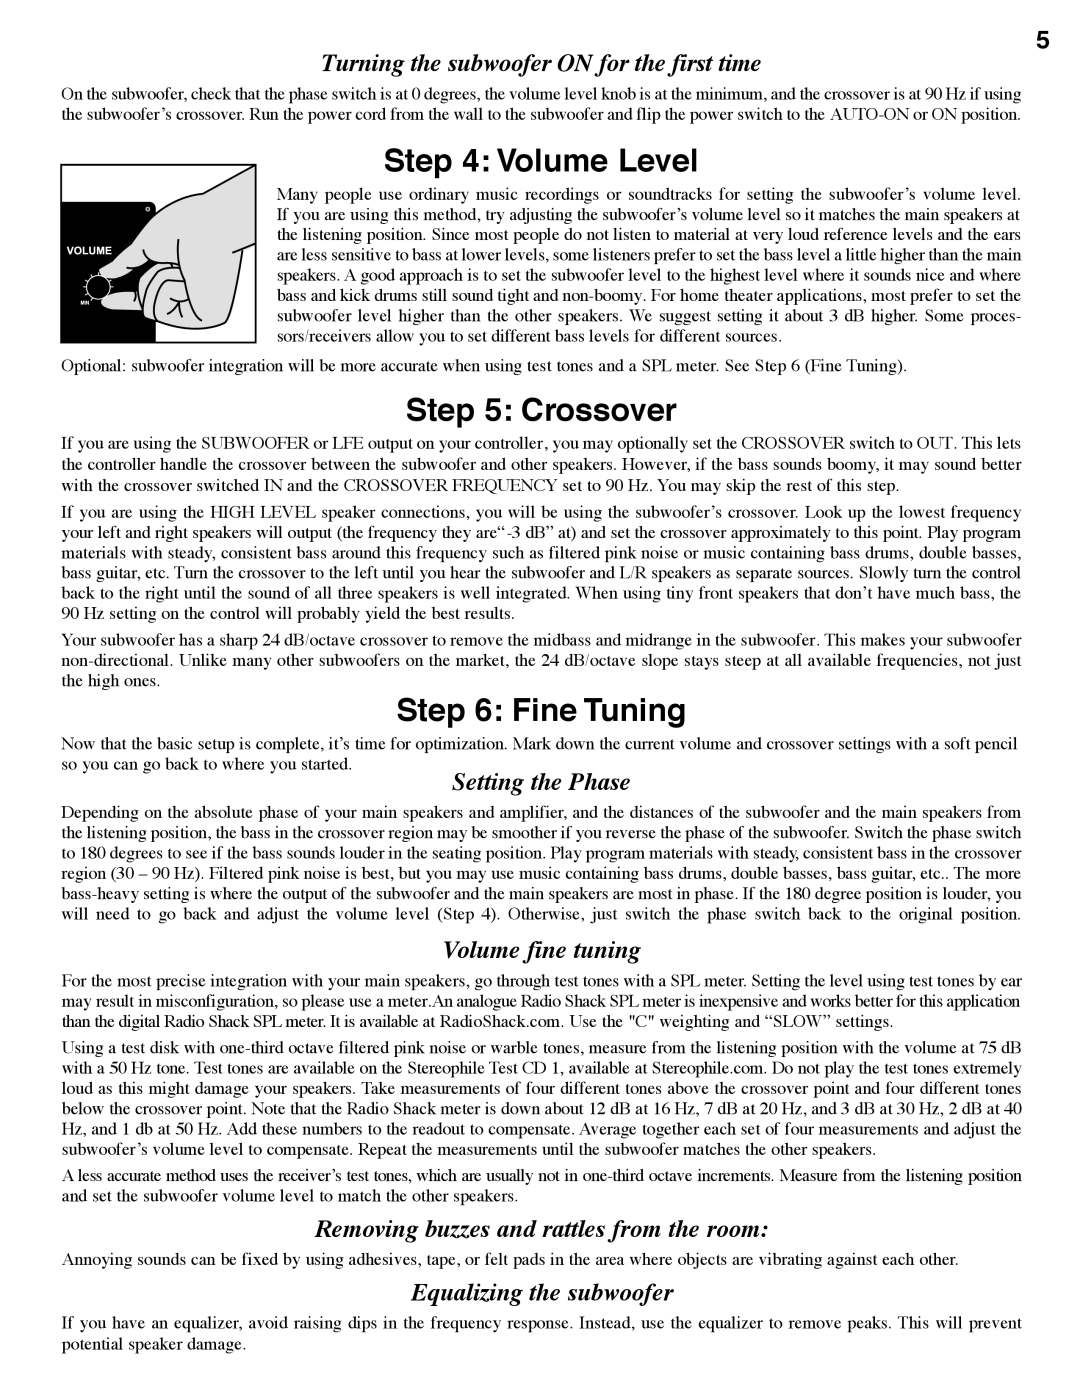
Step 4: Volume Level
Many people use ordinary music recordings or soundtracks for setting the subwoofer’s volume level. If you are using this method, try adjusting the subwoofer’s volume level so it matches the main speakers at the listening position. Since most people do not listen to material at very loud reference levels and the ears
are less sensitive to bass at lower levels, some listeners prefer to set the bass level a little higher than the main
speakers. A good approach is to set the subwoofer level to the highest level where it sounds nice and where
bass and kick drums still sound tight and
Optional: subwoofer integration will be more accurate when using test tones and a SPL meter. See Step 6 (Fine Tuning).
Step 5: Crossover
If you are using the SUBWOOFER or LFE output on your controller, you may optionally set the CROSSOVER switch to OUT. This lets the controller handle the crossover between the subwoofer and other speakers. However, if the bass sounds boomy, it may sound better with the crossover switched IN and the CROSSOVER FREQUENCY set to 90 Hz. You may skip the rest of this step.
If you are using the HIGH LEVEL speaker connections, you will be using the subwoofer’s crossover. Look up the lowest frequency your left and right speakers will output (the frequency they
Your subwoofer has a sharp 24 dB/octave crossover to remove the midbass and midrange in the subwoofer. This makes your subwoofer
Step 6: Fine Tuning
Now that the basic setup is complete, it’s time for optimization. Mark down the current volume and crossover settings with a soft pencil so you can go back to where you started.
Depending on the absolute phase of your main speakers and amplifier, and the distances of the subwoofer and the main speakers from the listening position, the bass in the crossover region may be smoother if you reverse the phase of the subwoofer. Switch the phase switch to 180 degrees to see if the bass sounds louder in the seating position. Play program materials with steady, consistent bass in the crossover region (30 – 90 Hz). Filtered pink noise is best, but you may use music containing bass drums, double basses, bass guitar, etc.. The more
Volume fine tuning
For the most precise integration with your main speakers, go through test tones with a SPL meter. Setting the level using test tones by ear may result in misconfiguration, so please use a meter.An analogue Radio Shack SPL meter is inexpensive and works better for this application than the digital Radio Shack SPL meter. It is available at RadioShack.com. Use the "C" weighting and “SLOW” settings.
Using a test disk with
A less accurate method uses the receiver’s test tones, which are usually not in
Removing buzzes and rattles from the room:
Annoying sounds can be fixed by using adhesives, tape, or felt pads in the area where objects are vibrating against each other.
Equalizing the subwoofer
If you have an equalizer, avoid raising dips in the frequency response. Instead, use the equalizer to remove peaks. This will prevent potential speaker damage.