1
Quick Disconnect Mounting Bracket | |
|
Thank You
Thank you for choosing Humminbird®, America's #1 name in fishfinders. Humminbird® has built its reputation by designing and manufacturing
Your Humminbird® accessory is designed for
Contact our Customer Resource Center at
Installation Overview
Following are instructions for the installation of this accessory. Before you start installation, we encourage you to read these instructions carefully in order to get the full benefit from your Humminbird® accessory.
If you find that any items are missing from your installatio n kit, call our Customer Resource Center at
To install your Quick Disconnect mounting system, you will need a drill, your control head, the mounting bracket, the connector holder, the power cable, the mounting hardware, a 9/64" drill bit, a 1" hole saw, a Phillips and a
Installation
Perform the procedures in the following sections to install the Wide Quick Disconnect mounting system on your boat.
1. Determine Where to Mount
Begin the installation by determining where to mount the control head. Consider the following to determine the best location:
•To check the location planned for the control head, test run the cables for power, transducer and Temp/Speed accessory (if applicable).
•There are two ways to route the cables to the unit: through a hole in the mounting surface underneath the mounting bracket, or from a hole outside the mounting bracket. Routing the cables under the mounting bracket provides maximum weather protection; this may not be feasible, however, if the area under the control head is inaccessible. In this case, route the cables through a hole at another location and cover with the supplied hole cover.
•The mounting surface should be stable enough to protect the control head from excessive wave shock and vibration, and should provide visibility while in operation.
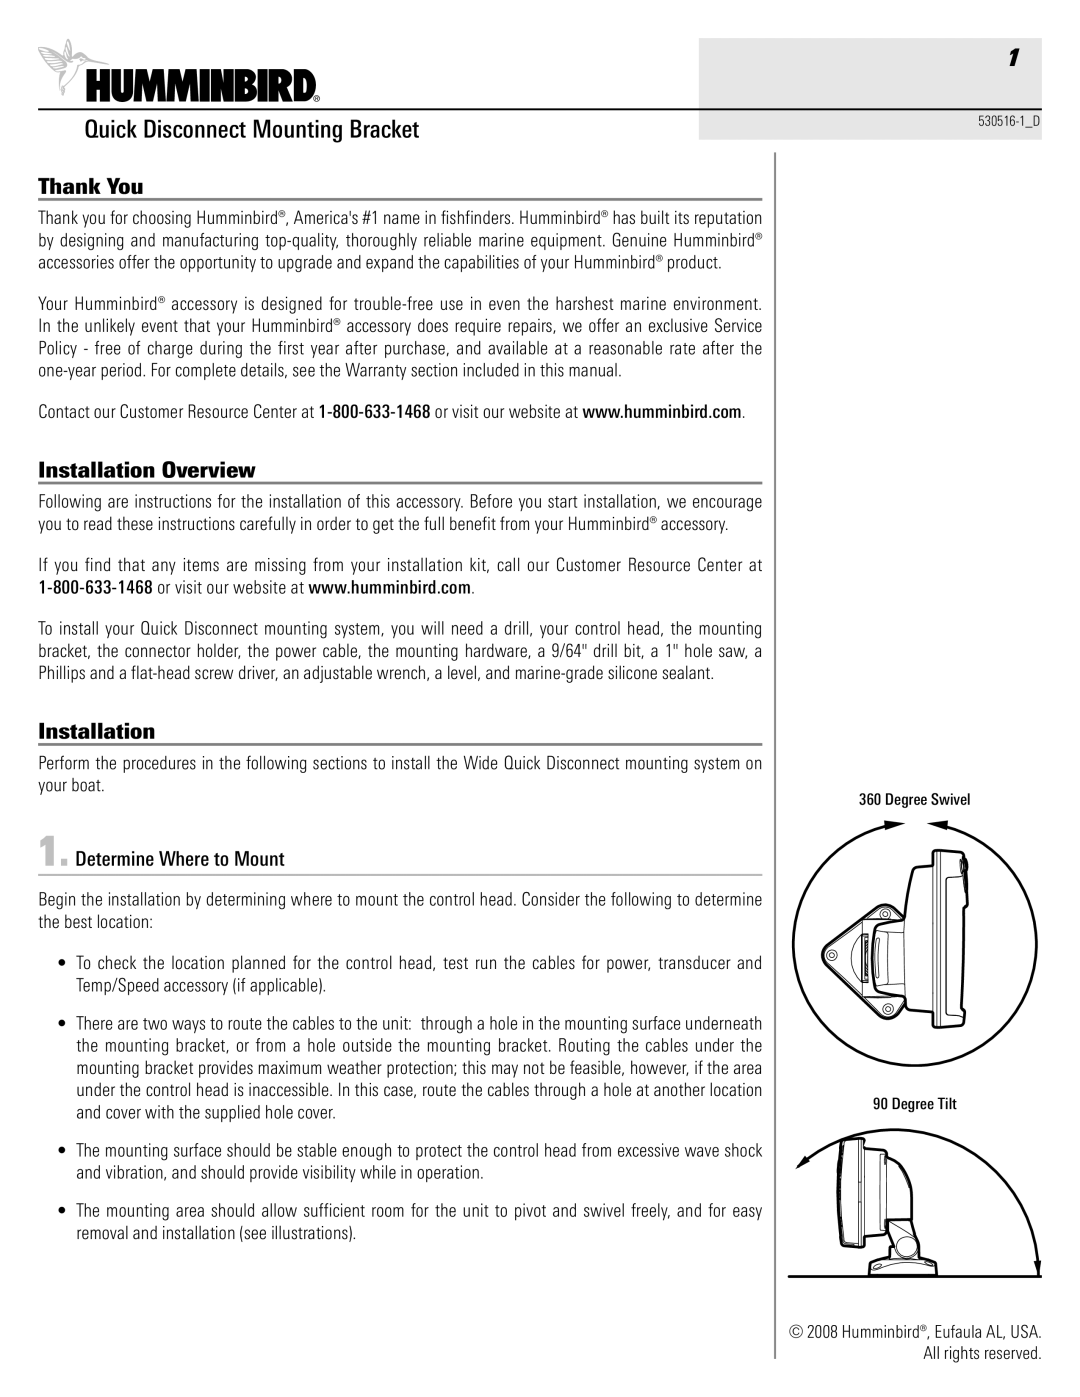
•The mounting area should allow sufficient room for the unit to pivot and swivel freely, and for easy removal and installation (see illustrations).
360 Degree Swivel
90 Degree Tilt
© 2008 Humminbird®, Eufaula AL, USA. All rights reserved.