2
Quick Disconnect Mounting Bracket
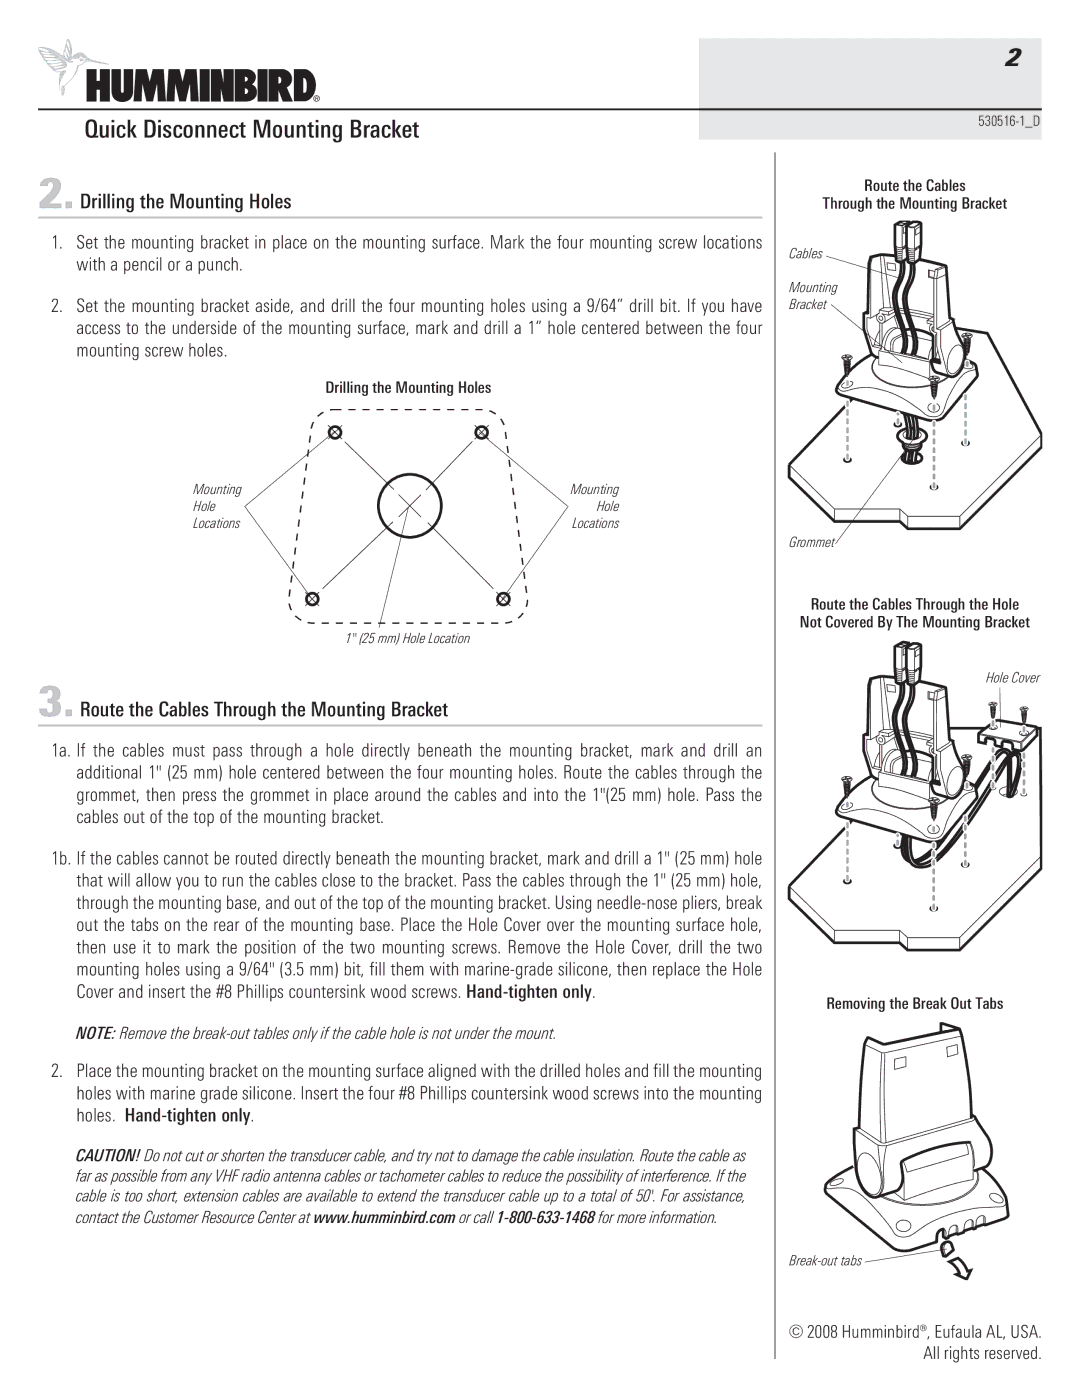
2. Drilling the Mounting Holes
1.Set the mounting bracket in place on the mounting surface. Mark the four mounting screw locations with a pencil or a punch.
2.Set the mounting bracket aside, and drill the four mounting holes using a 9/64” drill bit. If you have access to the underside of the mounting surface, mark and drill a 1” hole centered between the four mounting screw holes.
Drilling the Mounting Holes
Mounting | Mounting |
Hole | Hole |
Locations | Locations |
1" (25 mm) Hole Location
3. Route the Cables Through the Mounting Bracket
1a. If the cables must pass through a hole directly beneath the mounting bracket, mark and drill an additional 1" (25 mm) hole centered between the four mounting holes. Route the cables through the grommet, then press the grommet in place around the cables and into the 1"(25 mm) hole. Pass the cables out of the top of the mounting bracket.
1b. If the cables cannot be routed directly beneath the mounting bracket, mark and drill a 1" (25 mm) hole that will allow you to run the cables close to the bracket. Pass the cables through the 1" (25 mm) hole, through the mounting base, and out of the top of the mounting bracket. Using
NOTE: Remove the
2.Place the mounting bracket on the mounting surface aligned with the drilled holes and fill the mounting holes with marine grade silicone. Insert the four #8 Phillips countersink wood screws into the mounting holes.
CAUTION! Do not cut or shorten the transducer cable, and try not to damage the cable insulation. Route the cable as far as possible from any VHF radio antenna cables or tachometer cables to reduce the possibility of interference. If the cable is too short, extension cables are available to extend the transducer cable up to a total of 50'. For assistance, contact the Customer Resource Center at www.humminbird.com or call
Route the Cables
Through the Mounting Bracket
Cables
Mounting
Bracket
Grommet
Route the Cables Through the Hole Not Covered By The Mounting Bracket
Hole Cover
Removing the Break Out Tabs
![]()
![]()
© 2008 Humminbird®, Eufaula AL, USA. All rights reserved.