41615-01 specifications
The Hunter Fan 41615-01 is a stunning ceiling fan that effortlessly combines style with functionality, making it a perfect addition to any modern home. Known for its sleek design and advanced technology, this ceiling fan from Hunter Fan Company is geared towards providing optimal airflow and energy efficiency.One of the most notable features of the Hunter 41615-01 is its powerful motor. The fan is equipped with a Whisper Wind motor that delivers a strong yet silent performance, making it ideal for bedrooms, living rooms, or any quiet space where noise reduction is a priority. This motor not only ensures a powerful airflow but operates at multiple speed levels, allowing users to customize their comfort according to their preferences.
The fan is designed with a contemporary aesthetic in mind, making it suitable for various interior styles – from modern to traditional. It boasts three elegantly designed blades that are crafted for maximum air movement. The clean lines and smooth finish give it a polished look, enhancing the overall decor of any room.
Energy efficiency is a key characteristic of the Hunter 41615-01. It is compatible with smart home technologies, enabling users to control it remotely or set schedules for optimum energy usage. This feature is perfect for environmentally conscious users looking to reduce their energy footprint while enjoying the comfort of a well-ventilated space.
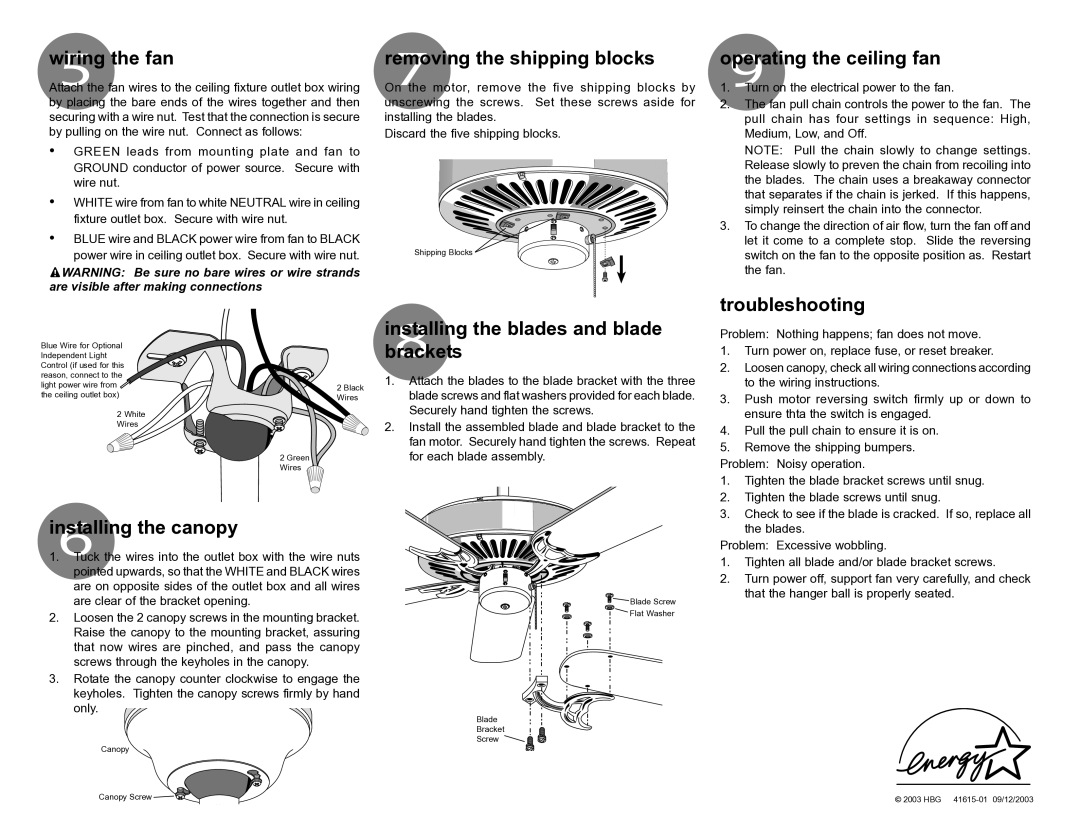
Installation of the fan is straightforward, thanks to its easy-to-follow instructions and included hardware. The fan is also adaptable to various ceiling heights, as it comes with a downrod that can be adjusted based on the user's needs. This versatility enhances its appeal for different room types, from high-ceilinged spaces to standard-height rooms.
Another noteworthy characteristic is its versatility in lighting options. Some variants of the Hunter 41615-01 come with integrated lighting, allowing users to seamlessly combine illumination with cooling. This dual functionality is efficient for both aesthetic and practical purposes, as it eliminates the need for additional light fixtures.
In summary, the Hunter Fan 41615-01 is an exemplary ceiling fan that combines exquisite design with advanced technology and energy efficiency. Its powerful silent motor, stylish blades, compatibility with smart home systems, and versatile installation options make it a valuable addition to any home. Whether you're looking to beat the heat in summer or circulate warm air in winter, this ceiling fan delivers comfort and elegance all year round.

