SERVICE AND ADJUSTMENT
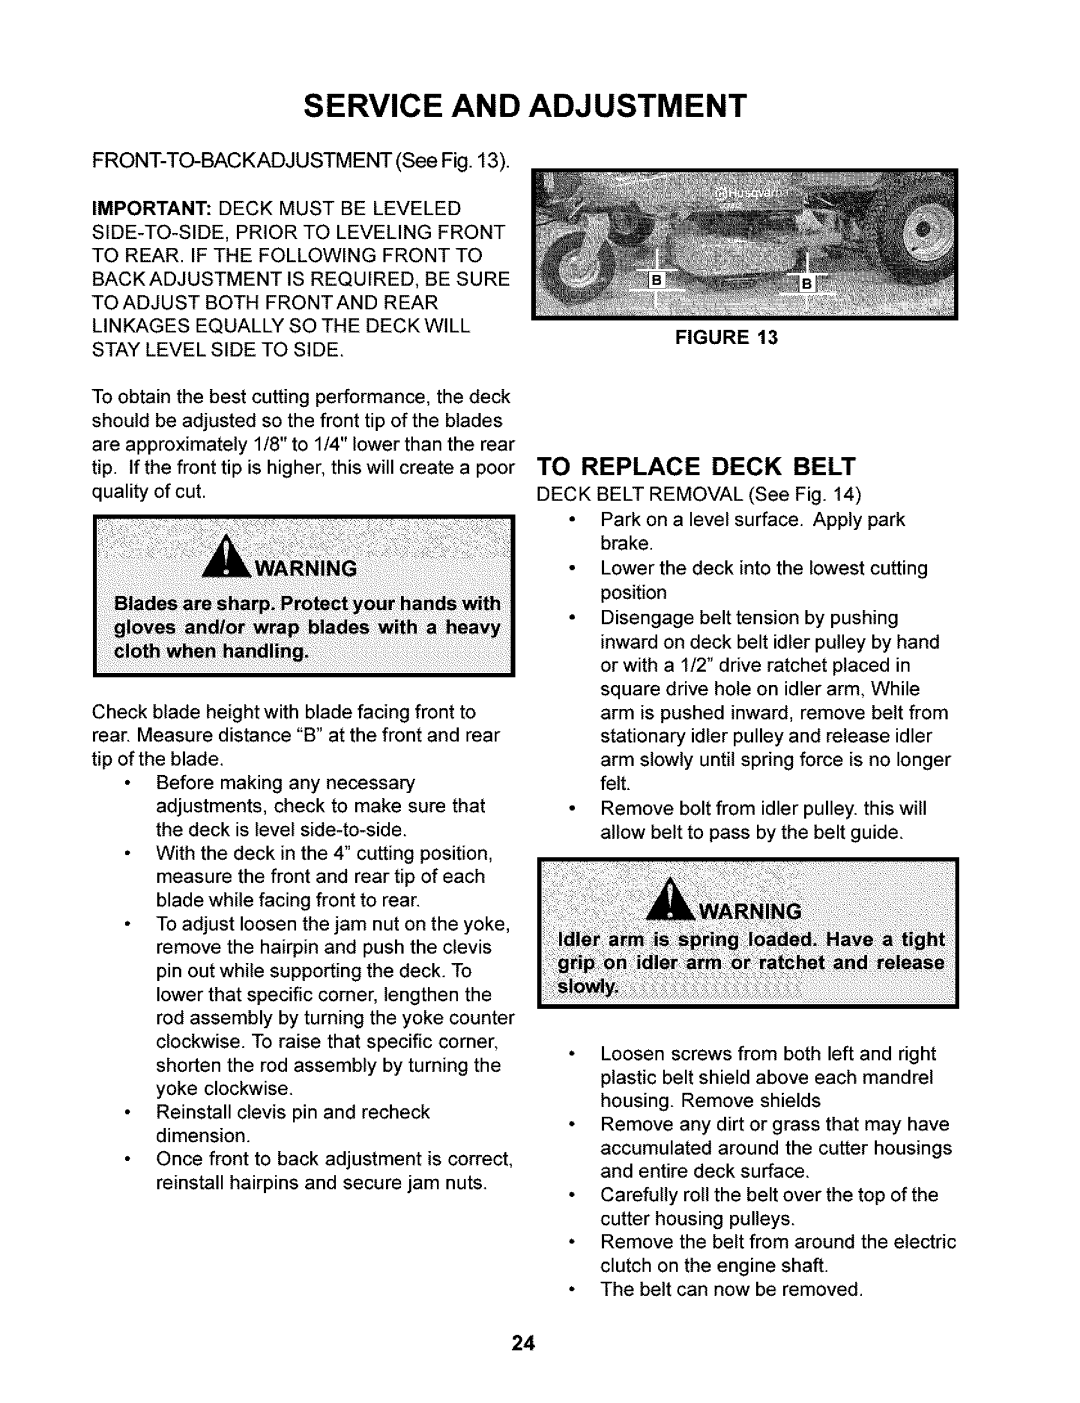
FRONT-TO-BACKADJUSTMENT (See Fig. 13).
IMPORTANT: DECK MUST BE LEVELED
TO REAR. IF THE FOLLOWING FRONT TO
BACKADJUSTMENT IS REQUIRED, BE SURE
TOAD JUST BOTH FRONTAND REAR
LINKAGES EQUALLY SO THE DECK WILL
STAY LEVEL SIDE TO SIDE.
To obtain the best cutting performance, the deck should be adjusted so the front tip of the blades are approximately 1/8" to 1/4" lower than the rear tip. If the front tip is higher, this will create a poor quality of cut.
Check blade height with blade facing front to rear. Measure distance "B" at the front and rear
tip of the blade.
Before making any necessary adjustments, check to make sure that the deck is level
With the deck in the 4" cutting position, measure the front and rear tip of each blade while facing front to rear.
To adjust loosen the jam nut on the yoke, remove the hairpin and push the clevis pin out while supporting the deck. To lower that specific corner, lengthen the rod assembly by turning the yoke counter clockwise. To raise that specific corner, shorten the rod assembly by turning the yoke clockwise.
Reinstall clevis pin and recheck dimension.
Once front to back adjustment is correct, reinstall hairpins and secure jam nuts.
FIGURE 13
TO REPLACE DECK BELT
DECK BELT REMOVAL (See Fig. 14)
Park on a level surface. Apply park
brake.
Lower the deck into the lowest cutting position
Disengage belt tension by pushing inward on deck belt idler pulley by hand or with a 1/2" drive ratchet placed in square drive hole on idler arm, While arm is pushed inward, remove belt from stationary idler pulley and release idler arm slowly until spring force is no longer
felt.
Remove bolt from idler pulley, this will allow belt to pass by the belt guide.
Loosen screws from both left and right plastic belt shield above each mandrel housing. Remove shields
Remove any dirt or grass that may have accumulated around the cutter housings and entire deck surface.
Carefully roll the belt over the top of the
cutter housing pulleys.
Remove the belt from around the electric
clutch on the engine shaft. The belt can now be removed.
24
