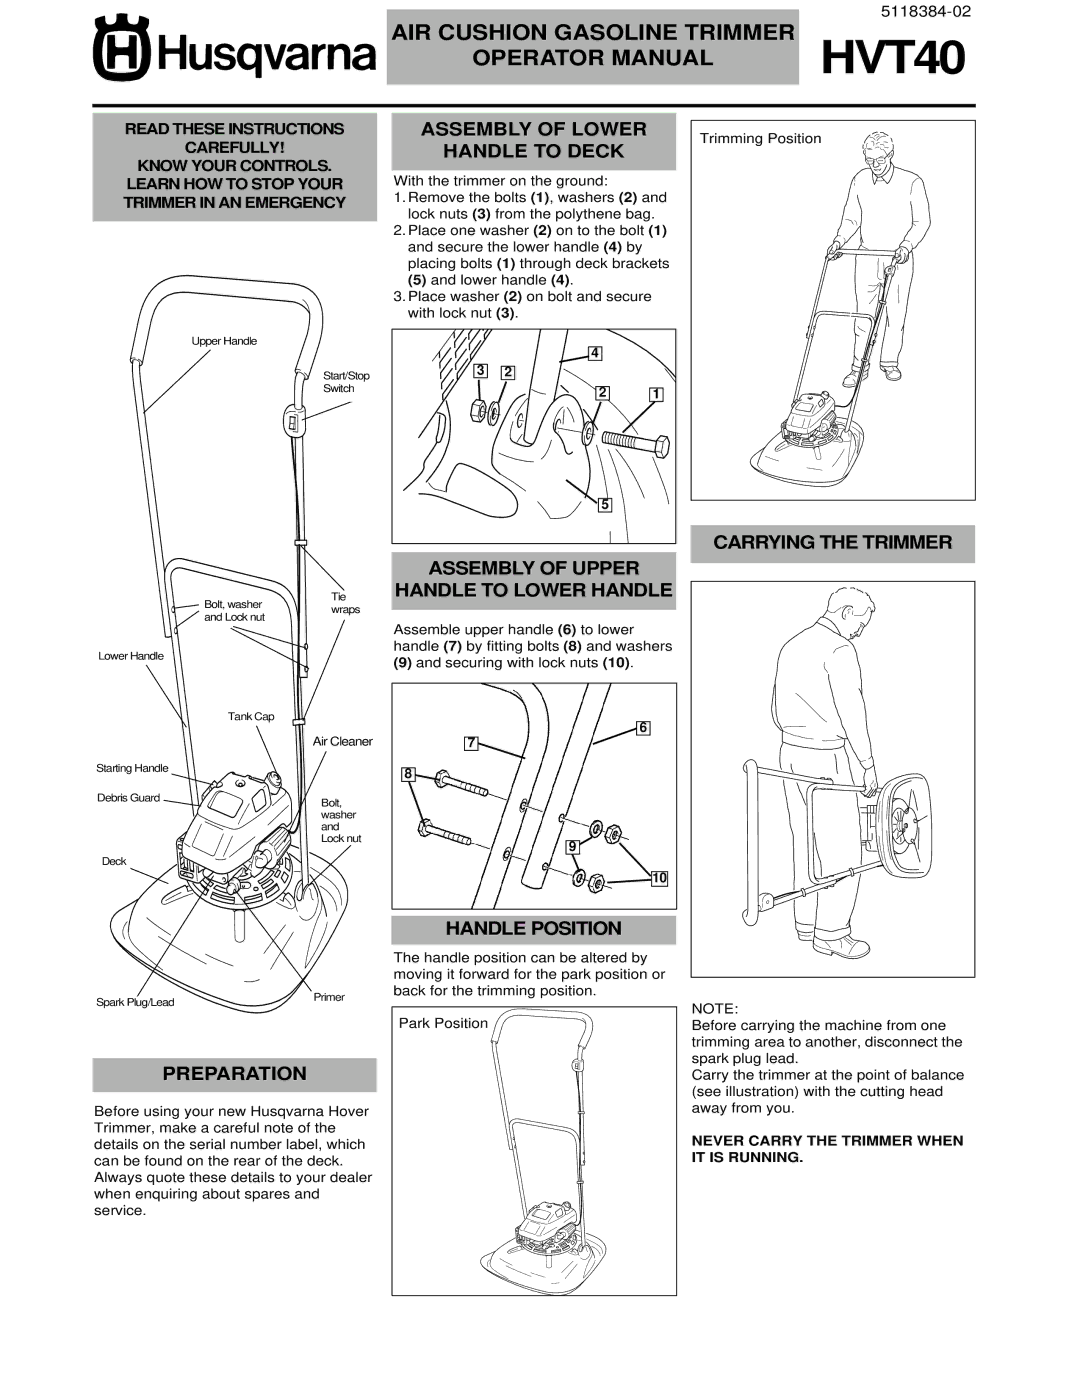
HVT40 specifications
The Husqvarna HVT40 is engineered to revolutionize the landscaping and gardening industry, offering advanced performance combined with user-friendly features. This state-of-the-art machine is powered by a robust electric drive system, ensuring sustainable operation while delivering the power users need for various landscaping tasks.One of the standout features of the HVT40 is its powerful motor, which not only enhances efficiency but also reduces the overall noise level, making it ideal for residential areas and noise-sensitive environments. The HVT40 operates with impressive torque, allowing it to handle challenging terrains and dense vegetation effortlessly. Furthermore, its intelligent electric motor is designed for longevity, promising reduced maintenance compared to traditional gas-powered equipment.
The design of the Husqvarna HVT40 emphasizes user comfort and ease of operation. With an ergonomic handle and adjustable height settings, users can tailor the machine to their specific needs, ensuring optimal performance with minimal strain. The intuitive control panel provides quick access to various settings, allowing users to customize their cutting speed and results based on the specific project.
Incorporating innovative technologies, the HVT40 features a battery management system that maximizes runtime and minimizes charging time. This system allows users to monitor battery status in real-time, ensuring that they can complete their tasks without interruptions. Additionally, the quick-connect battery feature enables users to switch between batteries seamlessly, making it easy to keep the machine operational throughout the day.
The Husqvarna HVT40 is also equipped with advanced safety mechanisms, including automatic shut-off features and improved stability controls. These safety attributes empower users to operate the machine confidently, knowing that their well-being is prioritized.
Overall, the Husqvarna HVT40 represents a significant advancement in electric landscaping equipment. With its powerful motor, user-friendly design, innovative battery management, and robust safety features, it stands out as a leading choice for both professional landscapers and home gardening enthusiasts. Whether tackling large commercial projects or maintaining a residential garden, the HVT40 delivers performance, reliability, and an environmentally friendly solution for all outdoor needs.

