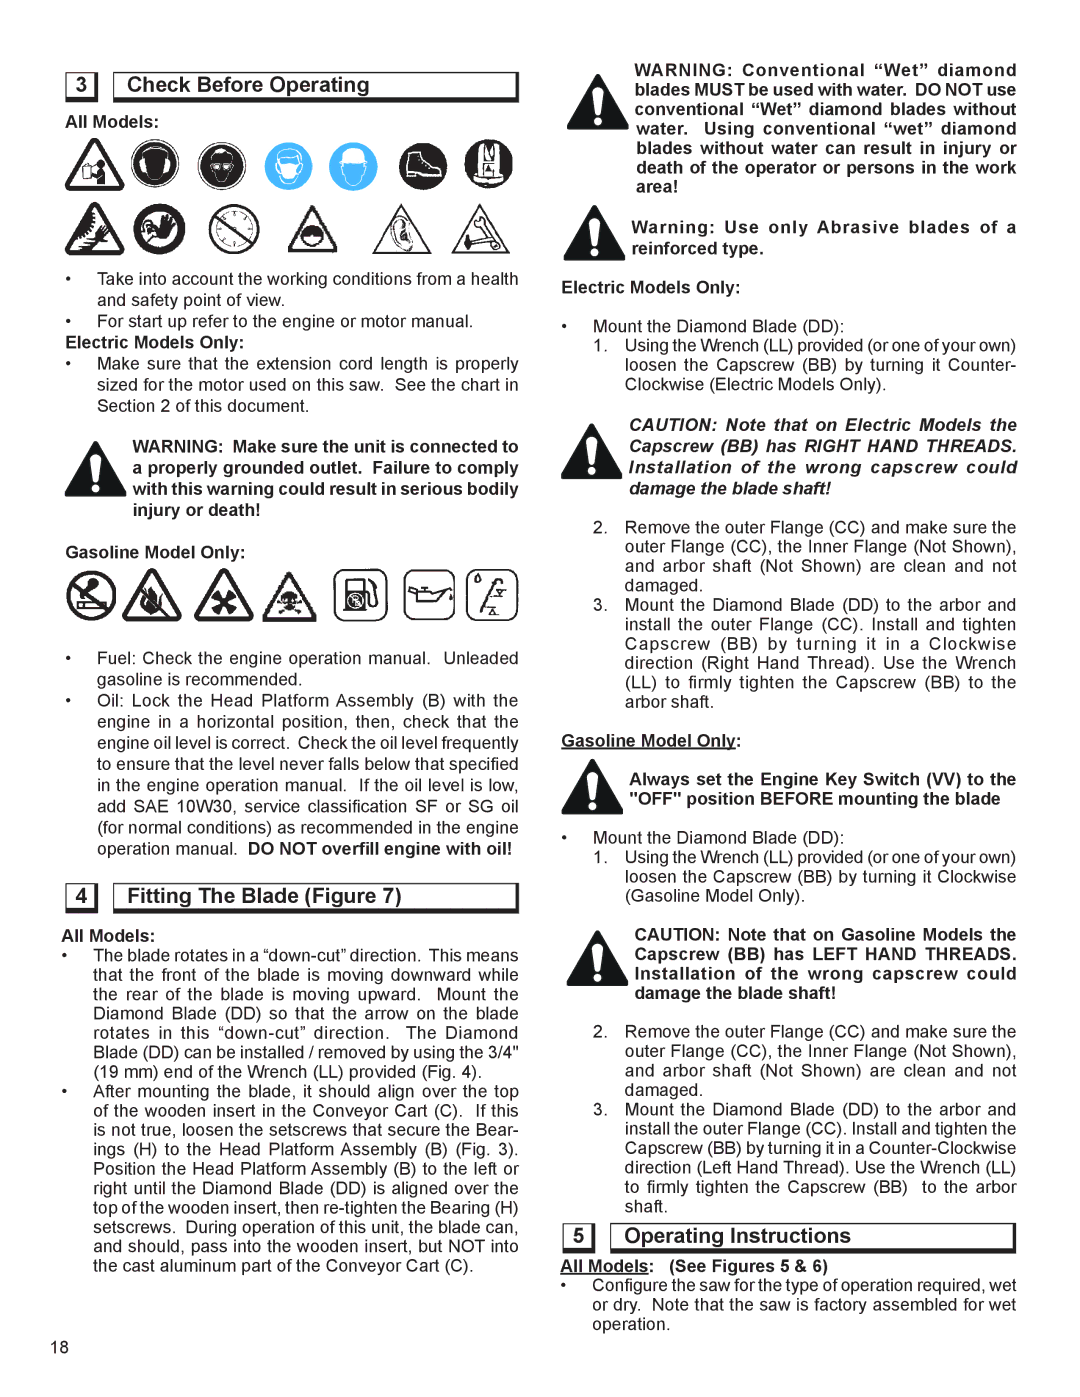
 3
3 

 Check Before Operating
All Models:
•Take into account the working conditions from a health and safety point of view.
•For start up refer to the engine or motor manual.
Electric Models Only:
•Make sure that the extension cord length is properly sized for the motor used on this saw. See the chart in Section 2 of this document.
WARNING: Make sure the unit is connected to a properly grounded outlet. Failure to comply with this warning could result in serious bodily injury or death!
Gasoline Model Only:
•Fuel: Check the engine operation manual. Unleaded gasoline is recommended.
•Oil: Lock the Head Platform Assembly (B) with the engine in a horizontal position, then, check that the engine oil level is correct. Check the oil level frequently to ensure that the level never falls below that specified in the engine operation manual. If the oil level is low, add SAE 10W30, service classification SF or SG oil (for normal conditions) as recommended in the engine operation manual. DO NOT overfill engine with oil!
 4
4 

 Fitting The Blade (Figure 7)
All Models:
•The blade rotates in a
•After mounting the blade, it should align over the top of the wooden insert in the Conveyor Cart (C). If this is not true, loosen the setscrews that secure the Bear- ings (H) to the Head Platform Assembly (B) (Fig. 3).. Position the Head Platform Assembly (B) to the left or right until the Diamond Blade (DD) is aligned over the top of the wooden insert, then
WARNING: Conventional “Wet” diamond blades MUST be used with water. DO NOT use conventional “Wet” diamond blades without water. Using conventional “wet” diamond blades without water can result in injury or death of the operator or persons in the work area!
Warning: Use only Abrasive blades of a reinforced type.
Electric Models Only:
•Mount the Diamond Blade (DD):
1.Using the Wrench (LL) provided (or one of your own) loosen the Capscrew (BB) by turning it Counter- Clockwise (Electric Models Only).
CAUTION: Note that on Electric Models the Capscrew (BB) has RIGHT HAND THREADS. Installation of the wrong capscrew could damage the blade shaft!
2.Remove the outer Flange (CC) and make sure the outer Flange (CC), the Inner Flange (Not Shown), and arbor shaft (Not Shown) are clean and not. damaged.
3.Mount the Diamond Blade (DD) to the arbor and. install the outer Flange (CC). Install and tighten Capscrew (BB) by turning it in a Clockwise. direction (Right Hand Thread). Use the Wrench
(LL)to firmly tighten the Capscrew (BB) to the arbor shaft.
Gasoline Model Only:
Always set the Engine Key Switch (VV) to the "OFF" position BEFORE mounting the blade
•Mount the Diamond Blade (DD):
1.Using the Wrench (LL) provided (or one of your own) loosen the Capscrew (BB) by turning it Clockwise. (Gasoline Model Only).
CAUTION: Note that on Gasoline Models the Capscrew (BB) has LEFT HAND THREADS. Installation of the wrong capscrew could damage the blade shaft!
2.Remove the outer Flange (CC) and make sure the outer Flange (CC), the Inner Flange (Not Shown), and arbor shaft (Not Shown) are clean and not. damaged.
3.Mount the Diamond Blade (DD) to the arbor and install the outer Flange (CC). Install and tighten the Capscrew (BB) by turning it in a
 5
5 

 Operating Instructions
All Models: (See Figures 5 & 6)
•Configure the saw for the type of operation required, wet or dry. Note that the saw is factory assembled for wet operation.
18
