Connecting your monitor to your computer
English
Step 1. Ensure the monitor and computer are turned off.
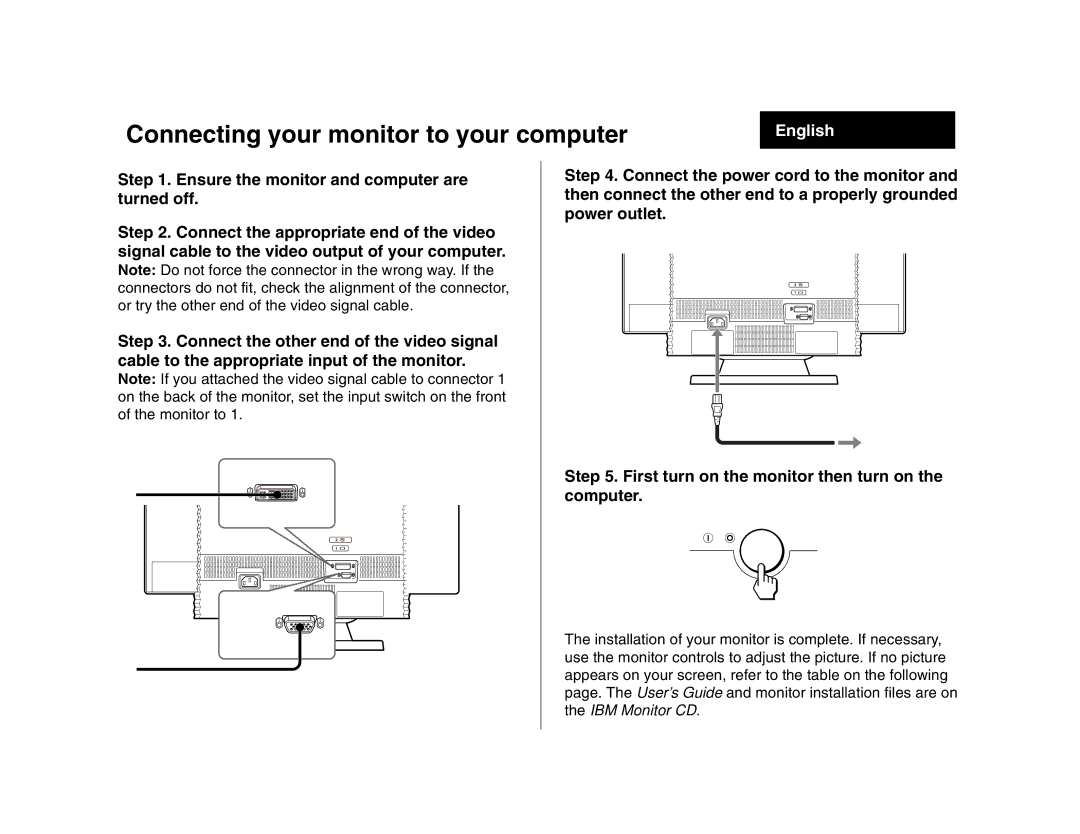
Step 2. Connect the appropriate end of the video signal cable to the video output of your computer.
Note: Do not force the connector in the wrong way. If the connectors do not fit, check the alignment of the connector, or try the other end of the video signal cable.
Step 3. Connect the other end of the video signal cable to the appropriate input of the monitor.
Note: If you attached the video signal cable to connector 1 on the back of the monitor, set the input switch on the front of the monitor to 1.
AC IN
Step 4. Connect the power cord to the monitor and then connect the other end to a properly grounded power outlet.
Step 5. First turn on the monitor then turn on the computer.
The installation of your monitor is complete. If necessary, use the monitor controls to adjust the picture. If no picture appears on your screen, refer to the table on the following page. The User’s Guide and monitor installation files are on the IBM Monitor CD.