Removing and replacing the microprocessor
Attention
Do not open your computer or attempt any repair before reading the “Safety notices” in the Quick Reference that was included with your computer. If you no longer have this copy of the Quick Reference, you can obtain one online from the IBM Web site at http://www.ibm.com/pc/support.
Important
Shut down and turn off your computer for at least one hour before removing the microprocessor to allow the thermal interface between the microprocessor and the heat sink time to cool down.
When you receive a new microprocessor, you will also receive a new heat sink and vacuum pen. You must use the new heat sink with the new microprocessor. If you use the old heat sink with the new microprocessor, your computer might overheat causing intermittent problems.
Important
Avoid handling the microprocessor with your hands, and avoid contact with the microprocessor contacts. Use the vacuum pen provided to remove and install the microprocessor. If you must touch the microprocessor, touch only the sides.
To remove the microprocessor, do the following:
1.Turn off the computer and allow it to cool for one hour.
2.Open the cover. Go to “Opening the cover” on page 1.
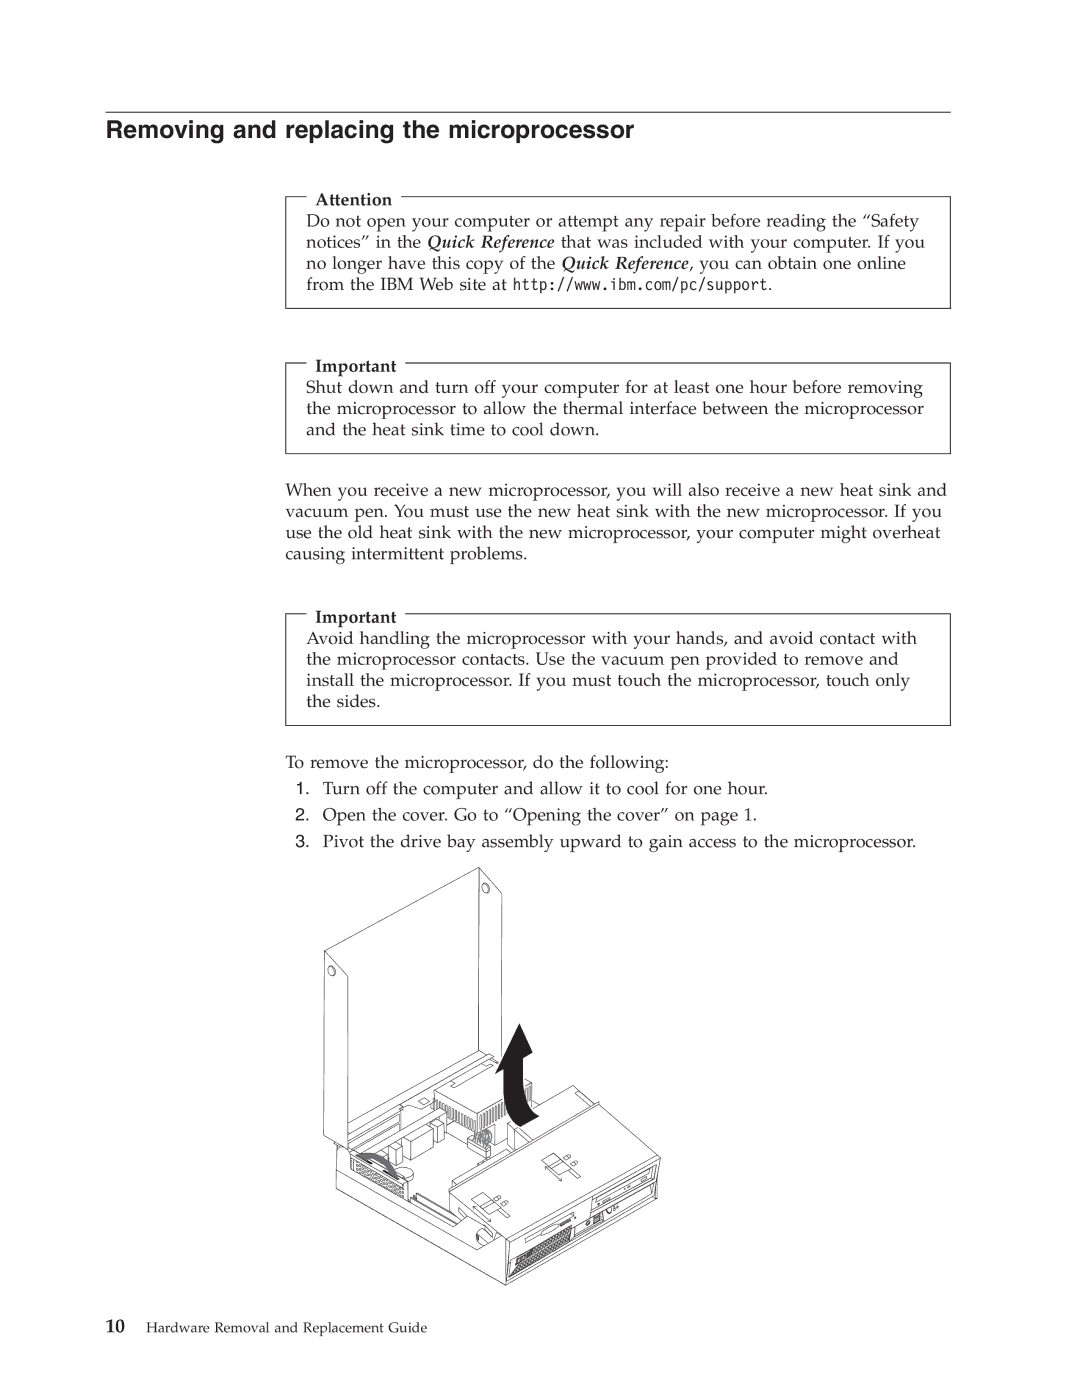
3.Pivot the drive bay assembly upward to gain access to the microprocessor.