Removing and replacing the power supply assembly
Important
Before you install or remove any component, read “Important safety information” on page v. These precautions and guidelines will help you work safely.
To remove and replace the power supply assembly, do the following:
1.Turn off the computer and disconnect the power cord from the electrical outlet and from the computer.
2.Open the cover (see “Opening the cover” on page 10).
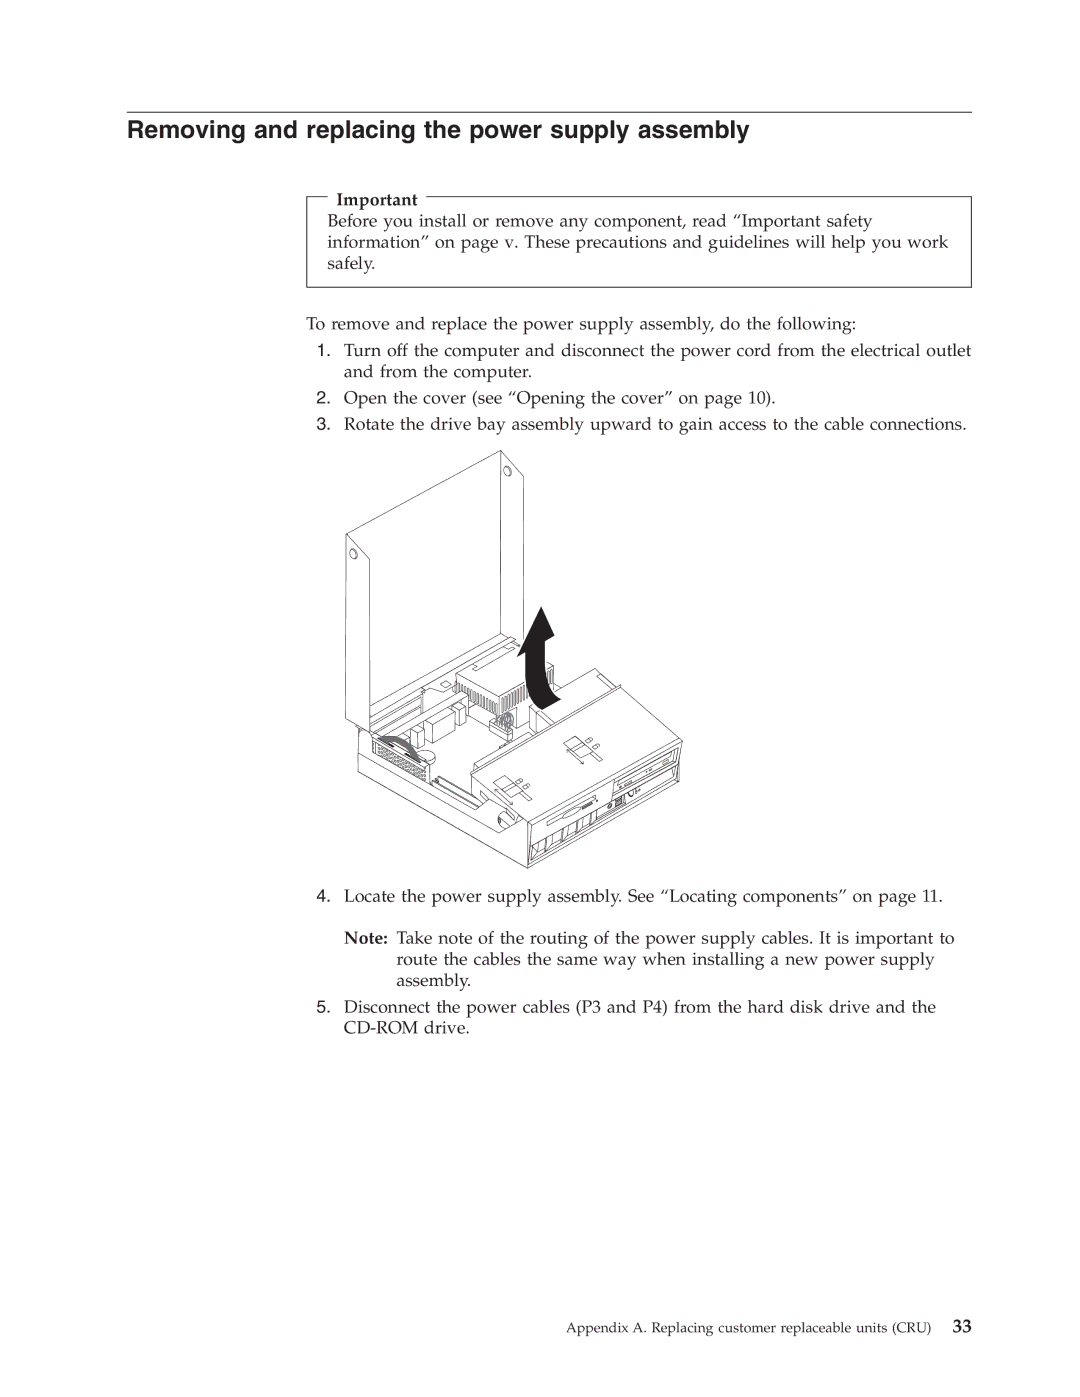
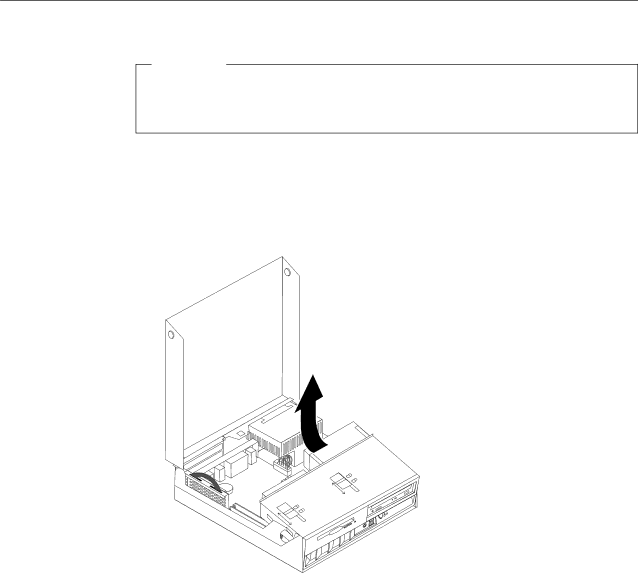
3.Rotate the drive bay assembly upward to gain access to the cable connections.
4.Locate the power supply assembly. See “Locating components” on page 11.
Note: Take note of the routing of the power supply cables. It is important to route the cables the same way when installing a new power supply assembly.
5.Disconnect the power cables (P3 and P4) from the hard disk drive and the
Appendix A. Replacing customer replaceable units (CRU) 33