
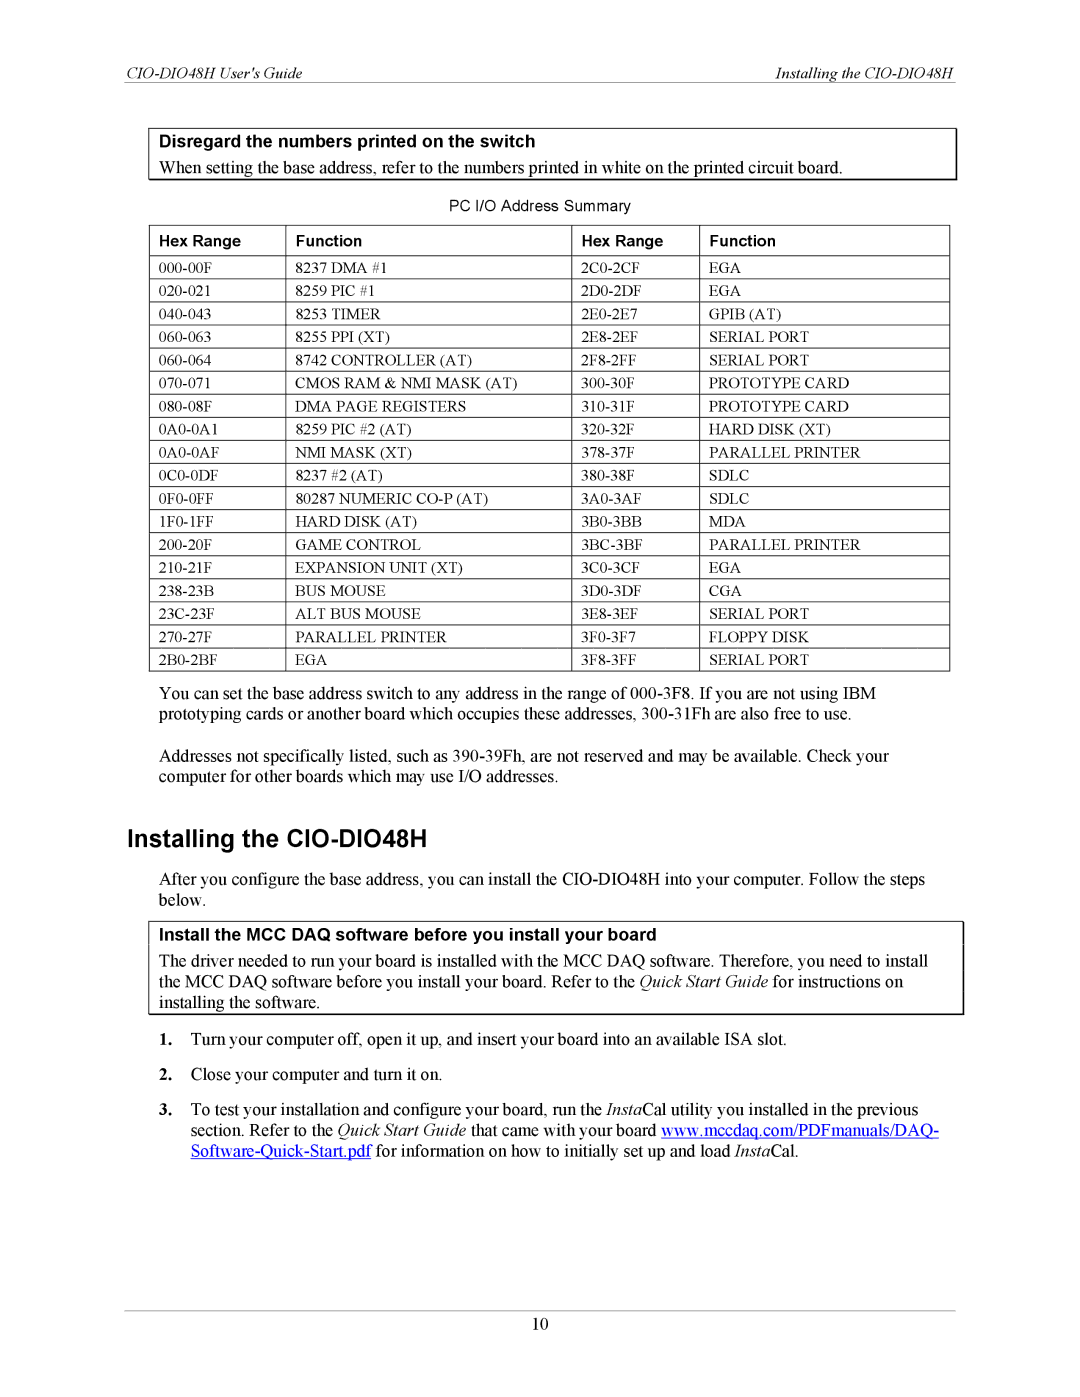
CIO-DIO48H specifications
IBM CIO-DIO48H is a cutting-edge, high-performance digital input/output card designed for industrial and commercial applications. This advanced component plays a crucial role in data acquisition and control systems, providing seamless communication between various devices within a network. The CIO-DIO48H is specifically engineered to handle multiple digital signals, making it an indispensable tool for automation and process control.One of the standout features of the CIO-DIO48H is its capacity to support 48 digital I/O lines. This extensive input/output capability allows users to connect multiple sensors, switches, and other control devices simultaneously, thereby streamlining operations and improving efficiency in data collection. The board is equipped with 24 input and 24 output channels, providing ample flexibility for a wide range of applications.
The technologies integrated into the CIO-DIO48H significantly enhance its functionality and reliability. The use of high-speed FPGA (Field-Programmable Gate Array) technology enables real-time processing of digital signals, which is essential for applications requiring quick response times. This ensures that data is processed with minimal latency, making it ideal for time-sensitive automation tasks.
In addition to its robust processing capabilities, the CIO-DIO48H supports multiple communication protocols, including USB, Ethernet, and Serial. This versatility allows for easy integration with various systems and devices, enabling users to customize their setups according to specific requirements. The card is also compatible with a variety of operating systems, including Windows and Linux, ensuring broad accessibility for developers and engineers.
Another important characteristic of the CIO-DIO48H is its built-in support for hardware interrupts. This feature allows the card to signal when a change in input state occurs, eliminating the need for constant polling and freeing up system resources for other tasks. As a result, users can achieve more efficient and responsive data handling.
Furthermore, the CIO-DIO48H is designed with a rugged and compact form factor, making it suitable for deployment in both office and harsh industrial environments. Its durability ensures reliable performance over extended periods, reducing maintenance costs and downtime.
Overall, the IBM CIO-DIO48H combines high performance, flexibility, and reliability, making it an ideal choice for various applications in the automation and control sectors. Its advanced technologies and extensive features empower users to create efficient and effective systems tailored to their specific needs, paving the way for innovation and productivity in their operations.