ICE Series | Installation Guidelines |
Secure the machine on top of the bin or dispenser.
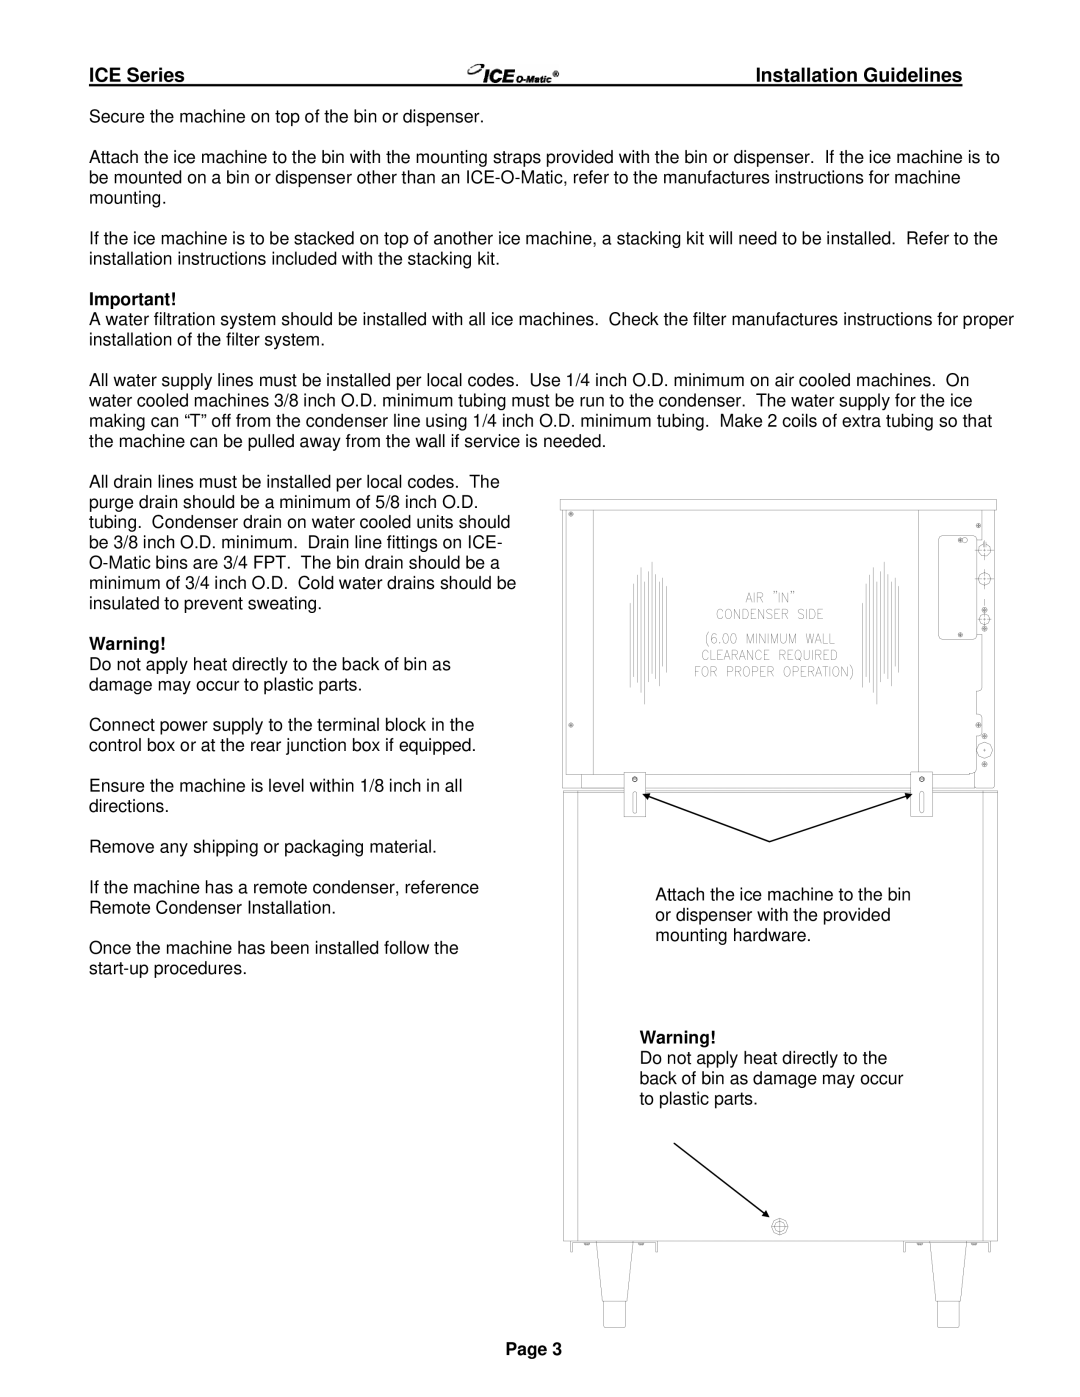
Attach the ice machine to the bin with the mounting straps provided with the bin or dispenser. If the ice machine is to be mounted on a bin or dispenser other than an
If the ice machine is to be stacked on top of another ice machine, a stacking kit will need to be installed. Refer to the installation instructions included with the stacking kit.
Important!
A water filtration system should be installed with all ice machines. Check the filter manufactures instructions for proper installation of the filter system.
All water supply lines must be installed per local codes. Use 1/4 inch O.D. minimum on air cooled machines. On water cooled machines 3/8 inch O.D. minimum tubing must be run to the condenser. The water supply for the ice making can “T” off from the condenser line using 1/4 inch O.D. minimum tubing. Make 2 coils of extra tubing so that the machine can be pulled away from the wall if service is needed.
All drain lines must be installed per local codes. The purge drain should be a minimum of 5/8 inch O.D. tubing. Condenser drain on water cooled units should be 3/8 inch O.D. minimum. Drain line fittings on ICE-
Warning!
Do not apply heat directly to the back of bin as damage may occur to plastic parts.
Connect power supply to the terminal block in the control box or at the rear junction box if equipped.
Ensure the machine is level within 1/8 inch in all directions.
Remove any shipping or packaging material.
If the machine has a remote condenser, reference Remote Condenser Installation.
Once the machine has been installed follow the
Attach the ice machine to the bin or dispenser with the provided mounting hardware.
Warning!
Do not apply heat directly to the back of bin as damage may occur to plastic parts.
Page 3
