
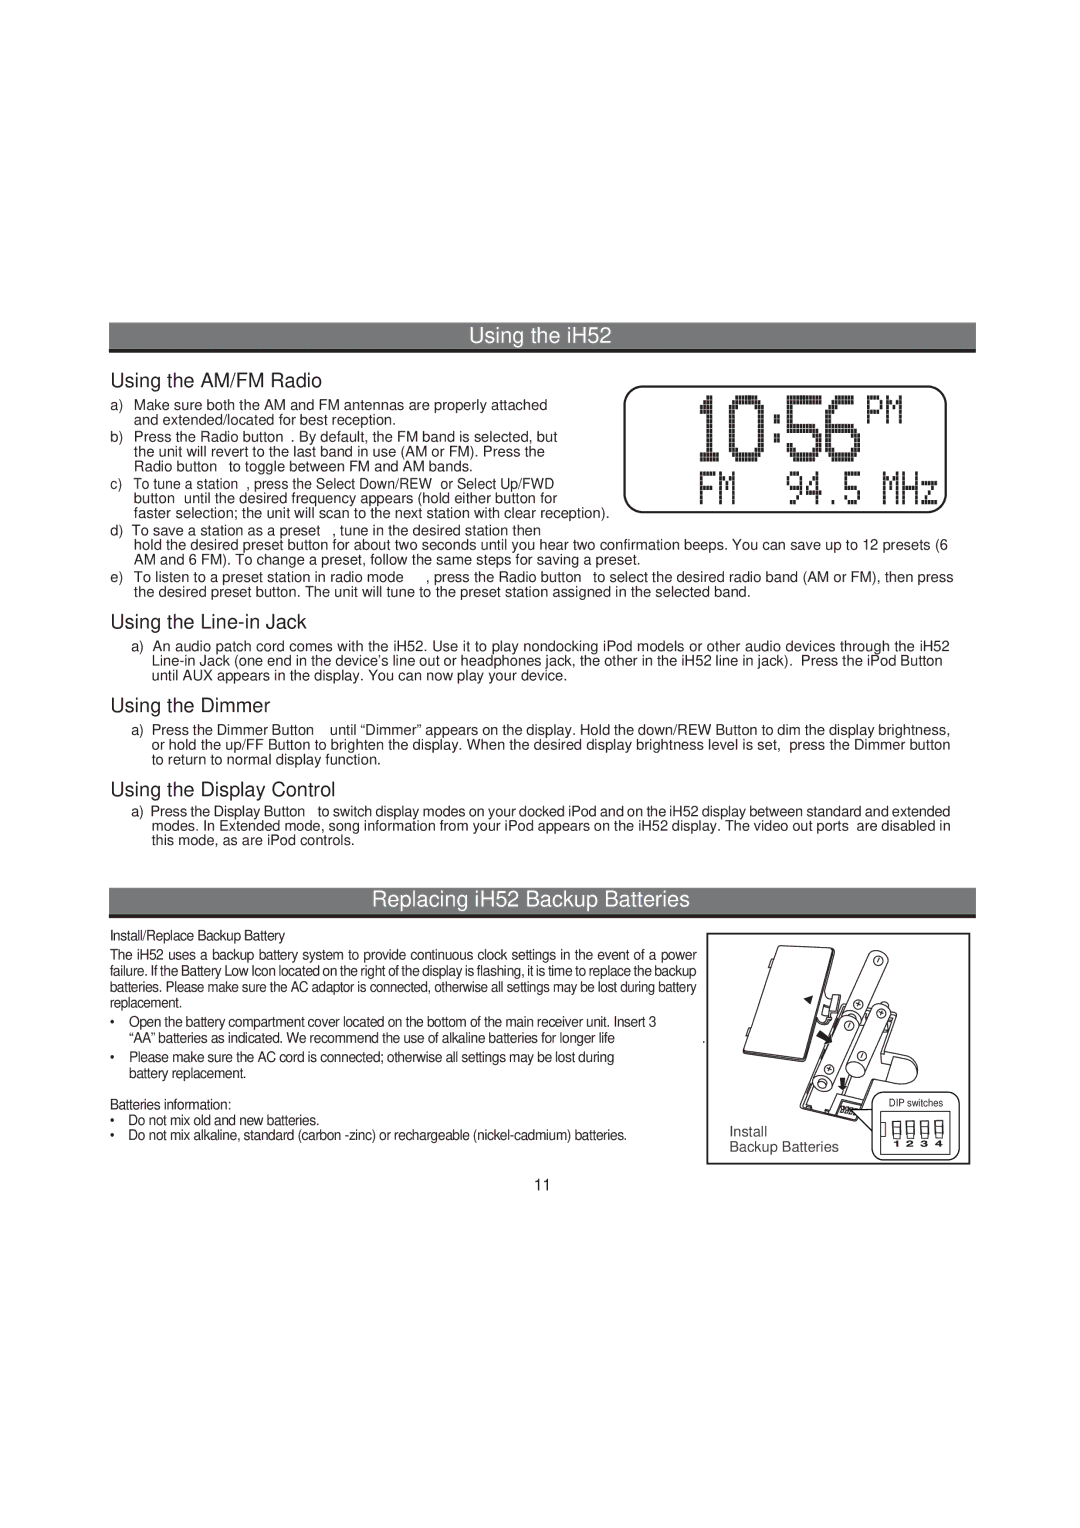
IH52 specifications
The iHome IH52 and iH52B are innovative portable Bluetooth speakers that deliver an impressive audio experience while incorporating a range of features designed for modern users. Known for their sleek design and robust sound quality, these speakers cater to both casual listeners and audiophiles alike.One of the standout features of the iHome IH52 series is its Bluetooth connectivity. This allows users to effortlessly pair their smartphones, tablets, or other Bluetooth-enabled devices, providing a seamless audio experience without the hassle of wires. The wireless range is commendable, ensuring that users enjoy uninterrupted playback even from a distance. Additionally, the inclusion of a built-in microphone enables hands-free calling, making it convenient to take calls without disconnecting from the speaker.
The sound quality of the iHome IH52 is remarkable for its size. Equipped with a powerful driver and advanced acoustic technology, the speaker produces clear highs and deep bass, delivering a balanced audio profile that enhances any genre of music. Whether you're listening to rock, jazz, or podcasts, the audio output remains crisp and engaging.
Another notable characteristic is the portability of the iHome IH52. With a compact design and lightweight build, these speakers are easy to carry, making them ideal companions for outdoor activities, travel, or simply moving between rooms at home. The durable construction also ensures they can withstand the rigors of travel.
Battery life is vital for portable devices, and the iHome IH52 does not disappoint. With a rechargeable battery that offers several hours of continuous playtime, users can enjoy their favorite tunes without worrying about finding a power source frequently. Additionally, the inclusion of a charging cable ensures that recharging is both simple and quick.
The aesthetic design of the iHome IH52 and iH52B is another highlight. Available in various colors, they appeal to a wide range of tastes while enhancing any decor. The integrated controls are user-friendly, providing easy access to volume adjustments and playback functions.
In summary, the iHome IH52 and iH52B are impressive portable Bluetooth speakers that combine excellent sound quality with convenience and style. Their Bluetooth connectivity, portability, long battery life, and user-friendly design make them an excellent choice for anyone seeking a versatile audio solution for everyday use. Whether at home, at the beach, or on a road trip, these speakers deliver an enjoyable audio experience wherever you go.