Manuals
/
InFocus
/
Computer Equipment
/
Projector
InFocus
IN70 SERIES
manual
IN70 Series
Models:
IN70 SERIES
1
1
51
51
Download
51 pages
23.57 Kb
1
2
3
4
5
6
7
8
Troubleshooting
Connecting a video device
Maintenance
Communication configuration
Presets Save User
Supported commands
Connector Panel
Adjust the picture
Settings menu
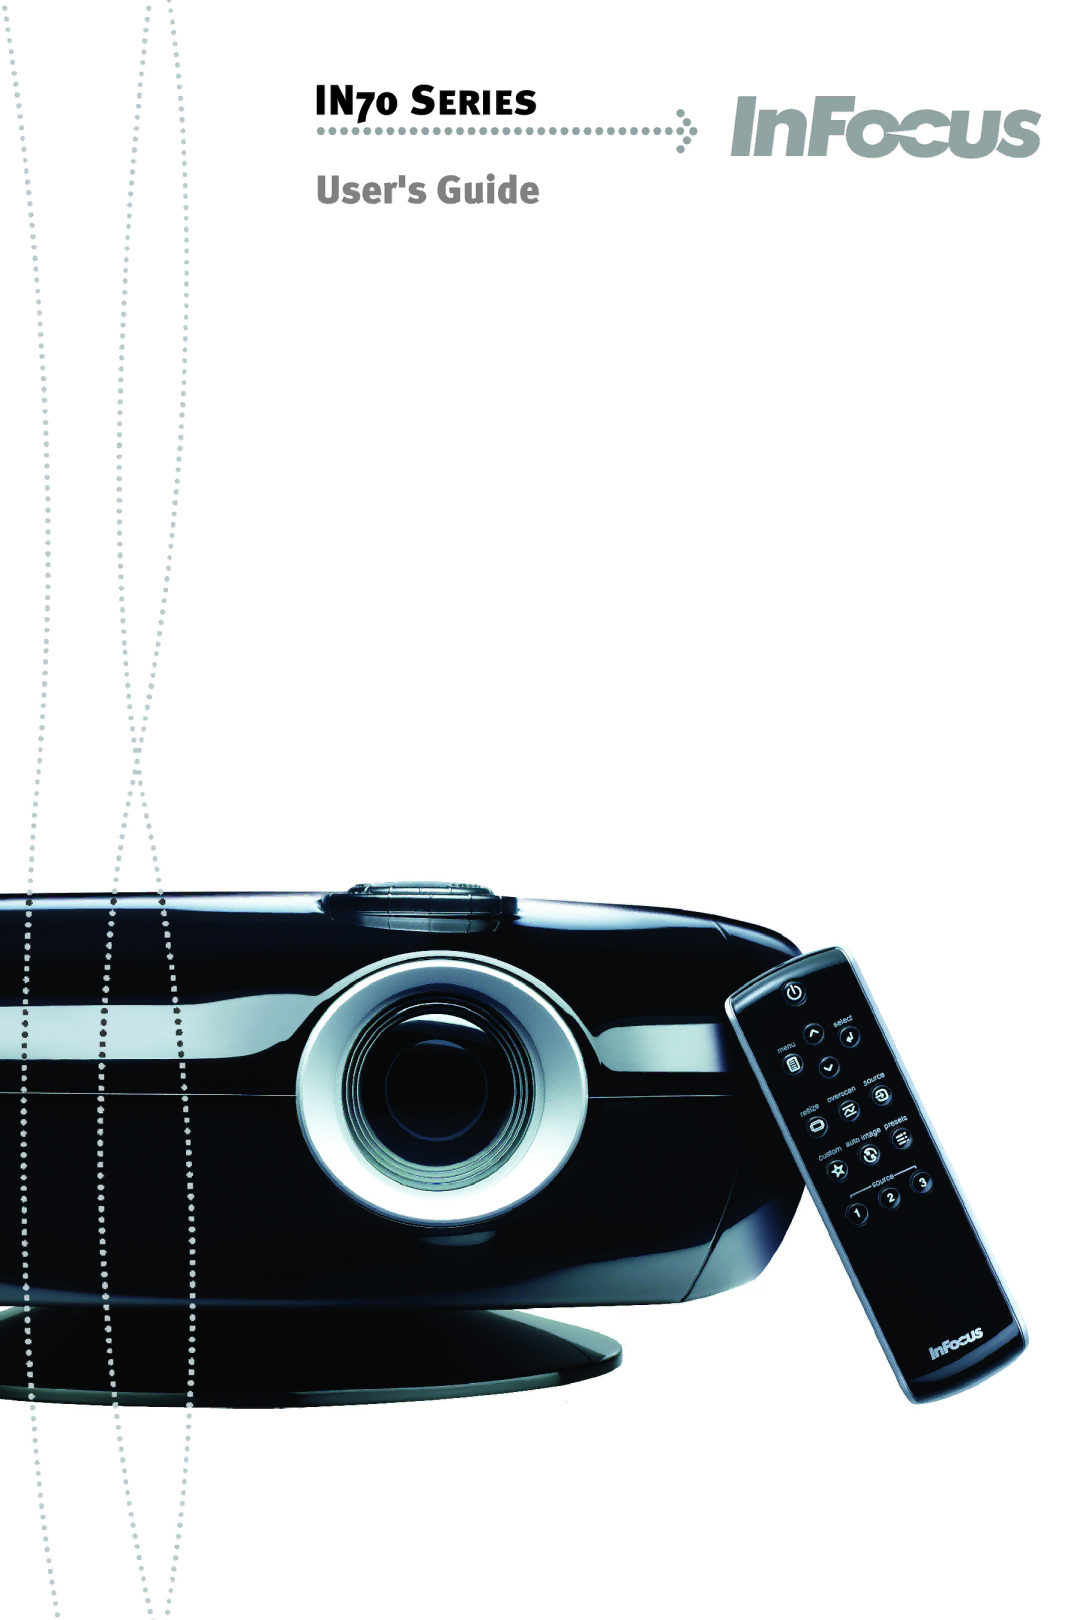
Using the remote control
Page 1
Image 1
IN70 S
ERIES
User's Guide
Page 1
Page 2
Page 1
Image 1
Page 1
Page 2
Contents
IN70 Series
Put batteries in the remote
Use Component Video Cable
Use S-Video Cable
Use Hdmi Cable
Use Scart to Rgbs Cable RGB with sync
Enable Scart RGB in the Source Enable menu Settings Sources
Use M1 to DVI Cable 100% digital connection
Diagonal Distance to Screen Screen Size Minimum Maximum
Adjust the picture
Serial number
Turn off the projector
Reference Guide is on the included CD-ROM
Troubleshooting
+1 503 Singapore +65 +31 036 539 Toll Free China
USA, Canada, Latin America Asia Pacific
Australia
Reference Guide
Declaration of Conformity
Canada
Trademarks
FCC Warning
Table of Contents
Introduction
Product specifications Accessories Online Registration
Volt DC output
Connector Panel
60/1.5
Positioning the projector
2.4 80/2
10.4/3.2 92/2.3
Choosing the aspect ratio
Video connectors
Composite RCA video connection
Connecting a video device
Video connection
Component RCA connection
DVI connection
Digital connections
Hdmi connection
Computer connections
Displaying an image
Adjusting the image
Adjust Picture menu options including Aspect Ratio
Shutting down the projector
Troubleshooting your setup
Press power button
Page
Page
Minute
Color
Change lamp message appears at startup or LED blinking red
Troubleshooting the remote
Using the remote control
Using the keypad buttons
Customizing the projector
Optimizing video images
Using the menus
Picture menu
Presets Save User
Advanced menu
Page
Settings menu
Startup Logo Language menu Custom Key Blank Screen
Service menu Hdmi menu Service Info Source Info menu
Cleaning the lens
Maintenance
Replacing the projection lamp
Lamp door Captive screws
Service menu
Appendix
Red LED behavior and projector errors
LED Behavior
Remote control discrete codes Function Description Button
Remote control discrete codes
Projector dimensions for ceiling mount installations
Supported video formats
Connector Signal Type Supported formats
Communication configuration
RS-232 terminal specifications for IN74/IN76/IN76
Command format
Setting Value
Function Command Range Ult
Supported commands
Defa
NAV
VPS
Index
Top
Page
Image
Contents