Step 1: Installing Processor and CPU Haet Sink
Before installing the processor and cooling fan, adhere to the following cautions:
1.The processor will overheat without the heatsink and/or fan, resulting in permanent irreparable damage.
2.Never force the processor into the socket.
3.Apply thermal grease on the processor before placing cooling fan.
4.Please make sure the CPU type is supported by the motherboard.
5.If you do not match the CPU socket Pin 1 and CPU cut edge well, it will cause improper installation. Please change the insert orientation.
Step1-1: Installing CPU
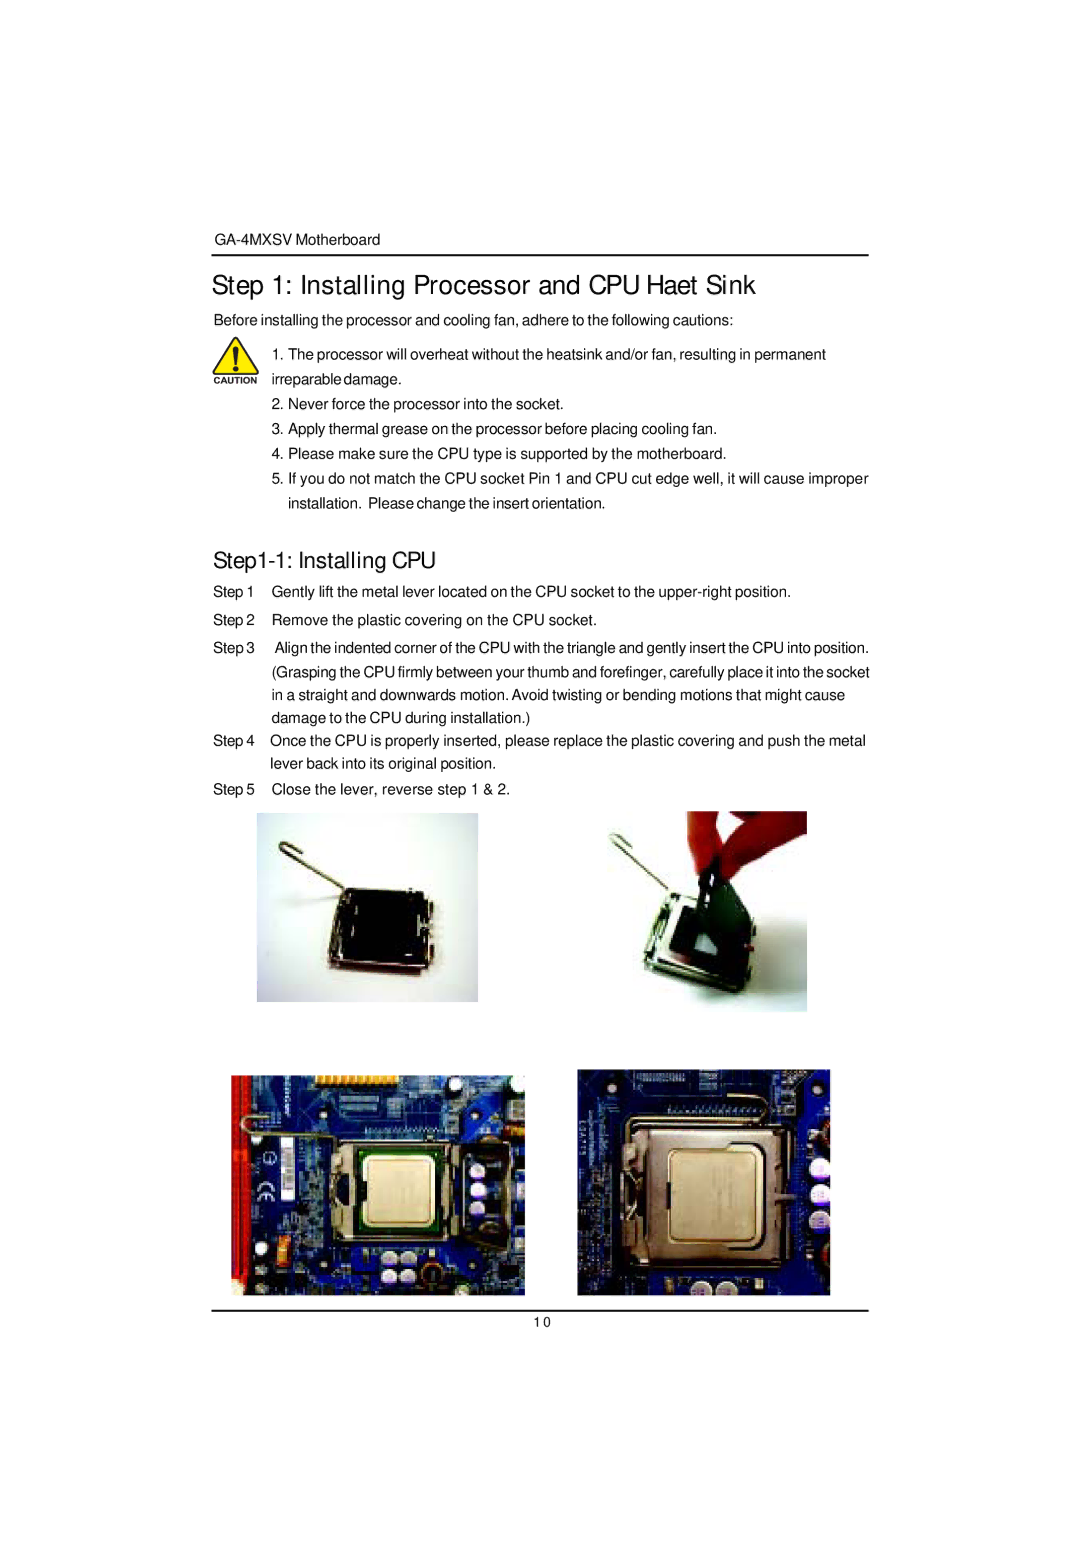
Step 1 Gently lift the metal lever located on the CPU socket to the
Step 3 Align the indented corner of the CPU with the triangle and gently insert the CPU into position. (Grasping the CPU firmly between your thumb and forefinger, carefully place it into the socket in a straight and downwards motion. Avoid twisting or bending motions that might cause damage to the CPU during installation.)
Step 4 Once the CPU is properly inserted, please replace the plastic covering and push the metal lever back into its original position.
Step 5 Close the lever, reverse step 1 & 2.
1 0
