GA-8I955X PRO, GA-8I955X ROYAL specifications
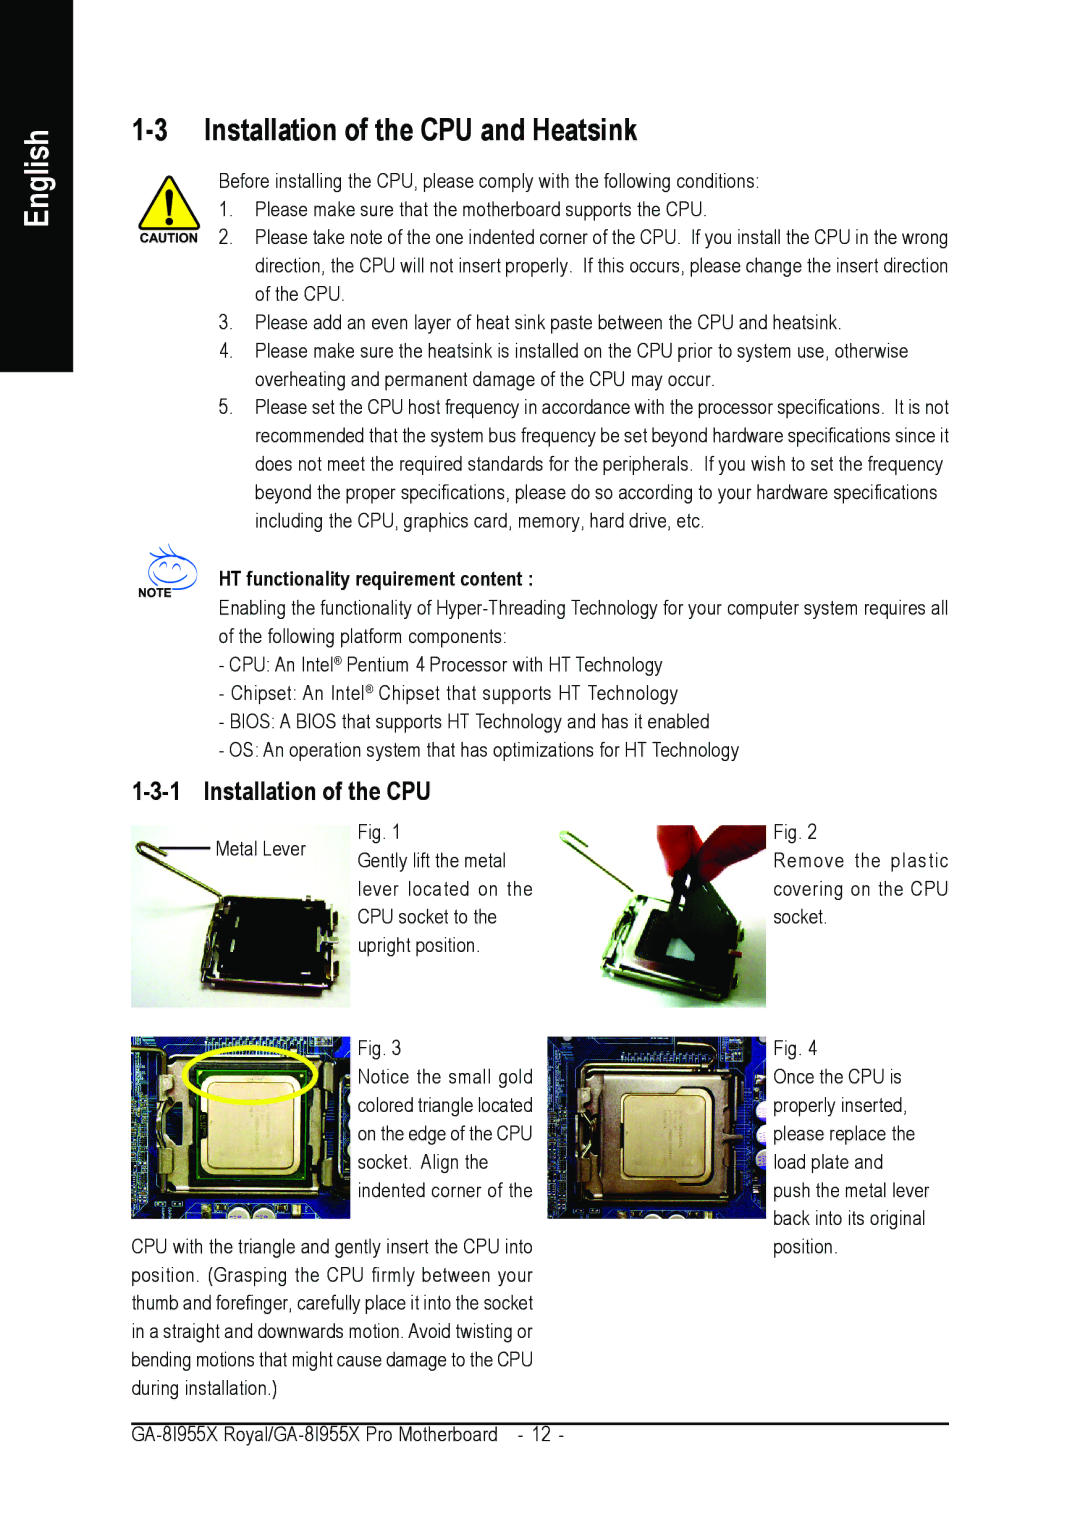
The Intel GA-8I955X ROYAL and GA-8I955X PRO motherboards were popular choices in the mid-2000s, built for users seeking robust performance and reliability. These motherboards were designed to support the Intel Pentium 4 processors and featured the Intel 955X chipset, which enhanced overall performance and enabled advanced technologies.One of the main features of both board models was their support for dual-core and hyper-threading technologies, maximizing the processing capabilities for multitasking and resource-hungry applications. This made them suitable for gaming, multimedia editing, and other demanding applications. Additionally, the GA-8I955X boards supported front-side bus speeds of up to 800 MHz, providing a fast data transfer rate between the CPU and memory.
With support for DDR2 memory, these motherboards accommodated memory speeds ranging from 533 to 800 MHz, facilitating improved bandwidth and performance compared to previous DDR technology. The boards also featured four DIMM slots, allowing for substantial RAM configurations, which was advantageous for users aiming for high performance in gameplay and resource-intensive tasks.
The GA-8I955X ROYAL provided additional high-end features such as integrated 7.1-channel HD audio and Gigabit LAN connectivity, enriching user experiences with superior audio and fast internet connections. The PRO variant offered similar functionalities but differed slightly in its integrated components.
Both models were equipped with multiple PCI Express slots, enabling users to enhance their systems with high-performance graphics cards and expansion cards. The user-oriented design included features such as easy BIOS updates and a user-friendly interface, ensuring that both novice and seasoned builders could navigate the setup process with ease.
Storage options were plentiful, as these motherboards supported SATA ports for connecting modern hard drives and SSDs. The RAID capabilities allowed users to implement data redundancy or performance improvements, enhancing data security and access speeds.
Overall, the Intel GA-8I955X ROYAL and GA-8I955X PRO motherboards represented a blend of performance, advanced technology, and user-friendly features, catering to the needs of gamers and power users in their day. As part of the Intel legacy, they laid the groundwork for advancements in computing technologies that have continued to evolve in subsequent years.

