400, 4150 specifications
The iRobot 4150 and 400 are robotic vacuum cleaners that have garnered attention for their advanced features and efficient cleaning capabilities. Designed to adapt to modern households, these models combine innovative technologies to enhance user experience and streamline home maintenance.One of the standout features of the iRobot 4150 and 400 is their intelligent navigation system. Utilizing advanced sensors and mapping technology, these robots can navigate complex environments, avoiding obstacles and ensuring effective coverage of various surfaces. This technology allows them to map out your home, establishing a cleaning path that maximizes efficiency while minimizing the chance of missing spots.
Another significant characteristic is their suction power. Both models are equipped with strong suction capabilities that can tackle dirt, dust, and pet hair effortlessly. This makes them ideal for households with furry friends, as they efficiently pick up pet hair from carpets, hardwood floors, and upholstery.
The iRobot 4150 and 400 also feature a multi-surface cleaning system, which allows these robots to transition seamlessly between different floor types. Whether it’s hard flooring, carpet, or tiles, these robots adapt their cleaning methods for optimal performance on each surface, ensuring thorough cleaning without manual intervention.
One of the key technologies integrated into both models is the dual cleaning modes. Users can choose between a deeper clean mode for heavily soiled areas and a standard mode for regular maintenance. This flexibility makes it easy to customize cleaning based on specific needs.
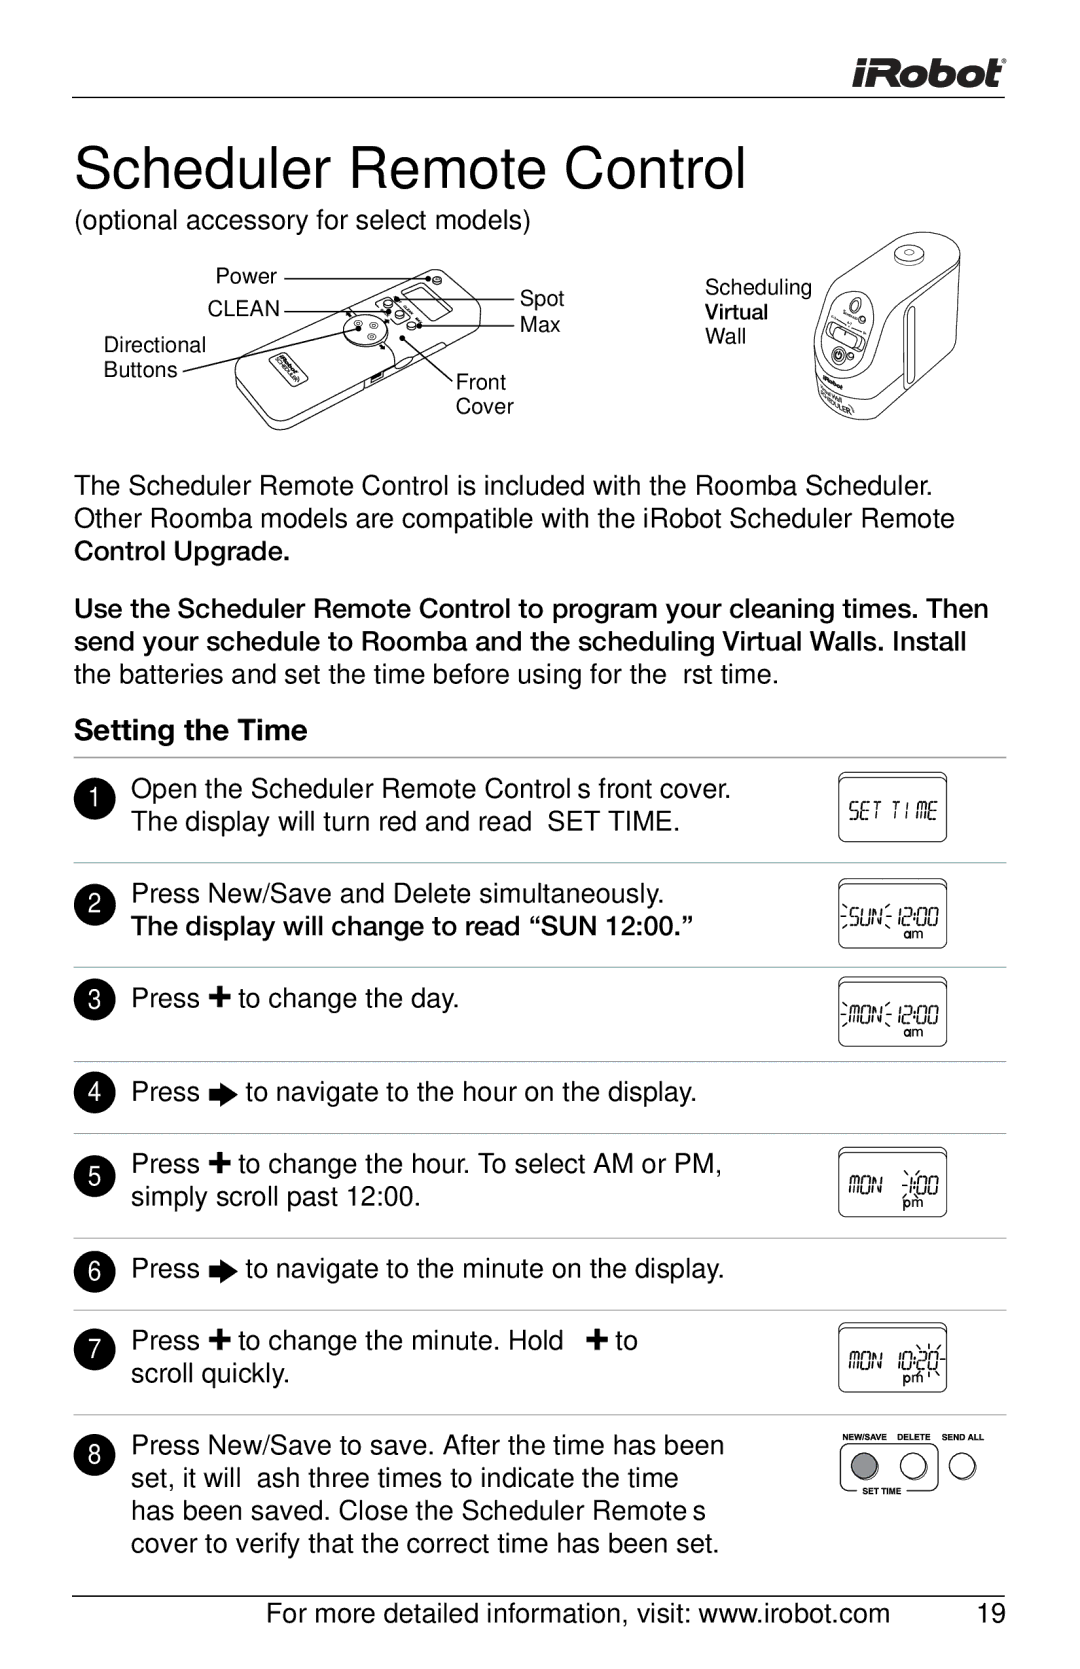
Additionally, the iRobot 4150 and 400 offer smart connectivity features. Through a dedicated app, users can schedule cleaning sessions, monitor progress, and control the robots remotely. Compatibility with smart home systems allows for voice control through platforms like Amazon Alexa and Google Assistant, adding convenience to daily routines.
Power management is another highlight, with both models featuring efficient battery usage and self-recharging capabilities. When the battery runs low, the robots automatically return to their charging stations, ensuring they are always ready for the next round of cleaning.
In summary, the iRobot 4150 and 400 robotic vacuum cleaners stand out for their intelligent navigation, strong suction power, multi-surface cleaning capabilities, dual cleaning modes, smart connectivity, and efficient battery management. Together, these features make them excellent choices for individuals seeking an effective and convenient cleaning solution for their homes.

