Faucet Kit specifications
The Jacuzzi Faucet Kit is an essential component of a luxurious bathroom experience, designed to elevate the convenience and style of your water fixtures. This kit typically includes a range of faucets, handles, and spouts that can seamlessly blend into a modern or classic bathroom decor.One of the main features of the Jacuzzi Faucet Kit is the availability of various styles and finishes. Consumers can choose from chrome, brushed nickel, and oil-rubbed bronze, ensuring compatibility with their existing bathroom aesthetics. Additionally, many kits offer different spout designs and handle types, allowing for customization that meets personal preferences.
Technologically, the kit often incorporates advanced water-saving features. Many models utilize aerator technology, which introduces air into the water stream to reduce flow without sacrificing pressure. This not only conserves water but also promotes sustainability, aligning with modern eco-friendly practices.
Another characteristic of the Jacuzzi Faucet Kit is its durability. Crafted from high-quality materials like solid brass and stainless steel, these faucets withstand daily usage while resisting corrosion and tarnishing. This ensures longevity and a consistent appearance over years of use.
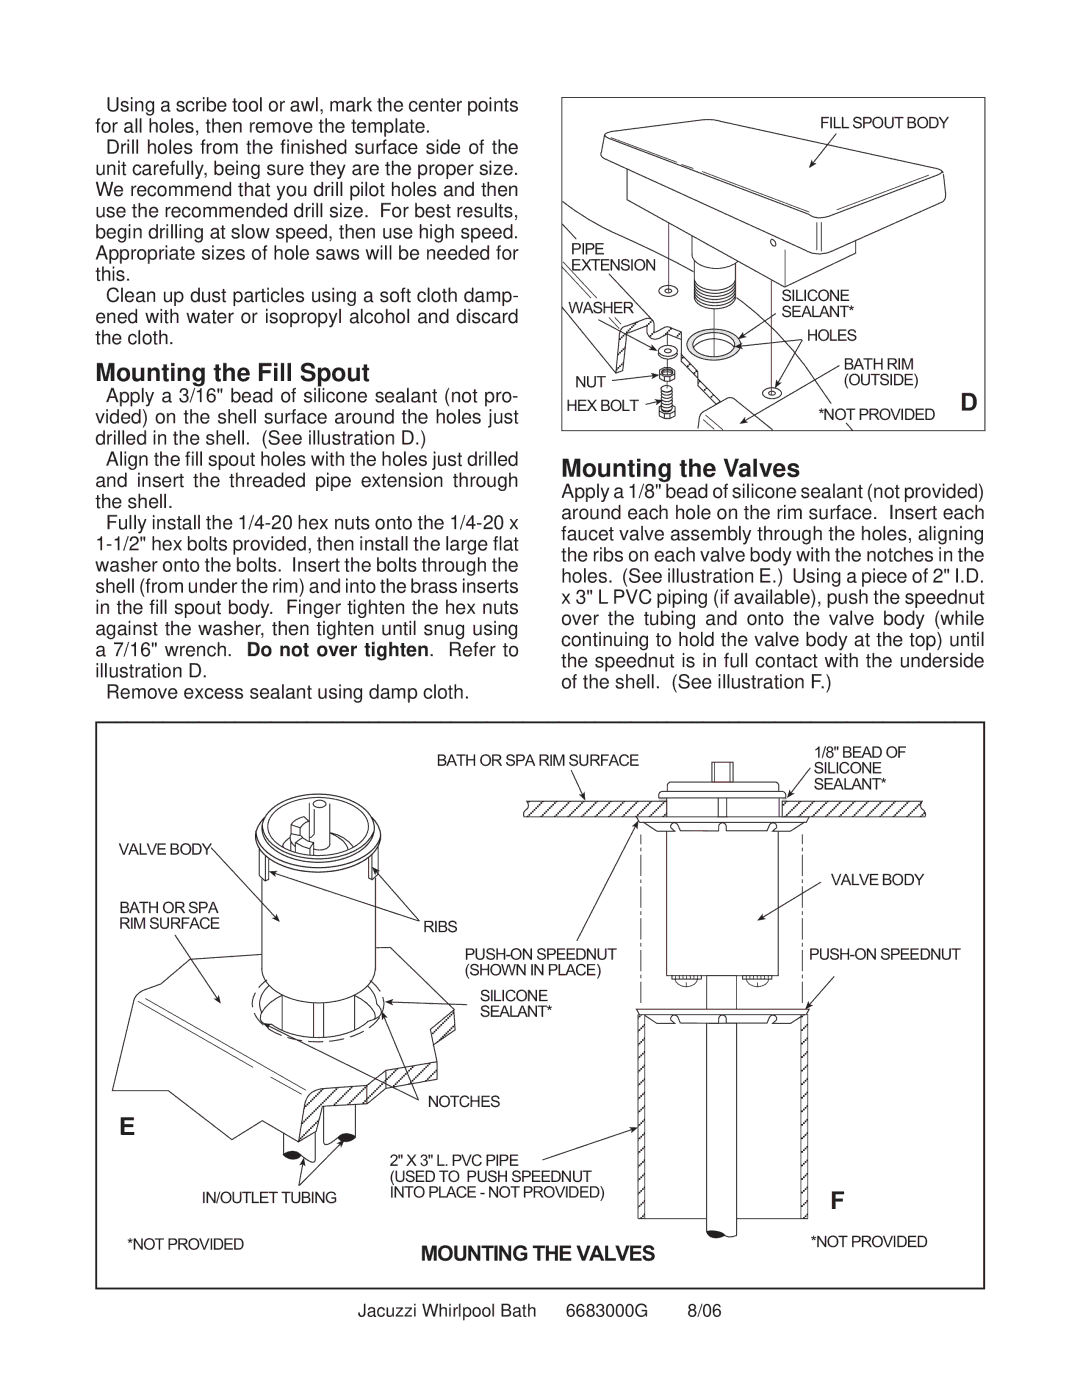
Ease of installation is another hallmark of the Jacuzzi faucet collection. The kits typically come with detailed instructions and essential mounting hardware, making the installation process straightforward for both DIY enthusiasts and professional plumbers. Some models even feature a quick-connect system, simplifying the setup without compromising stability.
Moreover, the technology behind the faucet's internal mechanisms often includes ceramic disc cartridges that provide smooth operation. This results in fewer leaks and maintenance issues, as these cartridges are designed to withstand wear over time.
Lastly, the Jacuzzi Faucet Kit often adheres to stringent water quality standards, ensuring that your water remains clean and safe. Many faucets in the kit are also compliant with local plumbing codes and certifications, providing peace of mind for homeowners concerned about health and safety.
In summary, the Jacuzzi Faucet Kit enhances both functionality and aesthetics within the bathroom. With its array of customizable styles, advanced technologies for water conservation, durable materials, and ease of installation, this kit stands out as a premier choice for modern bathrooms. Whether you're upgrading an existing space or designing a new one, the Jacuzzi Faucet Kit provides an ideal blend of form and function.

