III.
Remove the short wires with the gold plated ring sleeves, and connect the
IV.
Using a Phillips screwdriver, remove the screws on the subhatch located towards the top of the back panel. Remove the hatch.
Switch the mode switch inside to "Biamp" using a
Remove the short wires with the gold plated ring sleeves, and connect the
If you are using a channel divider that has a
*Caution
Except for
The positive terminals of the speaker have a red ring, and the negative terminals have a black ring. Be sure to connect with out mistaking the polarity. The speakers are designed so that when a positive signal is applied to the positive terminal, the woofer moves in the forward direction (positive phase operation).
When using the short wires with the gold plated ring sleeves, be sure that both the sleeves and the conductors are securely fastened to the terminals. In addition, use extra caution so that the cable conductors do not touch other sleeves and short out.
In order to safely and securely connect to the terminals, we recommend that you use the Y terminals or banana plugs on the cable ends.
5. Attenuator Adjustment
Independent, continuous variable attenuators are used for each unit to adjust the MF
6: Attaching the Grills
The speakers are shipped with the grill installed.
The purpose of the grill is to protect the units. The grill may be removed and
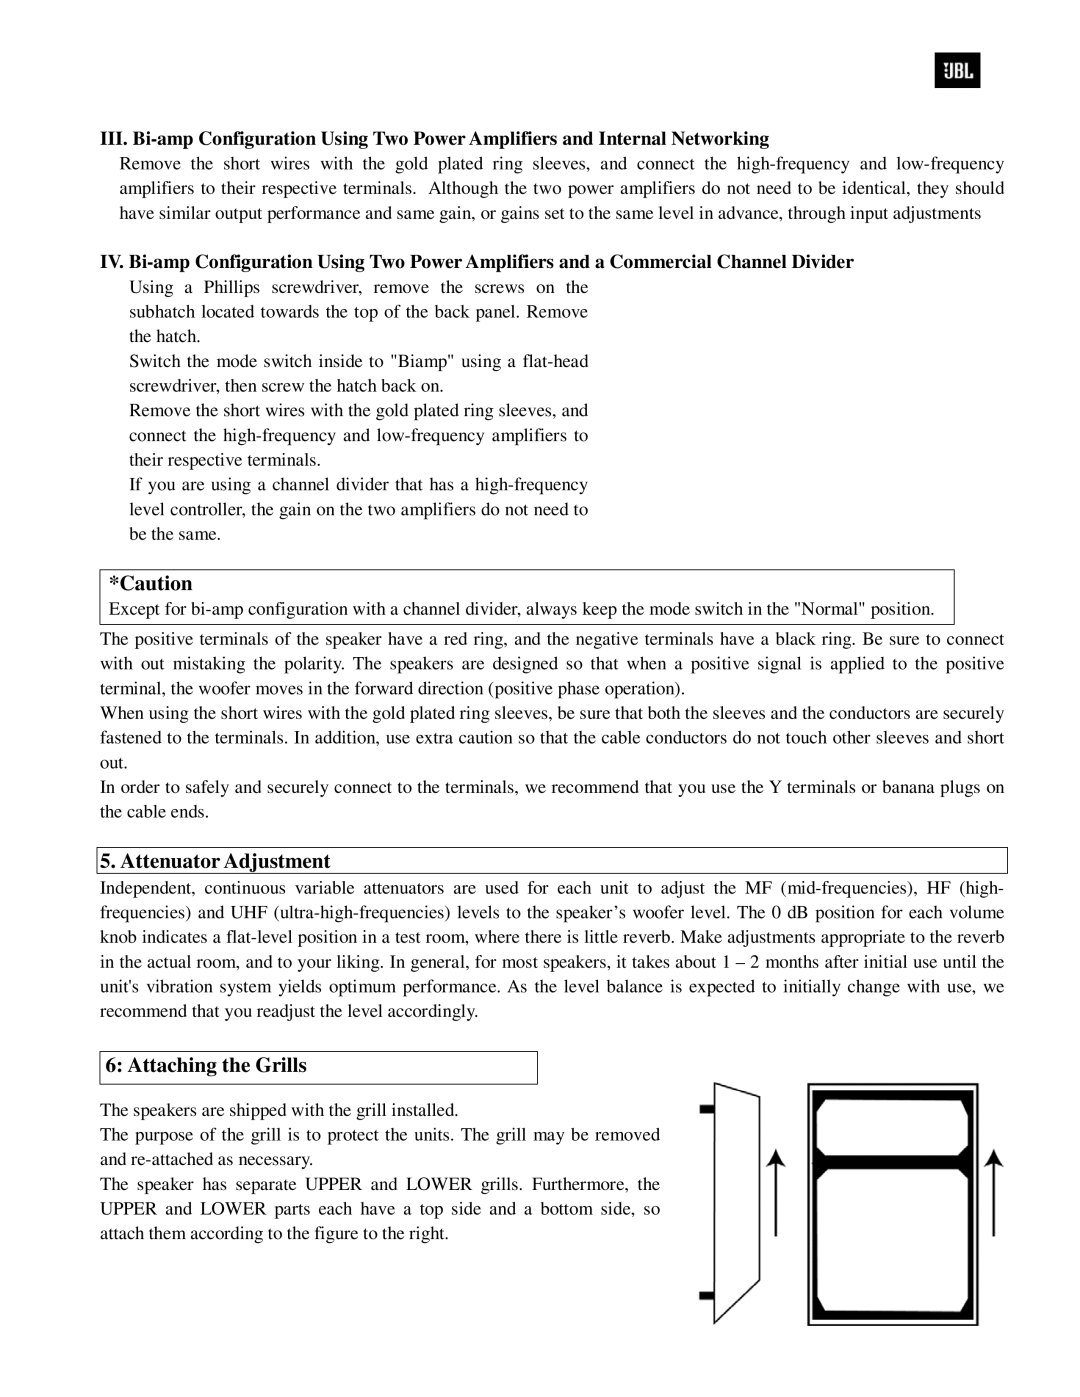
The speaker has separate UPPER and LOWER grills. Furthermore, the UPPER and LOWER parts each have a top side and a bottom side, so attach them according to the figure to the right.
