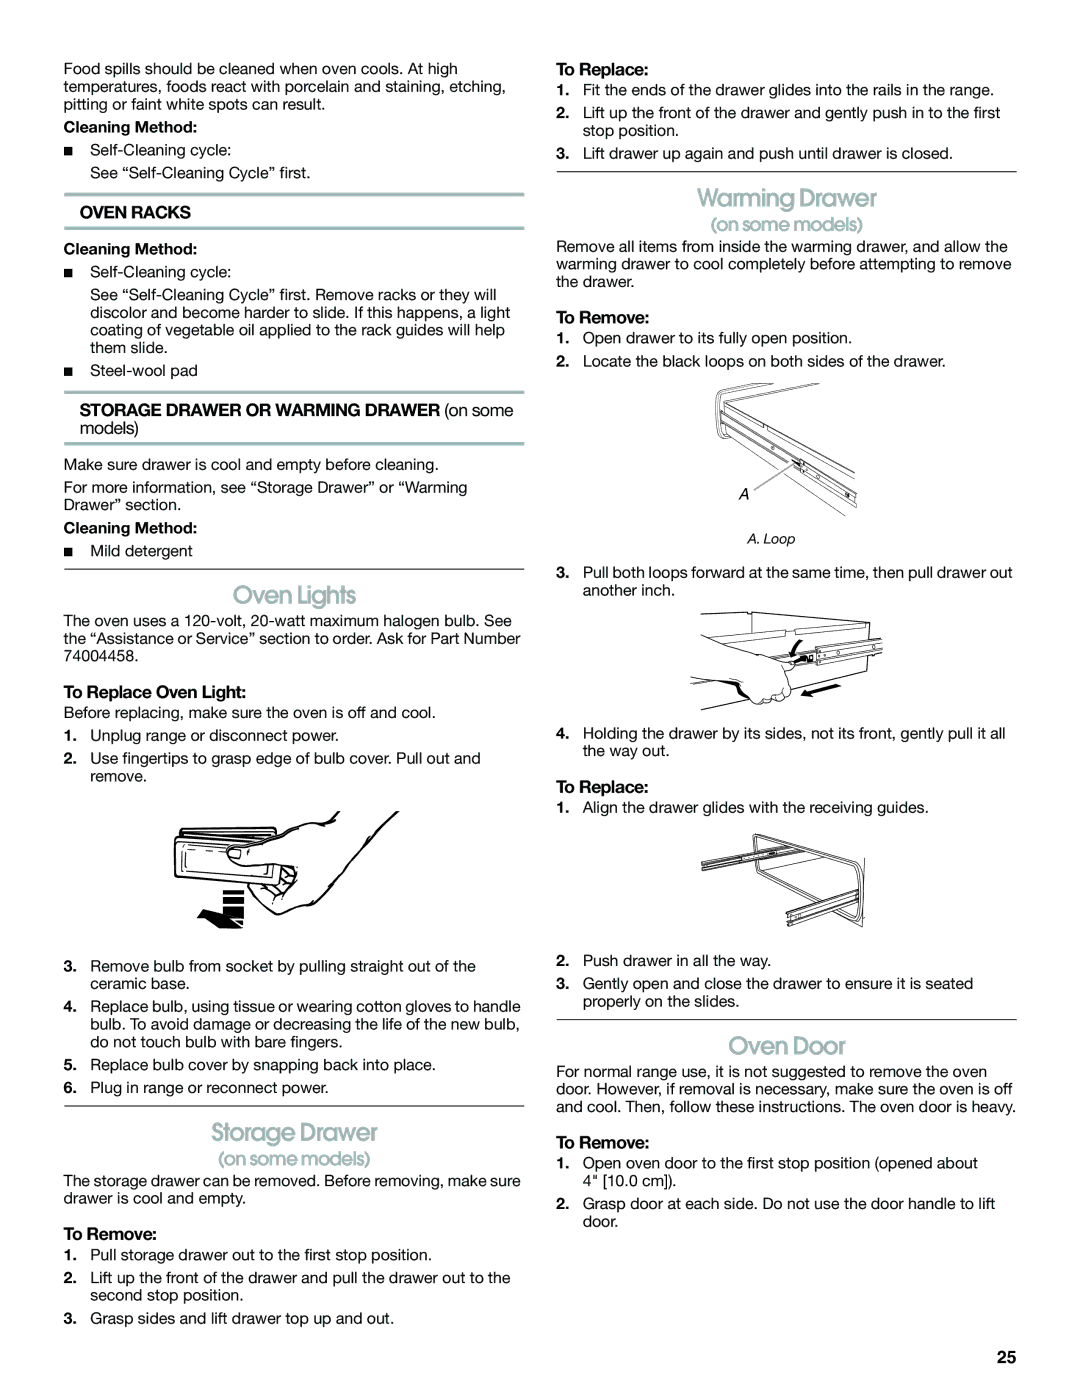
Food spills should be cleaned when oven cools. At high temperatures, foods react with porcelain and staining, etching, pitting or faint white spots can result.

Cleaning Method:

Self-Cleaning cycle:

See “Self-Cleaning Cycle” first.

OVEN RACKS

Cleaning Method:

Self-Cleaning cycle:

See “Self-Cleaning Cycle” first. Remove racks or they will discolor and become harder to slide. If this happens, a light coating of vegetable oil applied to the rack guides will help them slide.

Steel-wool pad

To Replace:

1.Fit the ends of the drawer glides into the rails in the range.

2.Lift up the front of the drawer and gently push in to the first stop position.

3.Lift drawer up again and push until drawer is closed.

Warming Drawer

(on some models)

Remove all items from inside the warming drawer, and allow the warming drawer to cool completely before attempting to remove the drawer.

To Remove:

1.Open drawer to its fully open position.

2.Locate the black loops on both sides of the drawer.

STORAGE DRAWER OR WARMING DRAWER (on some

models)

Make sure drawer is cool and empty before cleaning.

For more information, see “Storage Drawer” or “Warming Drawer” section.

Cleaning Method:

Mild detergent

Oven Lights

The oven uses a 120-volt, 20-watt maximum halogen bulb. See the “Assistance or Service” section to order. Ask for Part Number 74004458.

To Replace Oven Light:

Before replacing, make sure the oven is off and cool.

1.Unplug range or disconnect power.

2.Use fingertips to grasp edge of bulb cover. Pull out and remove.

3.Remove bulb from socket by pulling straight out of the ceramic base.

4.Replace bulb, using tissue or wearing cotton gloves to handle bulb. To avoid damage or decreasing the life of the new bulb, do not touch bulb with bare fingers.

5.Replace bulb cover by snapping back into place.

6.Plug in range or reconnect power.

Storage Drawer

(on some models)

The storage drawer can be removed. Before removing, make sure drawer is cool and empty.

To Remove:

1.Pull storage drawer out to the first stop position.

2.Lift up the front of the drawer and pull the drawer out to the second stop position.

3.Grasp sides and lift drawer top up and out.

A

A. Loop

3.Pull both loops forward at the same time, then pull drawer out another inch.

4.Holding the drawer by its sides, not its front, gently pull it all the way out.

To Replace:

1.Align the drawer glides with the receiving guides.

2.Push drawer in all the way.

3.Gently open and close the drawer to ensure it is seated properly on the slides.

Oven Door

For normal range use, it is not suggested to remove the oven door. However, if removal is necessary, make sure the oven is off and cool. Then, follow these instructions. The oven door is heavy.

To Remove:

1.Open oven door to the first stop position (opened about 4" [10.0 cm]).

2.Grasp door at each side. Do not use the door handle to lift door.

25

Page 25
Image 25
Jenn-Air JES8750 manual Oven Lights, Storage Drawer, Oven Door, Oven Racks

JES8750 specifications

Jenn-Air, a brand renowned for its premium kitchen appliances, has crafted a line of built-in microwave ovens that exemplify luxury and functionality. The models JES8850, JES8860, and JES8750 are designed to enhance the cooking experience with a blend of advanced technologies and elegant design.

The Jenn-Air JES8850 is equipped with a powerful 900-watt output, providing quick and efficient heating for all types of culinary tasks. Its spacious 1.4 cubic foot capacity accommodates large dishes with ease. One of its standout features is the Auto Sensor cooking technology, which automatically adjusts cooking times and power levels based on the moisture released from the food. This ensures perfectly cooked meals and eliminates the guesswork typically associated with microwave cooking.

Similarly, the JES8860 model builds upon these features, offering an impressive 1.5 cubic foot capacity. This model also includes the Auto Sensor technology, allowing for similar precision in cooking. Additionally, it incorporates a sleek stainless steel finish and an intuitive control panel that seamlessly blend with any kitchen décor. The JES8860 is designed with a convection cooking option, expanding its versatility by enabling the microwave to also function as a convection oven. This means users can bake, roast, or brown dishes, adding an extra dimension to meal preparation.

The JES8750 model, on the other hand, highlights Jenn-Air’s commitment to convenience. With a 1.4 cubic foot capacity and 900 watts of power, it features a sleek design and user-friendly interface. One of its notable characteristics is the integrated hood fan, which efficiently ventilates the kitchen while also serving as a microwave. This dual functionality makes it ideal for kitchens with limited space, as it maximizes utility without compromising style.

All three models come equipped with a range of pre-programmed settings for popular food items, making cooking easier than ever. The intelligent design of these microwaves ensures that homeowners can whip up quick meals while retaining the aesthetics of a modern kitchen. Moreover, with features like a customizable light brightness and easy clean interiors, Jenn-Air continues to cater to the needs of modern culinary enthusiasts.

In conclusion, the Jenn-Air JES8850, JES8860, and JES8750 models stand out not only for their advanced cooking technologies but also for their elegant designs, making them valuable additions to any luxurious kitchen setup.