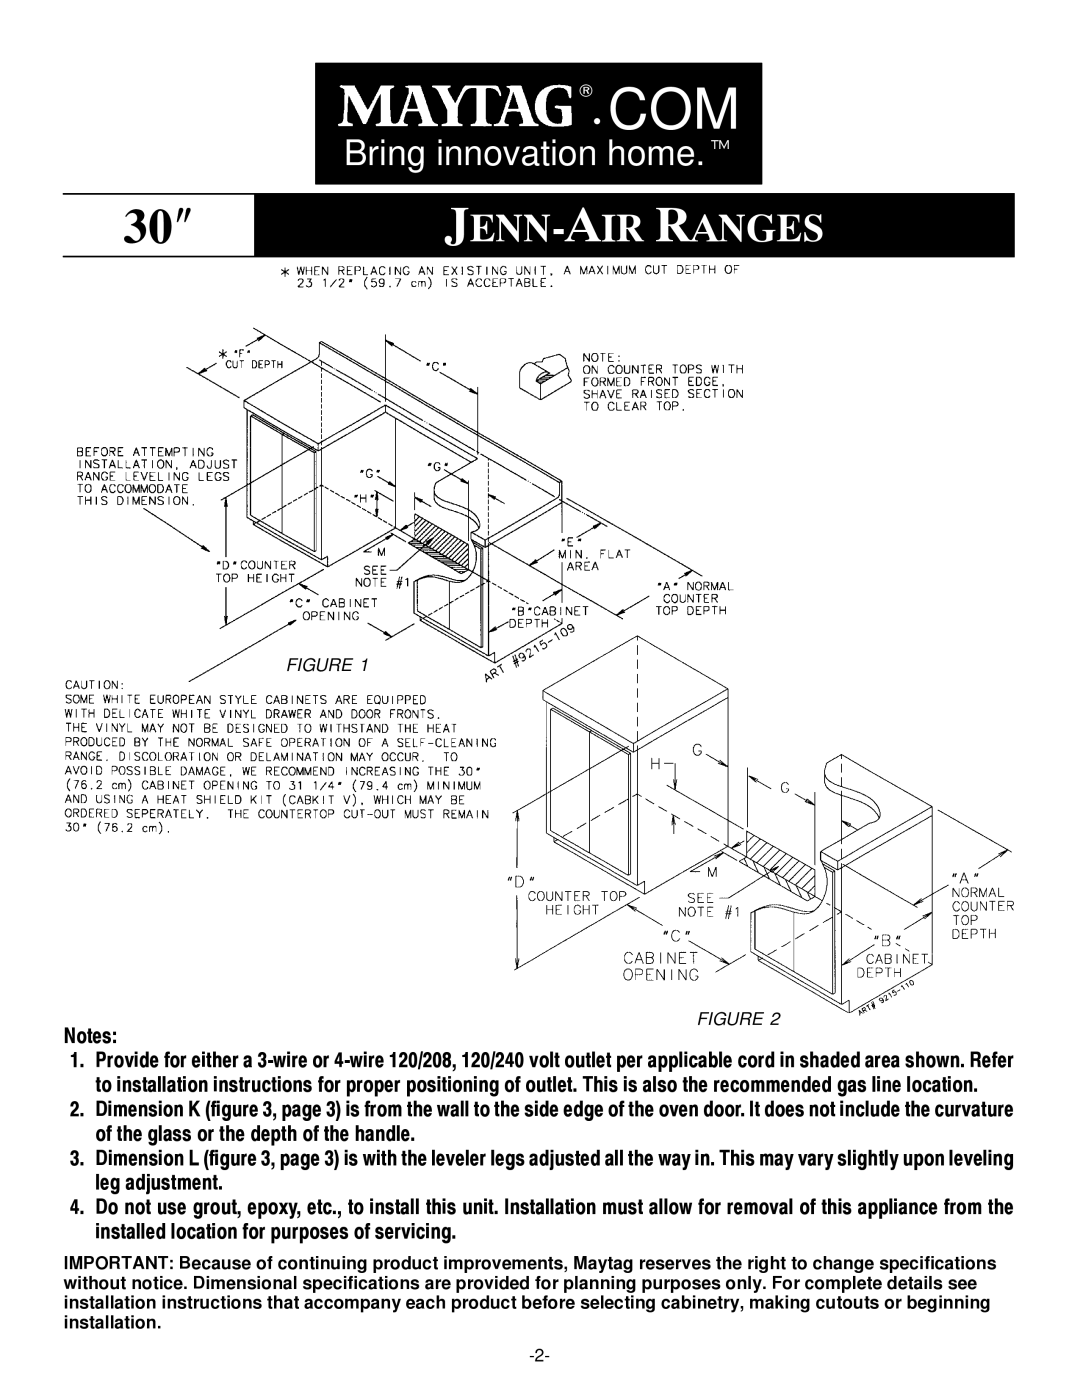
Range specifications
The Jenn-Air range is synonymous with high-end kitchen appliances, blending sophistication and innovative technology. As a leader in upscale cooking solutions, Jenn-Air focuses on creating ranges that elevate the culinary experience while maintaining both style and functionality.One of the standout features of Jenn-Air ranges is their sleek and modern design. Crafted from premium stainless steel, they offer a contemporary aesthetic that seamlessly integrates into any kitchen decor. The brushed metal finish not only enhances the appearance but also provides durability and ease of cleaning. The professional-grade look, paired with customizable options, allows consumers to personalize their kitchen environment to match their tastes.
Performance is another hallmark of the Jenn-Air range. Featuring powerful burners and extensive temperature control, these ranges allow chefs to cook with precision. The range typically includes a combination of gas and electric cooktops, providing versatility for different cooking styles. The high BTU burners deliver rapid heat for boiling, while simmer burners enable delicate food preparation.
One of the most notable technologies found in Jenn-Air ranges is their Dual Fuel option. This feature combines the benefits of gas cooking for the cooktop with the consistent heat of an electric oven. This combination is favored by many culinary enthusiasts for its ability to deliver optimal baking results. The oven also includes advanced convection technology, which circulates hot air for even cooking and reduced cooking times.
The Touch-Control technology in Jenn-Air ranges is another impressive attribute, allowing users to easily change settings with just a tap. The intuitive interface provides precise control over cooking temperatures and times, enhancing the cooking experience and reducing the potential for errors.
In addition to performance and design, Jenn-Air ranges also emphasize safety and convenience. Features like auto shut-off, child safety locks, and self-cleaning ovens offer peace of mind for families while maintaining a user-friendly experience. Connectivity options are available as well, allowing owners to control their ranges remotely through smartphone apps, enabling adjustments even when away from the kitchen.
Overall, Jenn-Air ranges embody luxury and performance, catering to both the aesthetic and functional demands of modern kitchens. With their elegant designs, powerful cooking capabilities, and cutting-edge technologies, Jenn-Air continues to be a preferred choice for those who seek to enhance their culinary adventures at home.

