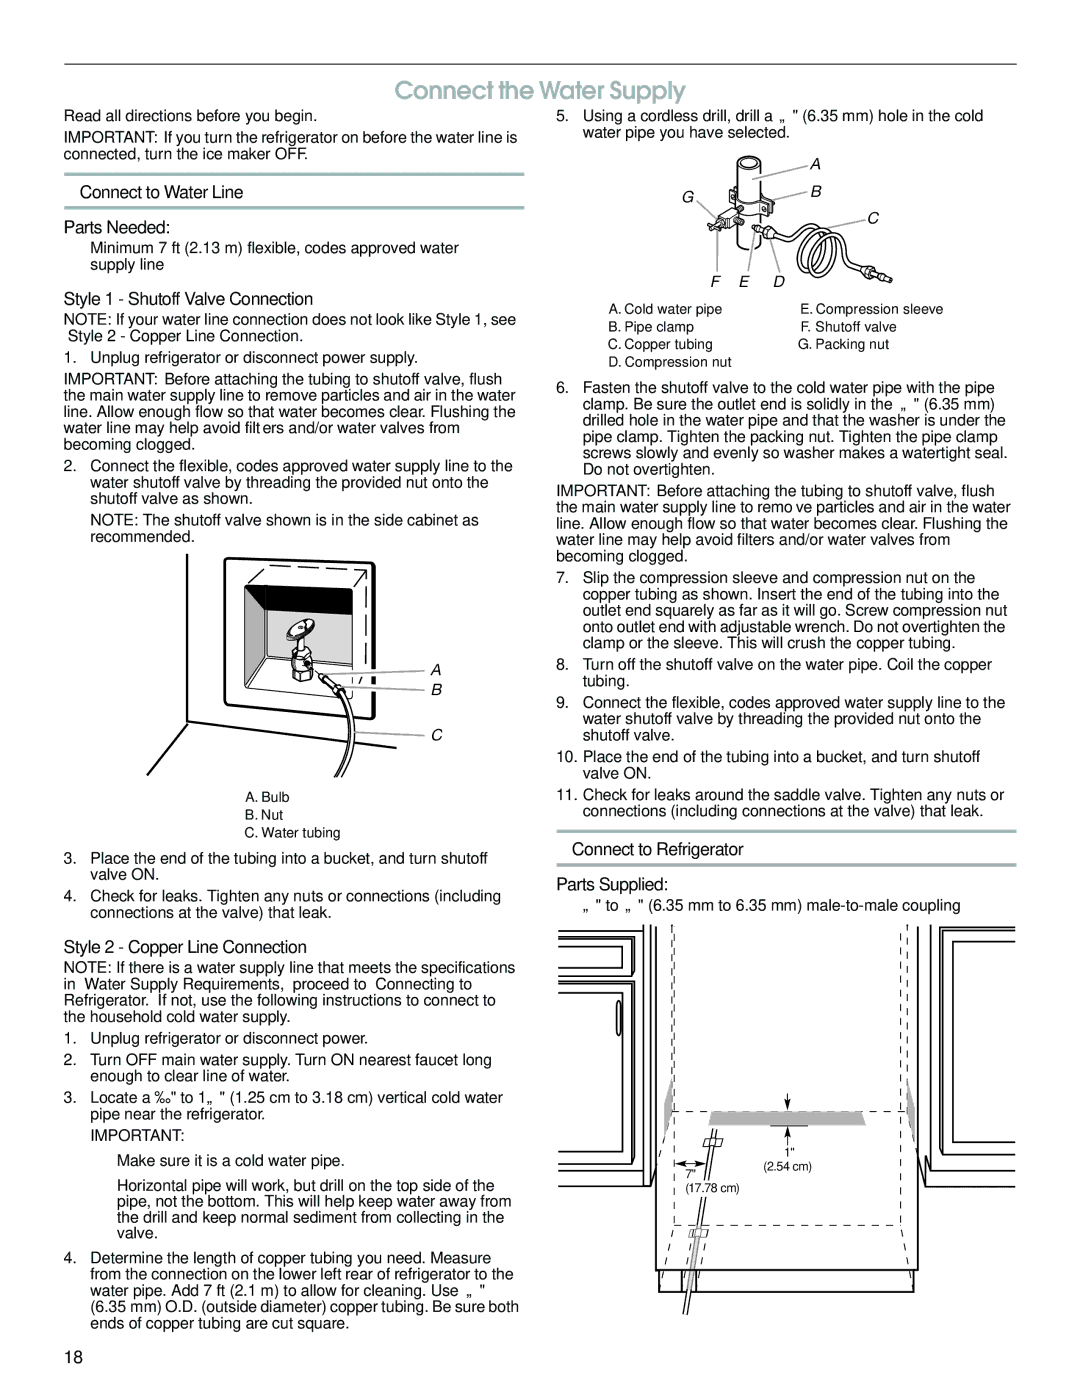
Connect the Water Supply

Read all directions before you begin.

IMPORTANT: If you turn the refrigerator on before the water line is connected, turn the ice maker OFF.

Connect to Water Line

Parts Needed:

Minimum 7 ft (2.13 m) flexible, codes approved water supply line

5.Using a cordless drill, drill a ¹⁄₄" (6.35 mm) hole in the cold water pipe you have selected.

A

G

B


C

F E D

Style 1 - Shutoff Valve Connection

NOTE: If your water line connection does not look like Style 1, see “Style 2 - Copper Line Connection.”

1.Unplug refrigerator or disconnect power supply.

IMPORTANT: Before attaching the tubing to shutoff valve, flush the main water supply line to remove particles and air in the water line. Allow enough flow so that water becomes clear. Flushing the water line may help avoid filters and/or water valves from becoming clogged.

2.Connect the flexible, codes approved water supply line to the water shutoff valve by threading the provided nut onto the shutoff valve as shown.

NOTE: The shutoff valve shown is in the side cabinet as recommended.

A

B

C

A. Cold water pipe

E. Compression sleeve

B. Pipe clamp

F. Shutoff valve

C. Copper tubing

G. Packing nut

D. Compression nut


6.Fasten the shutoff valve to the cold water pipe with the pipe clamp. Be sure the outlet end is solidly in the ¹⁄₄" (6.35 mm) drilled hole in the water pipe and that the washer is under the pipe clamp. Tighten the packing nut. Tighten the pipe clamp screws slowly and evenly so washer makes a watertight seal. Do not overtighten.

IMPORTANT: Before attaching the tubing to shutoff valve, flush the main water supply line to remove particles and air in the water line. Allow enough flow so that water becomes clear. Flushing the water line may help avoid filters and/or water valves from becoming clogged.

7.Slip the compression sleeve and compression nut on the copper tubing as shown. Insert the end of the tubing into the outlet end squarely as far as it will go. Screw compression nut onto outlet end with adjustable wrench. Do not overtighten the clamp or the sleeve. This will crush the copper tubing.

8.Turn off the shutoff valve on the water pipe. Coil the copper tubing.

9.Connect the flexible, codes approved water supply line to the water shutoff valve by threading the provided nut onto the shutoff valve.

10.Place the end of the tubing into a bucket, and turn shutoff valve ON.

A. Bulb

11. Check for leaks around the saddle valve. Tighten any nuts or

B. Nut

connections (including connections at the valve) that leak.

C. Water tubing


Connect to Refrigerator


3. Place the end of the tubing into a bucket, and turn shutoff


valve ON.

Parts Supplied:


4. Check for leaks. Tighten any nuts or connections (including


¹⁄₄" to ¹⁄₄" (6.35 mm to 6.35 mm) male-to-male coupling

connections at the valve) that leak.


Style 2 - Copper Line Connection


NOTE: If there is a water supply line that meets the specifications


in “Water Supply Requirements,” proceed to “Connecting to


Refrigerator.” If not, use the following instructions to connect to


the household cold water supply.


1. Unplug refrigerator or disconnect power.


2. Turn OFF main water supply. Turn ON nearest faucet long


enough to clear line of water.


3. Locate a ½" to 1¹⁄₄" (1.25 cm to 3.18 cm) vertical cold water


pipe near the refrigerator.


IMPORTANT:


Make sure it is a cold water pipe.


1"


7"

(2.54 cm)


Horizontal pipe will work, but drill on the top side of the


(17.78 cm)


pipe, not the bottom. This will help keep water away from


the drill and keep normal sediment from collecting in the


valve.

4.Determine the length of copper tubing you need. Measure from the connection on the lower left rear of refrigerator to the water pipe. Add 7 ft (2.1 m) to allow for cleaning. Use ¹⁄₄" (6.35 mm) O.D. (outside diameter) copper tubing. Be sure both ends of copper tubing are cut square.

18

Page 18
Image 18
Jenn-Air W10379134A manual Connect the Water Supply, Connect to Water Line Parts Needed, Style 1 Shutoff Valve Connection

W10379134A specifications

The Jenn-Air W10379134A is a high-performance kitchen appliance that exemplifies innovation and quality in home cooking. Designed for the discerning chef, it combines advanced technologies with stylish aesthetics, making it a standout choice for modern kitchens.

One of the primary features of the W10379134A is its versatile cooking capabilities. This appliance supports various cooking methods, allowing users to bake, broil, and roast with precision. Its multi-functionality caters to a wide array of culinary techniques, ensuring that home cooks can experiment and perfect their recipes.

The appliance includes a powerful convection fan that ensures even heat distribution throughout the cooking space. This technology is vital for achieving consistent cooking results, whether baking a delicate soufflé or roasting a whole chicken. With the convection feature, the Jenn-Air W10379134A enhances efficiency, significantly reducing cooking times while preserving moisture and flavor in foods.

Another significant characteristic of the Jenn-Air W10379134A is its intuitive control panel, which provides users with an easy interface. The digital display is user-friendly, allowing cooks to select from various temperature settings and cooking options with minimal effort. Furthermore, the appliance is designed with pre-programmed settings that simplify many cooking tasks, making it approachable for cooks of all experience levels.

In terms of design, the Jenn-Air W10379134A boasts a sleek, modern aesthetic that seamlessly integrates into any kitchen decor. Available in stainless steel or other finishes, its elegant look enhances the overall visual appeal of the kitchen. The quality of materials used ensures durability and longevity, making it a worthwhile investment for homeowners.

Safety is also paramount with the Jenn-Air W10379134A. It is equipped with features such as a temperature probe and automatic shut-off functions, which provide peace of mind during cooking. These safety mechanisms help prevent overcooking and promote energy efficiency, which is essential in today’s eco-conscious world.

In conclusion, the Jenn-Air W10379134A emerges as a powerful, versatile, and stylish addition to any kitchen. With its advanced features, user-friendly interface, and elegant design, it meets the needs of both seasoned chefs and novice cooks alike, promoting culinary creativity while ensuring optimal cooking results.