
JCD3010 specifications
The Jensen JCD3010 is a remarkable automotive stereo system that caters to the modern driver’s needs with advanced technology and a host of features. Designed to upgrade the audio experience within your vehicle, the JCD3010 combines functionality with sleek aesthetics, making it a sought-after head unit for many car enthusiasts.One of the standout features of the Jensen JCD3010 is its 3.5-inch display, which provides clear visibility for easy navigation while on the road. This user-friendly interface allows drivers to efficiently manage their music and settings without distraction. The display supports various formats, ensuring compatibility with a wide range of media files.
Audio quality is a key consideration for the Jensen JCD3010. This unit boasts a built-in amplifier with an impressive output, delivering crisp highs and deep lows that enhance any listening experience. The stereo also includes equalizer settings, giving users the ability to fine-tune their sound preferences. With the capability to drive four speakers, each at 50 watts, the JCD3010 ensures that every passenger enjoys excellent sound.
Connectivity is essential in today's world, and the JCD3010 does not disappoint. It features Bluetooth technology, enabling users to stream music directly from their smartphones or devices. Hands-free calling is a highlighted feature, promoting safety and convenience while driving. Additionally, the USB port allows for quick device charging and playback of audio files from flash drives, making it easy to enjoy your favorite playlists.
Another advantageous characteristic of the Jensen JCD3010 is its AM/FM radio functionality, complete with digital tuning and preset channels. This allows users to effortlessly access their favorite radio stations while on the go. The stereo also supports auxiliary input, providing versatility for connecting other devices.
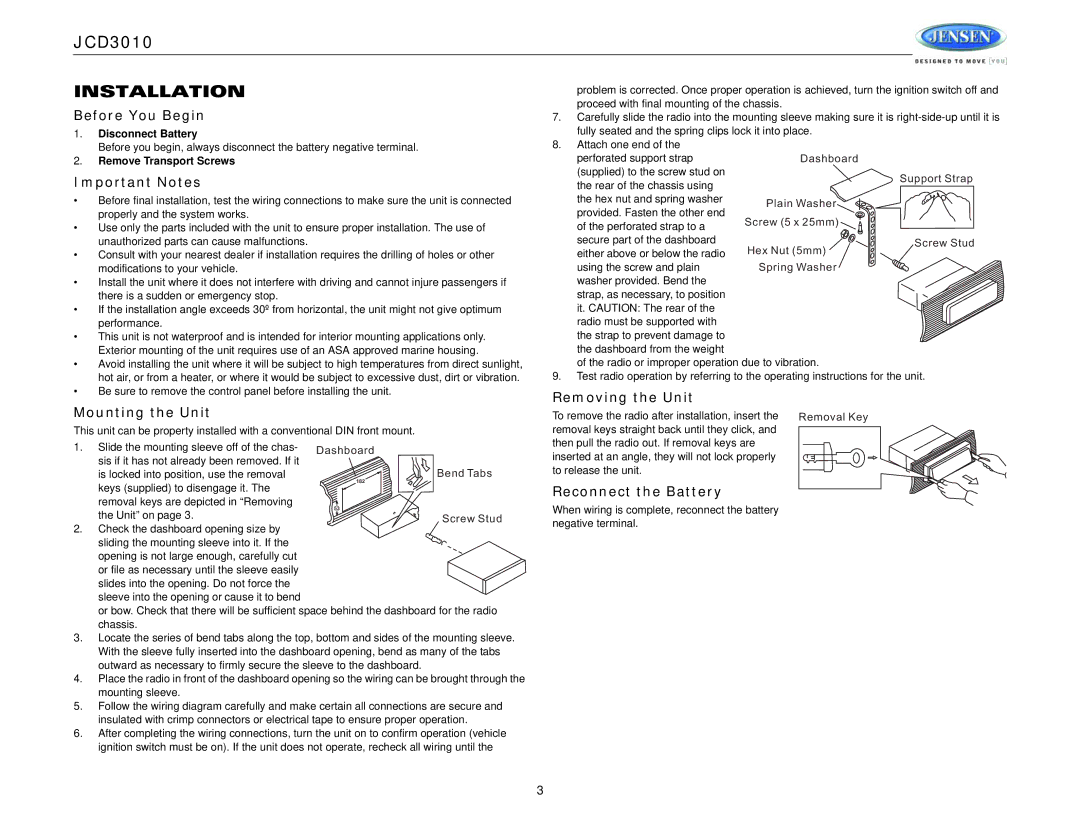
Durability is an essential attribute for any automotive equipment, and the Jensen JCD3010 is built to last. Its robust design is resistant to vibrations and temperature fluctuations, ensuring reliable performance over time. Installation is straightforward, making it an ideal choice for DIY enthusiasts and those who prefer professional setups.
In summary, the Jensen JCD3010 stands out as a powerful and feature-rich stereo system that caters to the diverse audio needs of drivers. With its clear display, robust audio output, extensive connectivity options, and durable design, it proves to be an excellent investment for anyone looking to enhance their driving experience through quality sound.