8.Snooze/Sleep/Dimmer Button
9.iPod/iPhone SKIP Forward ![]() ; Radio TUNE+ Button; Clock Adjust Forward; Memory Up
; Radio TUNE+ Button; Clock Adjust Forward; Memory Up
10.Volume Up (+) / Alarm1 Set Button
11.Volume Down
12.iPod/iPhone SKIP Backward ![]() ; Radio TUNE- Button; Clock Adjust Backward; Memory Down
; Radio TUNE- Button; Clock Adjust Backward; Memory Down
13.
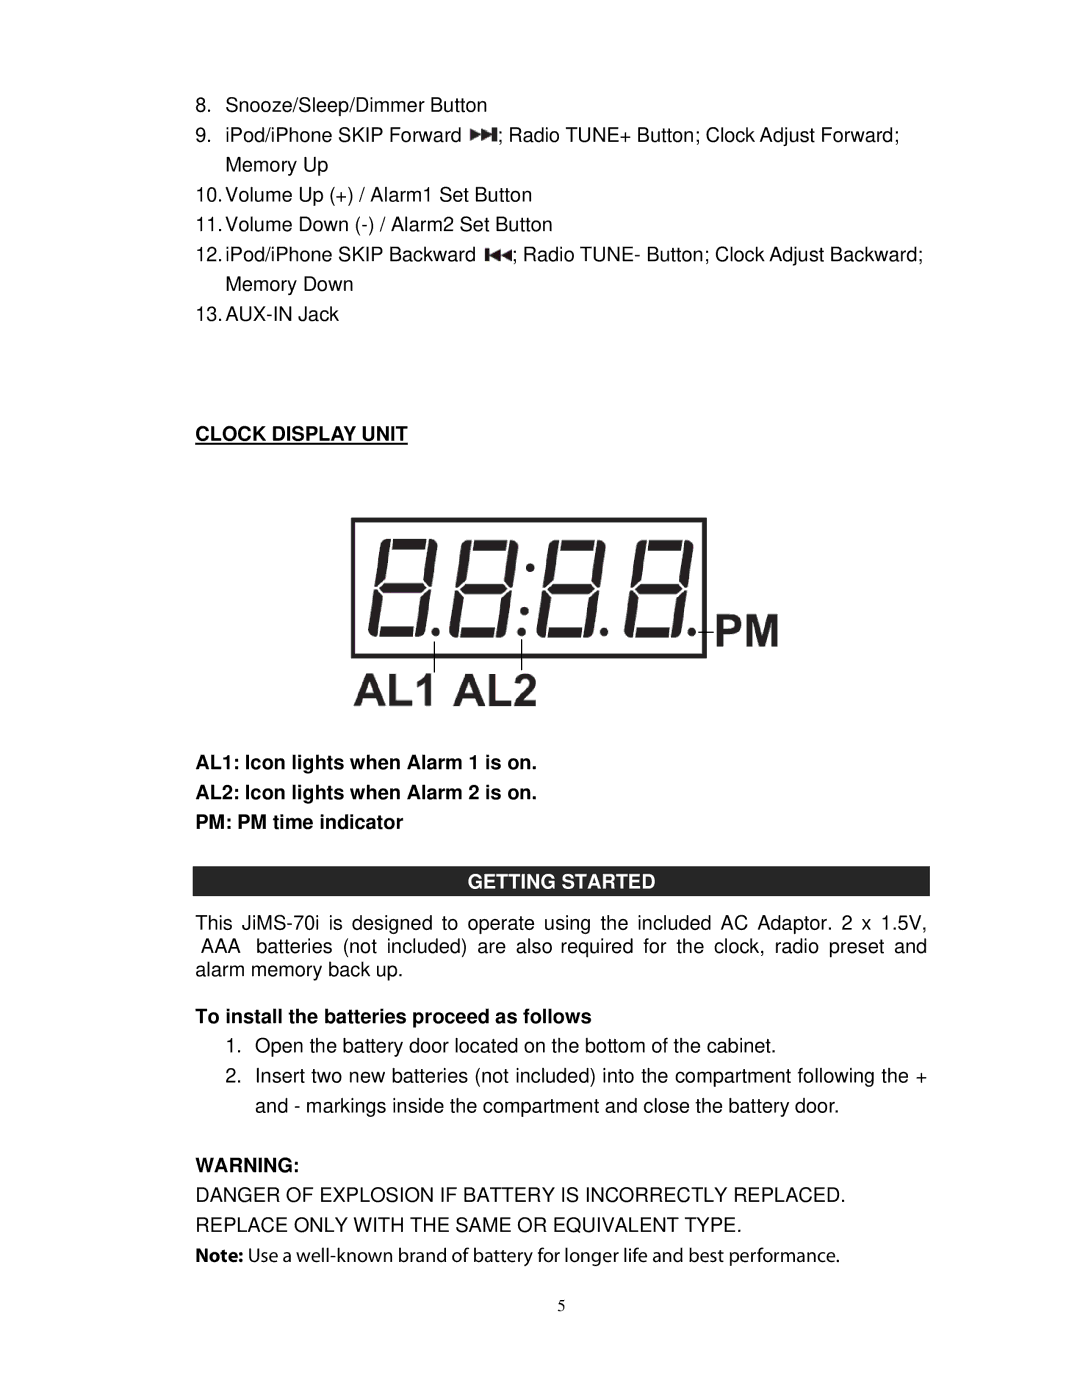
CLOCK DISPLAY UNIT
AL1: Icon lights when Alarm 1 is on.
AL2: Icon lights when Alarm 2 is on.
PM: PM time indicator
GETTING STARTED
This
To install the batteries proceed as follows
1.Open the battery door located on the bottom of the cabinet.
2.Insert two new batteries (not included) into the compartment following the + and - markings inside the compartment and close the battery door.
WARNING:
DANGER OF EXPLOSION IF BATTERY IS INCORRECTLY REPLACED. REPLACE ONLY WITH THE SAME OR EQUIVALENT TYPE.
Note: Use a
5
