Fig 10
Install wheels:
Attach the wheels (X, Fig 11) with 4 bolts and nuts.
F
Fig 11
Install sliding table:
Mount the sliding table guide profile with the supplied
Fig 12
Install the sliding table.
The sliding table must be aligned to run parallel to the sawblade and table surface to be approximately 0,5
mmhigher than the machine table (Fig 13).
Fig 13
5.3 Dust connection
Before initial operation, the machine must be connected to a dust extractor. The suction should switch on automatically when the saw is switched on.
Attach the connecting hose to the saw guard and the
A 100mm dust collection hose can be connected.
5.4 Mains connection
Mains connection and any extension cords used must comply with applicable regulations.
The mains voltage must comply with the information on the machine licence plate.
The mains connection must have a 16A
Only use connection cables marked
Connections and repairs to the electrical equipment may only be carried out by qualified electricians.
5.5 Starting operation
You can start the machine with the green ON button. The red OFF- button on the main switch (C, Fig 1) stops the machine.
6.Machine operation Correct working position:
In front of the machine standing out of the line of cutting (danger zone).
Work piece handling:
Hands placed flat on the work piece outside the cutting area.
Feed the work piece towards the saw blade in the direction of the saw line. Push the work piece steadily forward; complete the cut as a single movement.
Support long and wide workpieces with helping roller stands.
Operating hints:
Always observe the safety instructions and adhere to the current regulations.
Ensure that the saw blade protective cover is in the correct position before you start sawing.
The cutting blade must first reach the
7
maximum rpm before cutting may begin.
Attention:
The condition of the blade should be checked before each machining process.
Work only with a sharp and flawless sawblade.
Never use a sawblade rated with a blade speed lower than the machine.
Use a suitable wedge to prevent round timber from turning under the pressure of the cut
Use suitable table extensions and supporting aids for difficult to handle workpieces.
Always hold and guide the workpieces safely during machining.
Do not perform any operation freehand.
Do not perform any grooving, tenoning or splitting operations on this machine.
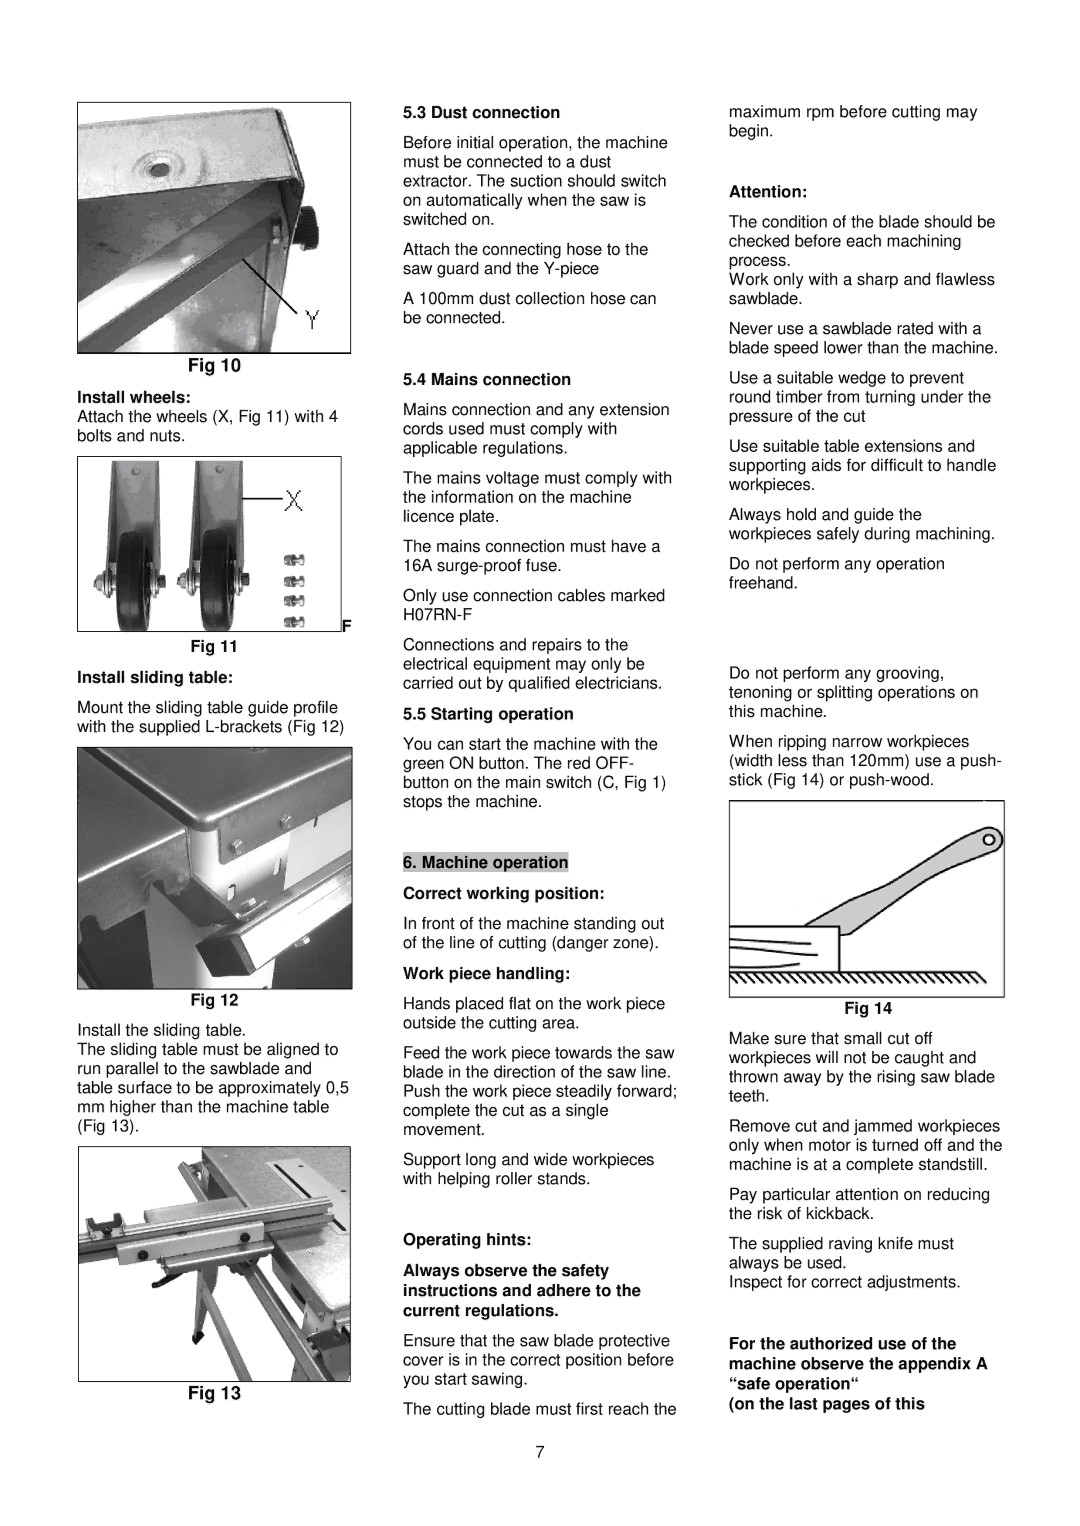
When ripping narrow workpieces (width less than 120mm) use a push- stick (Fig 14) or
Fig 14
Make sure that small cut off workpieces will not be caught and thrown away by the rising saw blade teeth.
Remove cut and jammed workpieces only when motor is turned off and the machine is at a complete standstill.
Pay particular attention on reducing the risk of kickback.
The supplied raving knife must always be used.
Inspect for correct adjustments.
For the authorized use of the machine observe the appendix A “safe operation“
(on the last pages of this