Unpacking
Open shipping container and check that all parts are intact. Report any damage immediately to your distributor. Read the instruction manual thoroughly for assembly and alignment instructions.
Box contents:
1Back Panel
2Side Panels
1Bottom Panel
1Top Panel
3Angle Brackets
2Small Shelves
1Large Shelf (used with closed stand saws)
4Leg assemblies
1Hardware bag
1Door Handle
2Hinges
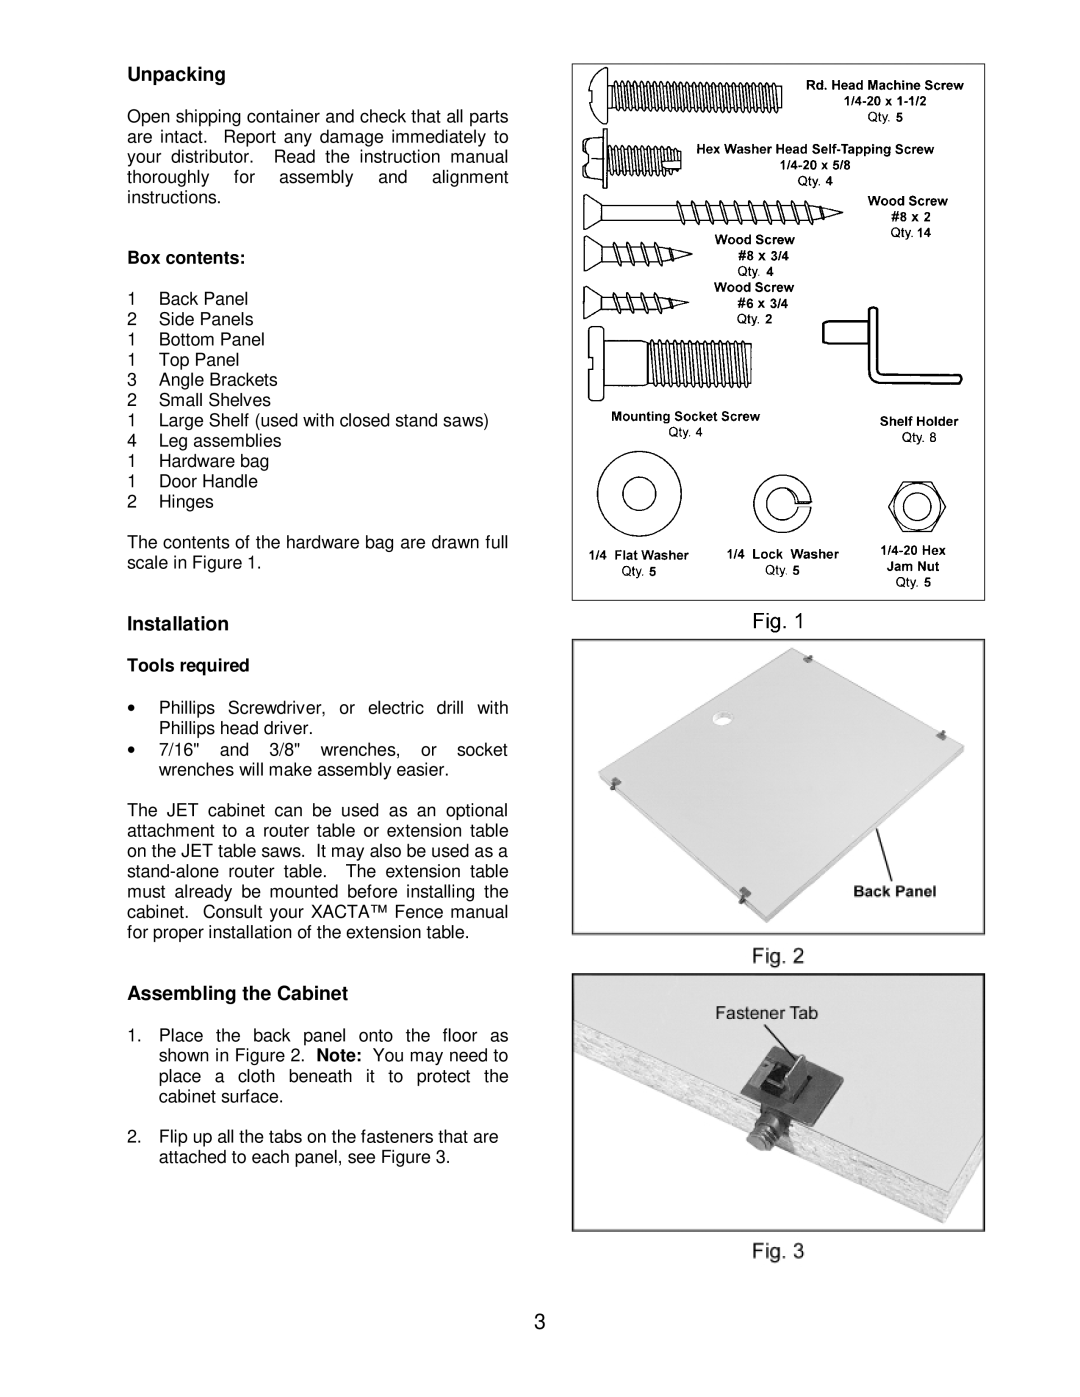
The contents of the hardware bag are drawn full scale in Figure 1.
Installation
Tools required
•Phillips Screwdriver, or electric drill with Phillips head driver.
•7/16" and 3/8" wrenches, or socket wrenches will make assembly easier.
The JET cabinet can be used as an optional attachment to a router table or extension table on the JET table saws. It may also be used as a
Assembling the Cabinet
1.Place the back panel onto the floor as shown in Figure 2. Note: You may need to place a cloth beneath it to protect the cabinet surface.
2.Flip up all the tabs on the fasteners that are attached to each panel, see Figure 3.
3