Connect the speaker wires, observing correct polarity, and install the speaker and grille assembly as shown in Diagram B (below).
The included JL Audio logo name badges should be affixed to the circular indented area in the lower part of each grille assembly. If the grille assembly is not used, the JL Audio logo badges can be affixed elsewhere as creative additions to your installation.
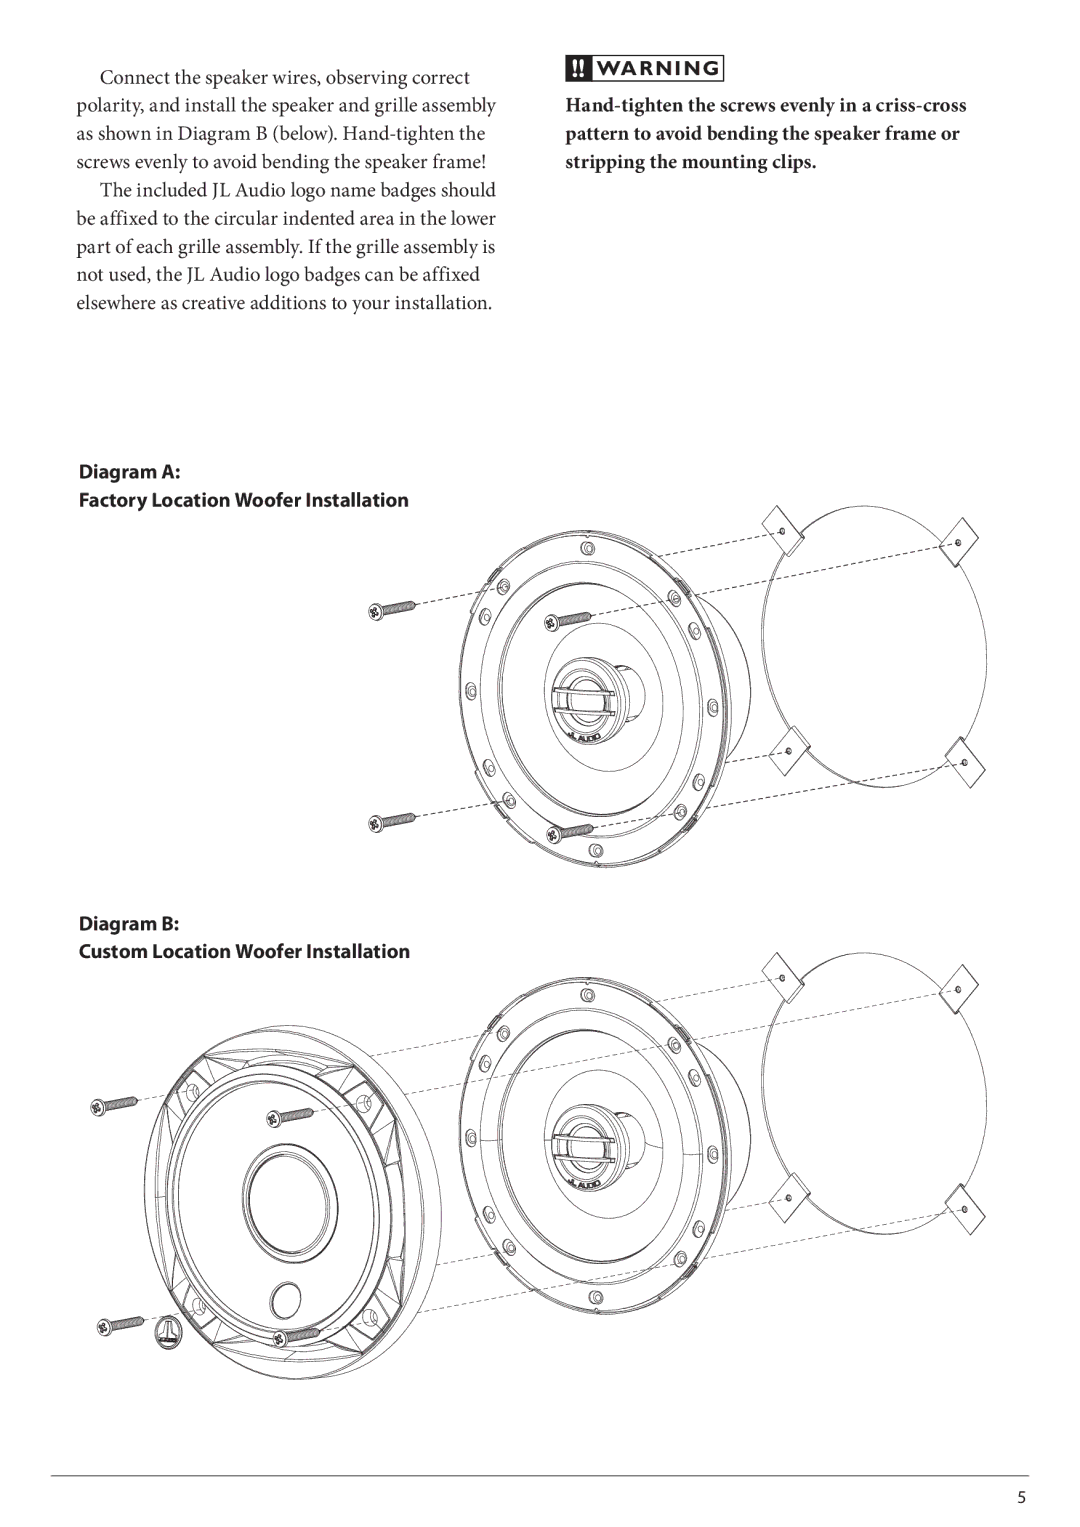
Diagram A:
Factory Location Woofer Installation
Diagram B:
Custom Location Woofer Installation
!!![]() WARNING
WARNING
5