
e1800D specifications
The JL Audio e1800D is an impressive monoblock amplifier designed for automotive audio enthusiasts seeking powerful and high-quality sound performance. This amplifier is part of JL Audio's e-series, which is known for delivering exceptional sound fidelity without compromising on reliability or efficiency.One of the standout features of the e1800D is its robust power output. It is designed to deliver up to 1,800 watts RMS at a 1-ohm load, making it ideal for driving subwoofers that require significant power to achieve deep, resonant bass. The amplifier can also function effectively at higher impedances, delivering 1,200 watts RMS at 2 ohms and 600 watts RMS at 4 ohms. This versatility ensures that it can be paired with a variety of subwoofers, catering to different audio preferences and setups.
The e1800D incorporates advanced technology to enhance overall performance and sound quality. It features a Class D topology, which not only maximizes power efficiency but also minimizes heat generation. This allows for extended use without the risk of thermal throttling, making it a reliable choice for high-demand audio applications. Additionally, the amplifier is equipped with JL Audio’s proprietary R.I.P.S. (Regulated Efficiency Power Supply) technology, which ensures that consistent power is delivered regardless of the vehicle's electrical system fluctuations.
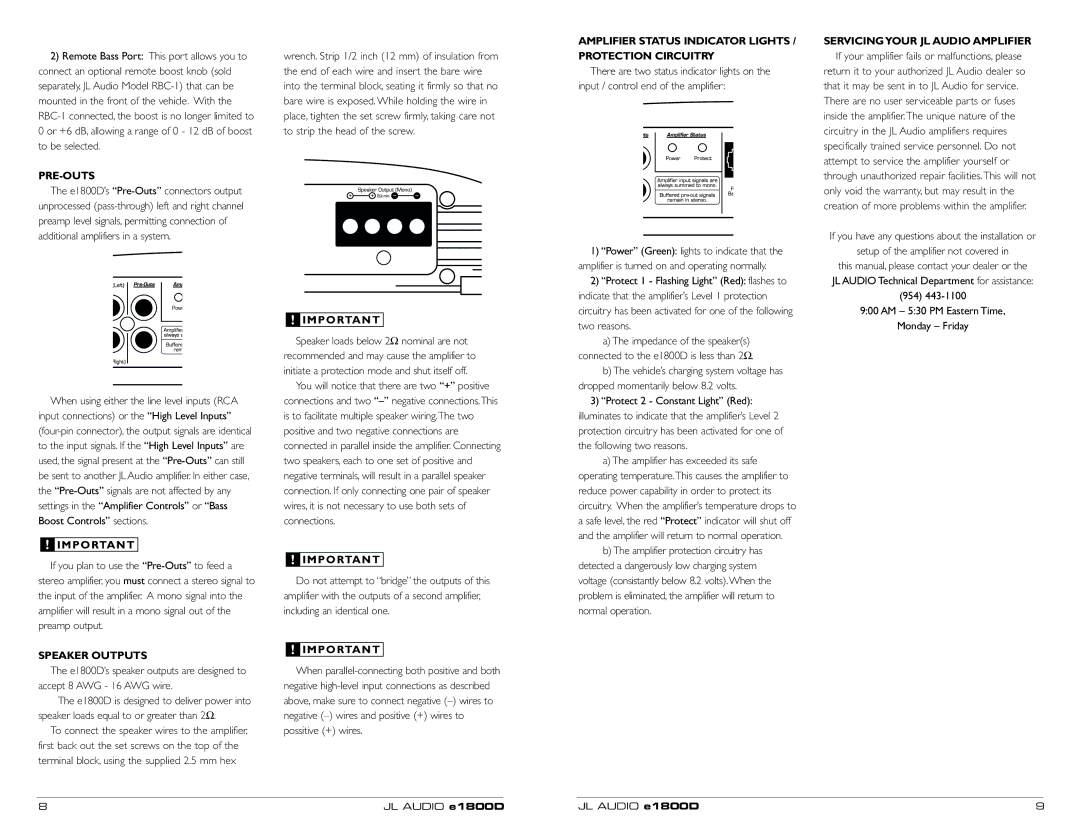
Another key characteristic of the e1800D is its extensive system controls. The amplifier includes low-pass and bass boost filters, allowing users to tailor the sound output to their preferences. The low-pass filter can be adjusted from 32 Hz to 200 Hz, providing flexibility in aligning the subwoofer with the rest of the audio system. The bass boost feature further enhances low-frequency response, giving users the ability to amplify specific bass notes to better suit individual tastes.
The e1800D is also designed with durability in mind. Its chassis is constructed from high-quality materials, ensuring longevity while keeping the unit lightweight. The amplifier’s compact design simplifies installation in tighter spaces within the vehicle, and its top-mounted controls allow for easy access and adjustments.
Overall, the JL Audio e1800D is a high-performance monoblock amplifier that excels in delivering powerful bass and exceptional sound quality. With its advanced technologies, customizable features, and robust construction, it is a top choice for those seeking to elevate their car audio experience. Whether for competitions or recreational listening, the e1800D stands out as a capable and reliable performer in the automotive audio landscape.