S T E P 4
With a drill and a
Remove the wax square.
S T E P 5
Back out the socket cup set screw installed in STEP 3, to leave 1
Place the Stealthbox® into position by guiding the socket cup set screw through the hole drilled in STEP 4.
|
| ||
I N C L U D E D H A R D W A R E |
|
| |
(1) | (1) | ||
(1) | (1) | ||
(1)
(1)
S P E C I F I C A T I O N S
Enclosure Type: Acoustic Suspension (sealed)
Driver Type: 10W3v3
Nominal Impedance: 4 ohms mono
Continuous Power Handling: 300 Watts
P O W E R R E C O M M E N D A T I O N
JL Audio recommends using a high quality amplifier such as the JL Audio 250/1v2.
The diagram below shows the recommended crossover, infrasonic filter and equalizer settings for the 250/1v2 when being used to power your Stealthbox®.
STEALTHBOX WALL |
VEHICLE SHEET METAL |
LOCK WASHER |
HEX NUT |
SOCKET CUP SET SCREW |
FLAT WASHER |
THREADED INSERT |
FENDER WASHER |
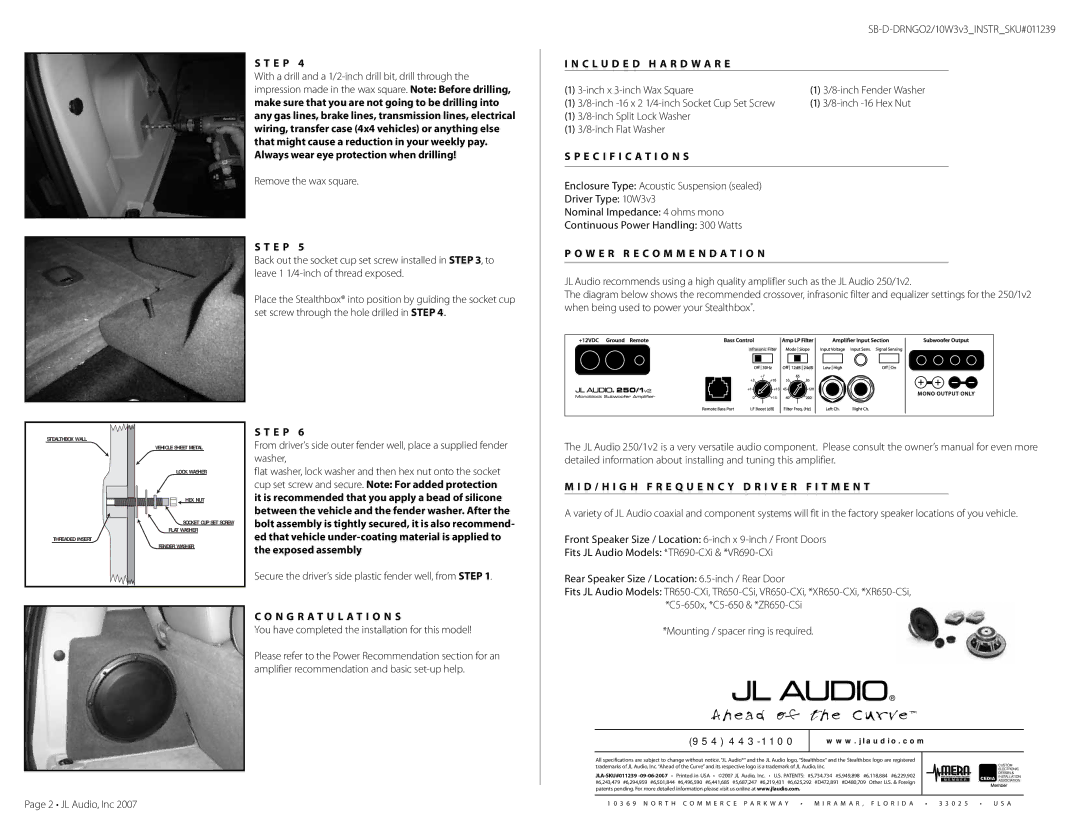
S T E P 6
From driver’s side outer fender well, place a supplied fender washer,
flat washer, lock washer and then hex nut onto the socket cup set screw and secure. Note: For added protection it is recommended that you apply a bead of silicone between the vehicle and the fender washer. After the bolt assembly is tightly secured, it is also recommend- ed that vehicle
Secure the driver’s side plastic fender well, from STEP 1.
The JL Audio 250/1v2 is a very versatile audio component. Please consult the owner’s manual for even more detailed information about installing and tuning this amplifier.
M I D / H I G H F R E Q U E N C Y D R I V E R F I T M E N T
A variety of JL Audio coaxial and component systems will fit in the factory speaker locations of you vehicle.
Front Speaker Size / Location:
Fits JL Audio Models:
Rear Speaker Size / Location:
Fits JL Audio Models:
C O N G R A T U L A T I O N S
You have completed the installation for this model!
Please refer to the Power Recommendation section for an amplifier recommendation and basic
*Mounting / spacer ring is required.
(954) | www.jlaudio.com |
|
|
All specifications are subject to change without notice. “JL Audio®” and the JL Audio logo, “Stealthbox” and the Stealthbox logo are registered trademarks of JL Audio, Inc. “Ahead of the Curve” and its respective logo is a trademark of JL Audio, Inc.
Page 2 • JL Audio, Inc 2007
1 0 3 6 9 N O R T H C O M M E R C E P A R K W A Y • M I R A M A R , F L O R I D A • 3 3 0 2 5 • U S A