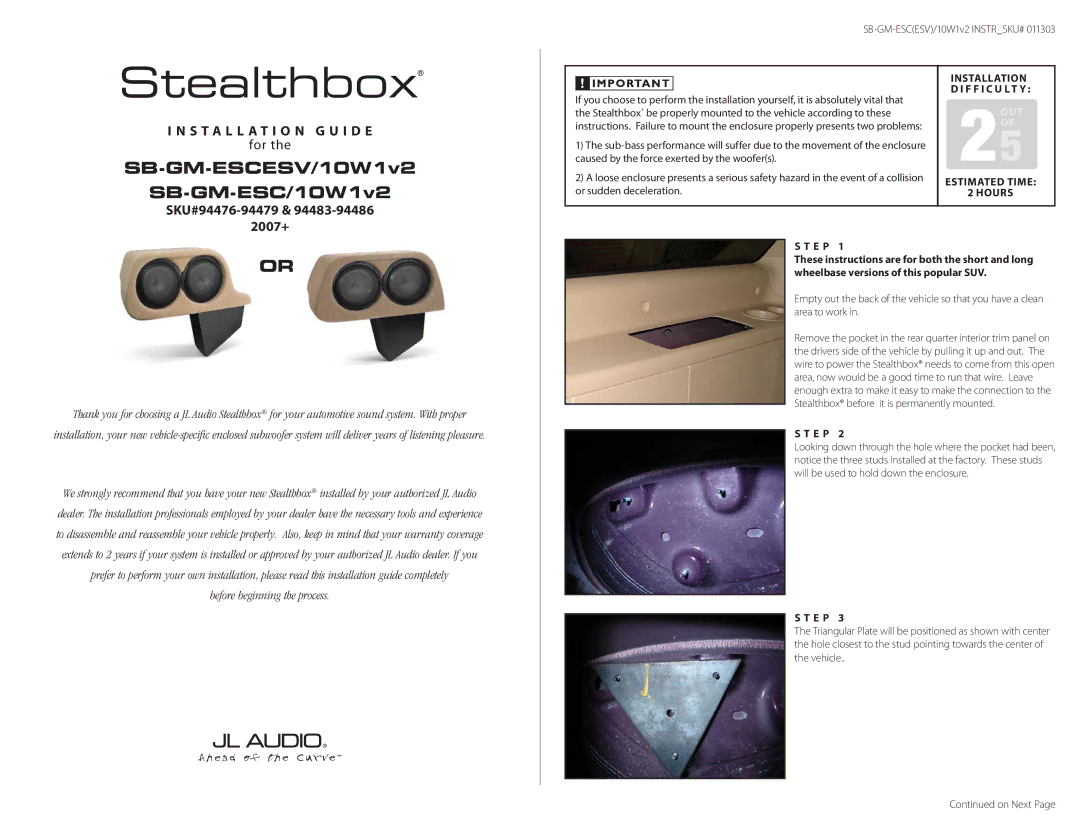
I n s t a l l a t i o n G u i d e
for the
SB-GM-ESCESV/10W1v2
SB-GM-ESC/10W1v2
SKU#94476-94479 & 94483-94486
2007+
If you choose to perform the installation yourself, it is absolutely vital that the Stealthbox® be properly mounted to the vehicle according to these instructions. Failure to mount the enclosure properly presents two problems:
1)The
2)A loose enclosure presents a serious safety hazard in the event of a collision or sudden deceleration.
INSTALLATION D I F F I C U LT Y :
2OUT OF
5
Estimated TIME:
2 Hours
OR
Thank you for choosing a JL Audio Stealthbox® for your automotive sound system. With proper
installation, your new
We strongly recommend that you have your new Stealthbox® installed by your authorized JL Audio dealer. The installation professionals employed by your dealer have the necessary tools and experience to disassemble and reassemble your vehicle properly. Also, keep in mind that your warranty coverage extends to 2 years if your system is installed or approved by your authorized JL Audio dealer. If you prefer to perform your own installation, please read this installation guide completely
before beginning the process.
S T E P 1
These instructions are for both the short and long wheelbase versions of this popular SUV.
Empty out the back of the vehicle so that you have a clean area to work in.
Remove the pocket in the rear quarter interior trim panel on the drivers side of the vehicle by pulling it up and out. The wire to power the Stealthbox® needs to come from this open area, now would be a good time to run that wire. Leave enough extra to make it easy to make the connection to the Stealthbox® before it is permanently mounted.
S T E P 2
Looking down through the hole where the pocket had been, notice the three studs installed at the factory. These studs will be used to hold down the enclosure.
S T E P 3
The Triangular Plate will be positioned as shown with center the hole closest to the stud pointing towards the center of the vehicle..
Continued on Next Page
